 The service life of the equipment directly depends on proper installation. To avoid annoying breakdowns, you need to know the installation features of various types of models. Then installing and connecting the dishwasher will not raise any questions even for an inexperienced user.
Features of installing a dishwasher depending on its type
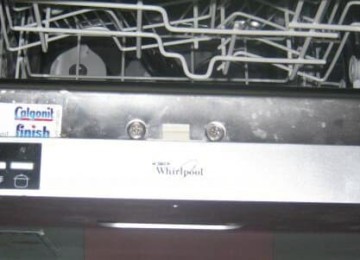
All dishwashers are divided into the following types - built-in and free-standing. Installation of the latter option is much simpler, since the model does not need to be mounted in a niche. All you need to do is prepare a place for the dishwasher and install all communications.
Nuances of installing built-in models:
- the dimensions of the cabinet must be suitable for the selected model;
- Fix the decorative panel strictly according to the stencils included in the kit;
- Do not install the machine without protective parts (metal plate);
- secure the body with self-tapping screws, having previously installed the bushings on the sides of the product;
- If necessary, tighten the legs of the machine to level the body.
Of course, when installing a model of any type, you first need to focus on the instructions supplied by the manufacturer.
Choosing a place to install the dishwasher
Some recommendations for choosing a location for equipment:
- Built-in models should be selected based on the size of the kitchen unit. Furniture manufacturers offer special cabinets for dishwashers.
- If the device is a tabletop type, then you don’t have to think through the drainage system. Moreover, in this case, you can do without installing a siphon, since the hose will need to be fixed in the sink. Installing a model of this type will free up space in the kitchen. The last point is especially important for small spaces.
- For any type of model, it is necessary to provide a separate outlet that will be located nearby.
- When choosing a location, make sure that the sewerage system is not too far away. The machine hose must be sufficient to drain the water. The maximum distance to the sewer is 1.5 meters.
Preparing the necessary materials and tools for installation
Before conducting communications, it is necessary to prepare the tools and materials that will be used in the process.
If the installation of a water supply system involves the installation of new pipes, you will need:
- water socket;
- FUM sealing tape;
- pipe soldering apparatus;
- connecting square;
- PPR PN20 polypropylene type pipe (diameter - about 20 mm);
- connectors with union nut;
- PPR-90 right angle fitting;
- HP/HP elbow with ¾ thread type.
For installation to the electrical network:
- construction mixture (for sealing the grooves);
- RCD or differential machine;
- construction adhesive (for installing a socket box);
- grounded socket;
- wall chaser;
- three-core cable.
In all other cases you will need:
- siphon having two fittings;
- filter for cleaning;
- tap with a diameter of ¾;
- waterproofing tape;
- tee with a diameter of ¾;
- level or tape measure;
- curved and straight screwdrivers;
- rubber gaskets and corrugations, cuffs;
- adjustable wrench;
- pliers;
- hammer drill, screwdriver.
Installation of built-in machine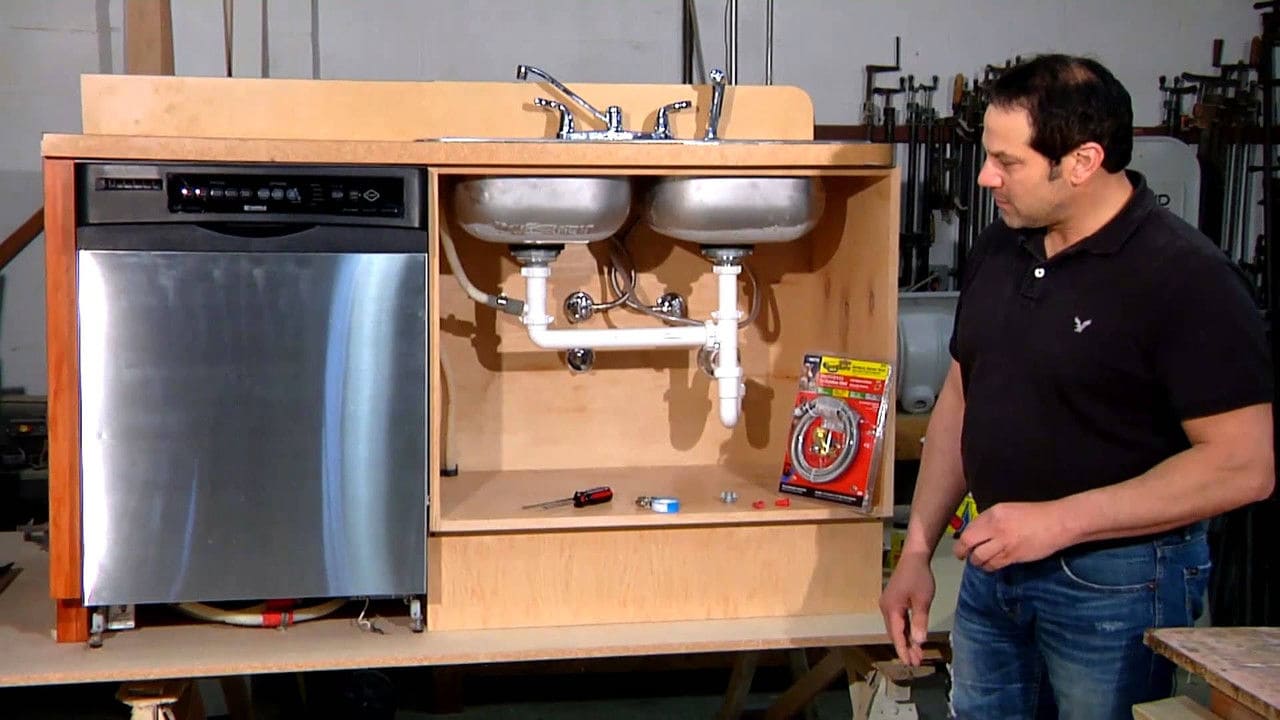
The installation process will take place in several stages, which will be described below.
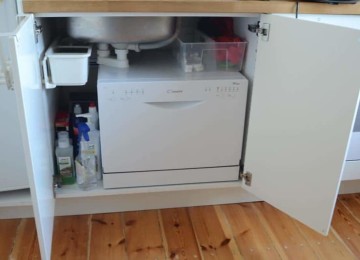
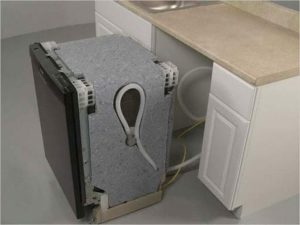
Installation in a niche housing
If a separate cabinet for a dishwasher is not available, and the kitchen unit cannot be replaced, then you need to disassemble one of the existing ones. Typically, embedded equipment has standard dimensions that match the furniture. Therefore, there will not be any special difficulties; you will only need to remove the facade and back wall and dismantle the hinges.
All this may interfere with connecting hoses and other connection work. If the cabinet had drawers, then you need to pull them out and dismantle the guides. As a result, only the top and side walls should remain. All this must be covered with a special vapor barrier film. Otherwise, the material from which the set is made may swell and become unusable.
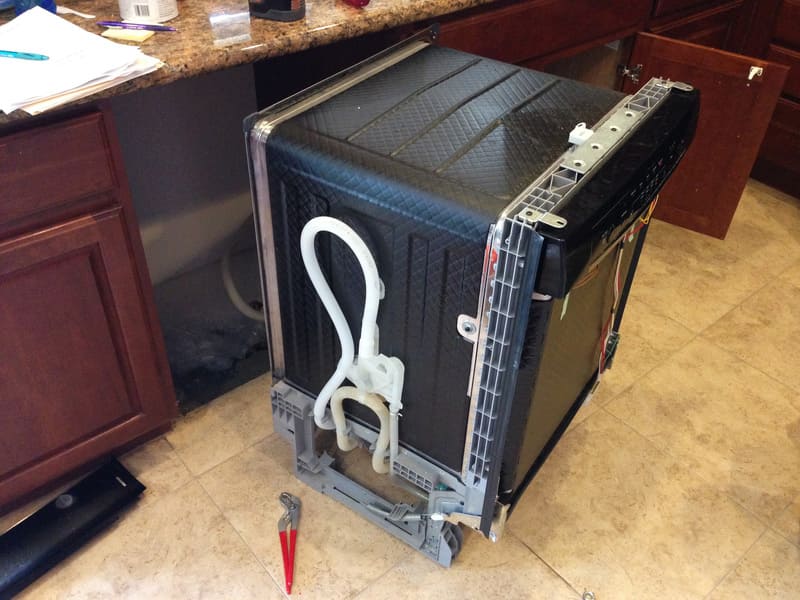
If the installation will take place not on the floor covering, but on the kitchen plinth, then you need to check its strength. In addition, it must be level. Then the equipment must be carefully inserted into the niche. Moreover, it cannot be pushed in all the way; there must be at least 5 cm left to the cabinet wall. This condition must be met to ensure proper ventilation. When moving the machine, do not make sudden movements, as the hoses may be damaged.
Now you need to fix the device so that it does not vibrate during operation. This can be done using fasteners that manufacturers provide with the machine. You need to remove the plugs located on the sides inside the machine. Using a self-tapping screw, you need to pull the machine to the sides of the cabinet through the holes that appear. After plugging, it should be returned to its place.
Countertop insulation
Typically, countertops are made of three types of materials - stone, MDF, chipboard. The first option does not require insulation work, as it is moisture resistant. The steam generated by the equipment during operation will not harm the MDF coating. The material is a fibreboard protected with acrylic. Therefore, exposure to moisture will not cause serious consequences.
But the latter option requires isolation from the released steam. Chipboard may begin to dry out from prolonged contact with moisture. Therefore, insulation will extend the service life of the countertop. For this purpose, equipment manufacturers use a special plate made of metal. It must be installed at the very edge of the tabletop. If for some reason it is not included in the kit, then you can make a homemade steam protection.
To do this, aluminum-type tape must be glued to the sides of the device and the countertop. Recently, many manufacturers have begun to replace metal plates with other options. For example, the Electrolux company includes a rubber part in the package, which must be fixed to the surface of the tabletop with the adhesive side.
Facade fixation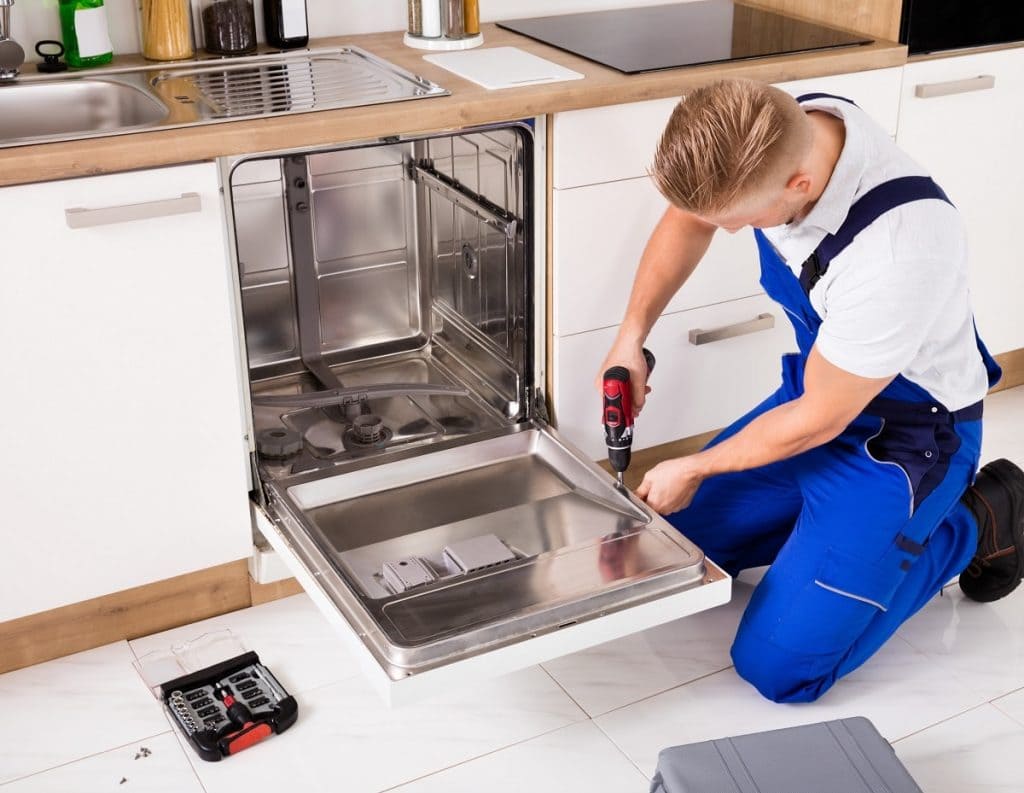
At the last stage, you need to close the dishwasher door with the front. It is better to order it from the same company where the kitchen set was purchased.Manufacturers usually provide models with pre-drilled holes for screws. If you have chosen an existing cabinet, you will have to make the facade from its door.
You can simplify the work if you use a ready-made template with markings of the fastening areas. Manufacturers include it in the set of documents supplied with the equipment. To install the facade correctly, you must follow simple recommendations:
- First, you should install a handle to the facade, while focusing on other cabinets;
- To eliminate curvature and unevenness, you must use a tape measure;
- If a template is used, it must be secured to eliminate shifts;
- Use only screws of the appropriate size (no protrusion to the front side is allowed, but they must fit tightly in the hole).
Do not use adhesives during installation; installation is carried out only using screws. Otherwise, the facade may move away from the door too quickly under the influence of temperatures. Or it will stick too tightly, then it will not be possible to replace the kitchen set if necessary. After completing all work, it is necessary to check the reliability of the fasteners, inspect for gaps.
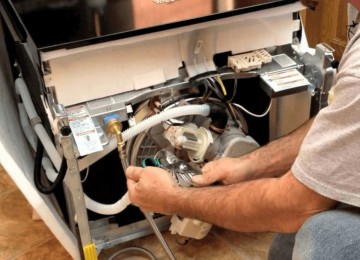
Connecting the dishwasher to the power grid
It is better to connect to a separate point prepared specifically for the dishwasher. Moreover, it must be grounded and additionally protected from moisture. It is unacceptable to use a common socket to which several devices are already connected.
The use of network filters is also prohibited, they may not withstand the voltage and melt.The socket must be protected by an RCD; it cannot be installed using a modular device.
Installation can be done in two ways:
- Hidden. Used if the room is at the stage of rough work. To locate the cable in the walls, a groove is driven in. Using a hammer drill, create a small niche that will be used for a socket box. It is filled with construction glue and a socket box is installed.
Self-tapping screws are used for additional fixation. The cable is installed in the prepared groove. One end of the wire is connected to the junction box, and the other to the socket box, to which the socket is connected. The laid wires are filled with construction mixture and leveled. After the final sanding of the wall surface, there will be no hint of the groove left.
- Open. Used to install the device after completion of repairs. In order not to damage the walls by gating, the wires are laid on top of the finish. They are covered with a special box to prevent moisture from entering and preserve external aesthetics. The channel is stretched from the distribution box to the location planned for the outlet. The cable connection process is similar to the first method.
The completion of installation completes the test run of the equipment. To install the device to the electrical network, it is better to use the services of a management company. Firstly, only a representative of the service organization has the right to carry out all work in the electrical panel. Secondly, if errors are identified during the work, responsibility will fall on the management organization.
Connecting the unit to the water supply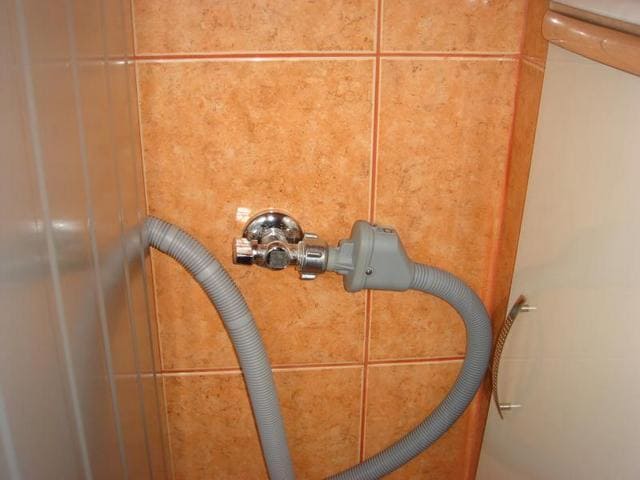
There are several connection methods, they will vary depending on the stage of repair:
- The first involves the installation of new pipes; it is convenient to carry out during a major overhaul:
- before installation, it is necessary to mark the place where the pipes will lie;
- using a wall chaser, the required depth is cut;
- a PPR connector must be installed at the collector outlet using a union nut;
- you need to measure a piece of pipe to the first corner and cut it off (for installation you need to leave about 15 mm on each side);
- solder the pipes and fittings, adjusting the position of the square;
- after installing all the pipes in the marked area, the water socket is installed, its position must be fixed;
- you need to install an angle with a ¾ thread into a water socket mounted on the wall;
- The water supply hose must be connected to the elbow and the water supply system must be checked;
- The groove is being sealed.
- The second involves using a tee to connect to the water supply system. This method is used if all finishing work has been completed, and the dishwasher needs to be installed:
- before installation, the water supply must be stopped;
- the hose must be disconnected from the mixer;
- it is necessary to install a tee and then connect a ball valve;
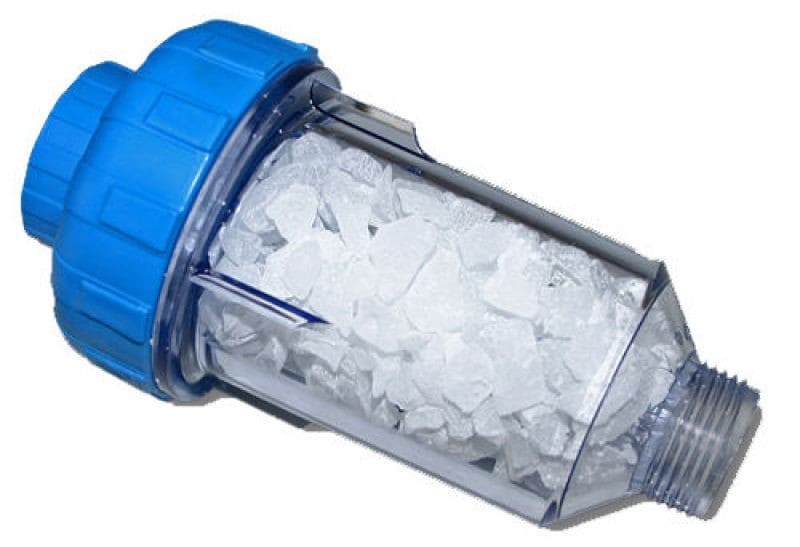
- if a filter is to be installed, it must be connected before installing the tap;
- the machine hose must be connected to the tap;
- all joints must be wrapped with tape to provide waterproofing.
Connecting dishwashers to the sewer system
If the connection to the water supply was made through the installation of new pipes, then the algorithm is as follows:
- using an adapter collar, the drain hose from the machine must be connected to the sewer outlet;
- When installing the drain pipe, you must ensure that it is at an angle;
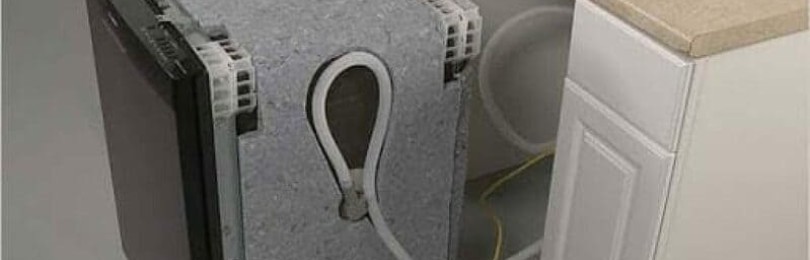
- the hose must have a bend so that it can be fixed to the top of the dishwasher (at a level of 70 cm from the floor covering).
If it becomes necessary to install the device after all finishing work has been completed, you can connect the machine to the sewer by:
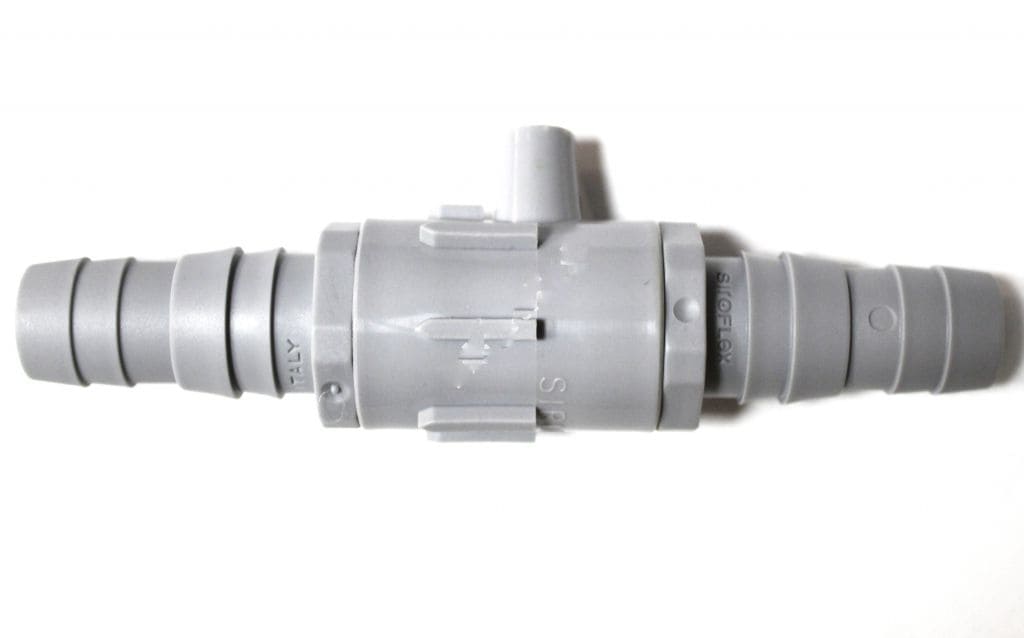
- Siphon installation. The easiest and most reliable way to avoid water leakage, provide the necessary pressure, and reduce the likelihood of unpleasant odors. For installation you will need to purchase an additional pipe. The old part is replaced with a new one and the hose is connected to the fitting. Additionally installed anti-siphon valve, it is mounted directly into the hose slot.
- Using a tee. Typically this method is used if the device is located at a decent distance from the sewer pipe. For installation, you need to connect the rubber cuff to the tee. And the part itself must first be connected to the sewer pipe.
Then we connect the hose designed to drain the liquid to the cuff. At the final stage it is necessary to create a water seal. To do this, you need to create a bend using the drain hose. In fact, it needs to be located at a level lower than the built-in tee.
Checking the dishwasher for functionality
To ensure that the equipment is installed correctly, it is necessary to do a test run. To test the functionality, pour detergent into the machine and add a little salt to soften hard water. On the display, select the normal washing mode, which is carried out without adding dishes.
The washing mashine must not be left unattended during the test.Otherwise, you can ignore the manifestations of various problems and connection errors. The following points should be of concern:
- jitter equipment;
- presence of strong noise;
- water leaks, leaks at joints;
- slow water flow or delayed heating.
If during startup no deviations from the norm were detected, this indicates that the installation was carried out correctly. However, for reliability, it is worth observing the operation of the machine for the first time after installation, since many errors and breakdowns do not appear immediately.
What mistakes are often made when connecting?
If during connection the important points provided for in the instructions were ignored, then breakdowns are inevitable. Inexperienced users often make various mistakes when installing equipment. Among them:
- The absence of a filter when installing the product to the water supply can lead to a reduction in service life and serious damage.
- Installation of the device to a simple modular machine. Any equipment must be installed through a combination - an automatic machine and an RCD. Another installation option is using a differential machine.
- Installation on an uneven surface often results in water leakage. It is better to check with a building level and, if necessary, change the length of the legs. Electrolux specifies in the instructions a possible error within 2 degrees. The length of the legs can be changed by twisting or unscrewing; a special screw is used to adjust the rear legs. It is located in the lower central part.
- The location of the unit dangerously close to the wall causes the hose to become pinched. As a result, an error may appear on the display.Manufacturers warn about the need to leave at least 5 cm from the wall.
- The location of an electrical point under the sink can become a source of short circuit or fire. Placing a surge protector behind the unit can lead to similar problems.
- Installation to hot water may damage the product. The instructions for some models prohibit such a connection. Even with the manufacturer's permission, the temperature may exceed the permissible value.
Therefore, experts advise installing it in cold water.
- Replacing the original hose may result in leaks. Many manufacturers equip their models with leakage protection. To do this, special wires are installed inside the hose, which, if necessary, block the water supply. Therefore, it is advisable not to get rid of it, but only to increase it.
The installation steps for a dishwasher will largely depend on its type. Free-standing models will be easier to install, since you only need to provide a ready-made place and prepare communications. But the installation of a built-in model has many nuances that need to be taken into account.
However, such machines can save space and keep the room in the same style. In any case, you can connect to the water supply and sewerage yourself, but it is better to entrust installation to the electrical network to professionals.