 Most summer residents sooner or later think about purchasing a dishwasher. This is not surprising, because after working in the beds or in the garden there is no energy left for dirty dishes. A dishwasher for a summer house will help solve the problem of washing dishes and pots. The main thing is to know some of the installation features that arise in a suburban area.
What to look for when buying a dishwasher
Brands offer various models that differ in many parameters: from dimensions to water consumption. However, the decisive role in the choice should be played by the size of the room and the availability of communications for connection. When choosing, you need to build on them, and then take into account the presence of various functions.
Capacity
The amount of dishes processed directly depends on the dimensions of the machine. Thus, full-size machines can hold up to 14 sets, while compact models can hold only 6.
type of instalation
According to installation, equipment is divided into built-in and free-standing. The first option allows you to free up some space in the room, since the device can be installed in one of the kitchen cabinets. The second one takes up free space, but is easy to rearrange. In addition, purchasing a freestanding model will result in a lower cost.
Amount of water consumed and electricity consumption
Full-size models consume much more resources than narrow and countertop dishwashers. This is not surprising, because large-sized equipment has greater capacity. Accordingly, more water and electricity will be required to process the dishes. The average amount of water consumed for full-size models is 20 liters. Tabletop models usually consume about 6-8 liters.
They cannot accommodate bulky and large dishes, but are more economical. Manufacturers equip equipment that consumes less energy with the A symbol. It is usually present on expensive equipment; budget dishwashers have a maximum class B. In general, the higher the price tag for a model, the more economical it will be in using resources.
Cleaning class
The cleanliness of dishes washed in the appliance will directly depend on the cleaning class. Models in the middle and high price segments are marked A. By providing equipment with such a mark, manufacturers guarantee a high degree of cleaning.
However, in the budget segment, most models have a B or C marker. Such a sign indicates a lower quality of cleaning.Models equipped with such markers will wash much worse, leaving behind various contaminants.
Operating modes
Manufacturers add the ability to customize to suit the user's needs. There is an economy mode in which washing is carried out with warm water. The deep cleansing and accelerated operation functions allow you to customize the equipment for a specific type of dirt. There may be others, the AUTO program allows you to select the desired mode automatically. The pre-wash function with subsequent heating of water will clean even the most stubborn stains.
Drying
The drying process can occur in two ways:
- condensation, implies the natural drying of the liquid and draining of excess into a special tray;
- convection, includes blowing warm air over the dishes.
The second method allows you to dry dishes in a short time, but increases the price tag. The first one is very time-consuming, but economical.
Protection
Some brands provide equipment with protection against leaks. The Aquastop function allows the machine to detect a leak and shut down automatically.
Noise level
Dishwashers operating in quiet mode have parameters of about 45 dB. And models that will make a lot of noise have an indicator of around 55 dB.
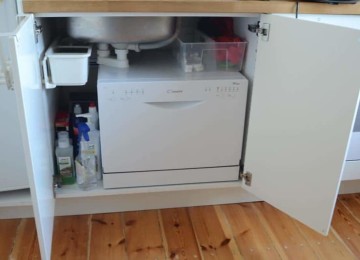
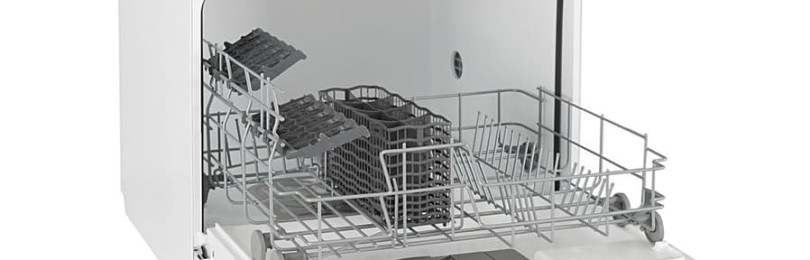
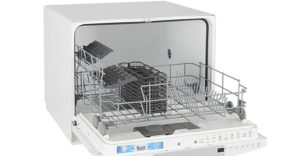
Capabilities of countertop dishwashers
Tabletop models differ from others in their more modest size; they are lower and narrower than other types of dishwashers. The width of the standard model starts from 45 cm, while the height is at least 50 cm. However, manufacturers also produce mini-dishwashers for sale. Their height is no more than 48 cm, and their width is about 45 cm. The depth of such models has also experienced a reduction of 9-10 cm. Usually it is 46 cm.
When reducing the size of the dishwasher, manufacturers are forced to reduce the number of working parts. Thus, tabletop devices have only one sprayer, while full-sized ones have 3. However, such a decision does not affect the quality of the equipment. The reduction in working parts is due to the reduction in space. And with a smaller capacity, one sprayer is quite enough for high-quality cleaning of dishes.
For your dacha, you can use tabletop dishwashers that operate autonomously. Such models do not require connection to water supply and electricity. The main advantages of an autonomous device:
- ease of use;
- saving water and electricity;
- small dimensions;
- no need to come into contact with dirty water and detergent.
The model also has noticeable disadvantages:
- small capacity;
- the need to fill and drain water manually.
Such washing mashines can help out if you need to spend a lot of time outside the city.
Preparing to connect the dishwasher
Before purchasing a device, you need to decide on its installation location. Standard hoses supplied by equipment manufacturers are about 1.5 m long. When preparing a place for the device, keep in mind that the minimum distance to the water supply must exceed a meter. Therefore, it is necessary to take into account both the dimensions of the dishwasher and possible sagging of the hose.
Manufacturers of furniture sets, as a rule, place special niches for dishwashers near the sink. This is one of the best solutions, as it allows you to avoid extending hoses to connect to the water supply and drainage. The equipment must be installed exclusively on a flat surface. Otherwise, the equipment may shake violently when starting up.And this can already provoke both the automatic shutdown of the machine and serious breakdowns. 
Sequence of actions when connecting a dishwasher for a summer residence
Manufacturers offer models for every taste and for any requirements. There are several types of dishwashers on the market:
- built-in;
- freestanding;
- partially built-in;
- tabletop.
The last type of dishwasher is distinguished by its small dimensions, externally it can resemble a microwave oven. Connecting such a model has nuances, and the remaining types are installed according to the same scheme. The installation process is quite complicated, it takes place in several stages:
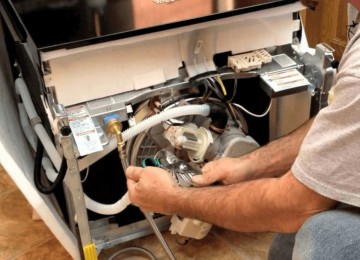
- Checking the fasteners on the walls of the headset and dishwasher compartment, if they do not match, their position is changed with a screwdriver. For a freestanding model, this stage is omitted. Instead, it is necessary to compare the dimensions of the prepared place and the machine.
- The drain hose must be connected to the sewer system.
- A hose must be connected to the water supply, providing clean water to the machine. We install the socket and connect it to the power supply.
- It is necessary to run a test run of the equipment, which allows you to evaluate the operability of the device and the correctness of the installation. Some manufacturers do not equip their models with a test mode function. However, it is easy to get out of this situation, you only need to turn on the equipment for 5 minutes.
- The last stage involves installing the machine in a niche or on a free area. After installation in the prepared place, the device must be leveled using legs.
- Connecting to the sewer
In summer cottages there is no central sewerage system, so the arrangement of the drain has its own nuances. To ensure drainage, it is necessary to arrange septic tanks.And this can already provoke both the automatic shutdown of the machine and serious breakdowns.
Sequence of actions when connecting a dishwasher for a summer residence
Manufacturers offer models for every taste and for any requirements. There are several types of dishwashers on the market: 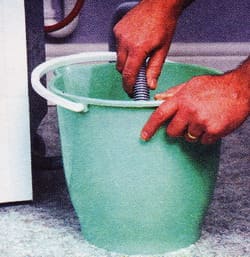 built-in;
freestanding;
partially built-in; 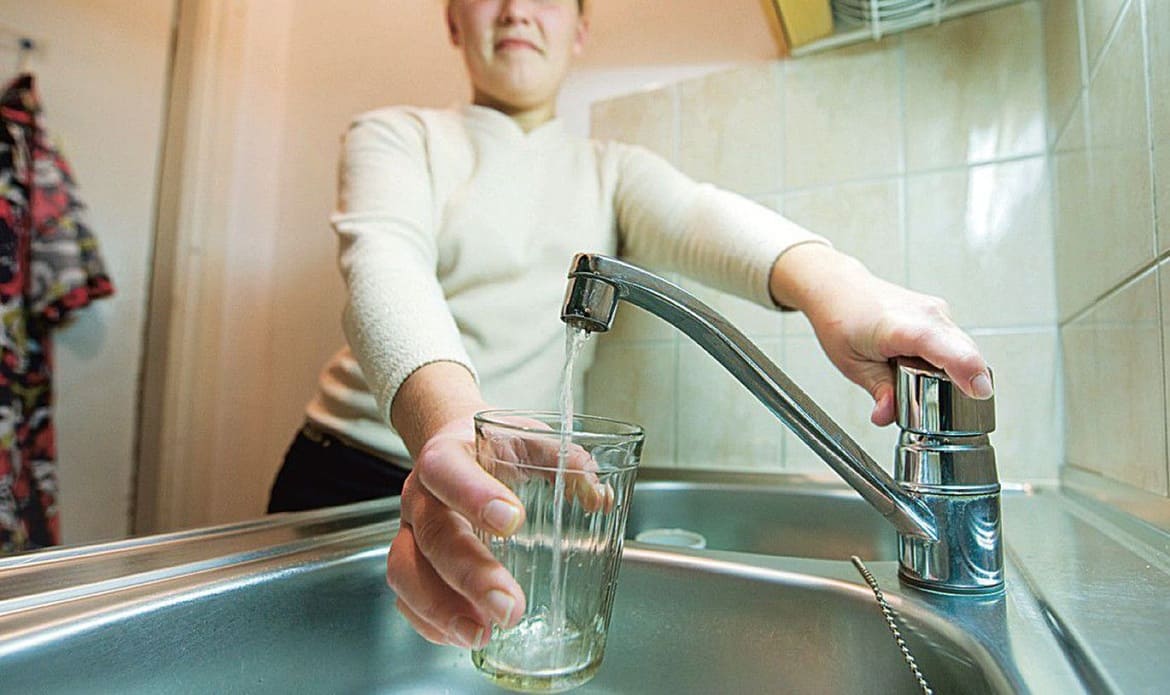
tabletop.
The last type of dishwasher is distinguished by its small dimensions, externally it can resemble a microwave oven. Connecting such a model has nuances, and the remaining types are installed according to the same scheme. The installation process is quite complicated, it takes place in several stages:
Checking the fasteners on the walls of the headset and dishwasher compartment, if they do not match, their position is changed with a screwdriver. For a freestanding model, this stage is omitted. Instead, it is necessary to compare the dimensions of the prepared place and the machine.
The drain hose must be connected to the sewer system.
A hose must be connected to the water supply, providing clean water to the machine. We install the socket and connect it to the power supply.
It is necessary to run a test run of the equipment, which allows you to evaluate the operability of the device and the correctness of the installation. Some manufacturers do not equip their models with a test mode function. However, it is easy to get out of this situation, you only need to turn on the equipment for 5 minutes.
The last stage involves installing the machine in a niche or on a free area. After installation in the prepared place, the device must be leveled using legs.
Connecting to the sewer
In summer cottages there is no central sewerage system, so the arrangement of the drain has its own nuances. To ensure drainage, it is necessary to arrange septic tanks.And this can trigger both automatic shutdown of the machine and serious breakdowns.
Sequence of actions when connecting a dishwasher for a summer residence
Manufacturers offer models to suit every taste and every requirement. There are several types of equipment on the dishwasher market:
built-in;
free-standing;
partially built-in;
desktop
The latter type of dishwasher is small in size and may look like a microwave oven. Connecting such a model has nuances, and the remaining types are installed according to the same scheme. The installation process is quite complex, it takes place in several stages:
Check the fasteners on the walls of the headset compartment and the dishwasher; if they do not match, change their position using a screwdriver. For a freestanding model, this step is omitted. Instead, you need to compare the dimensions of the prepared area and the machine.
The drain hose must be connected to the sewer system.
A hose must be connected to the water supply to supply clean water to the machine.
We install the socket and connect it to the power supply.
It is necessary to run a test run of the equipment to evaluate the performance of the device and the correctness of installation. Some manufacturers do not equip their models with a test mode function. However, it is easy to get out of the situation; you just need to turn on the equipment for 5 minutes.
The last stage involves installing the machine in a niche or in a free area. After installation in the prepared place, the device must be leveled using the legs.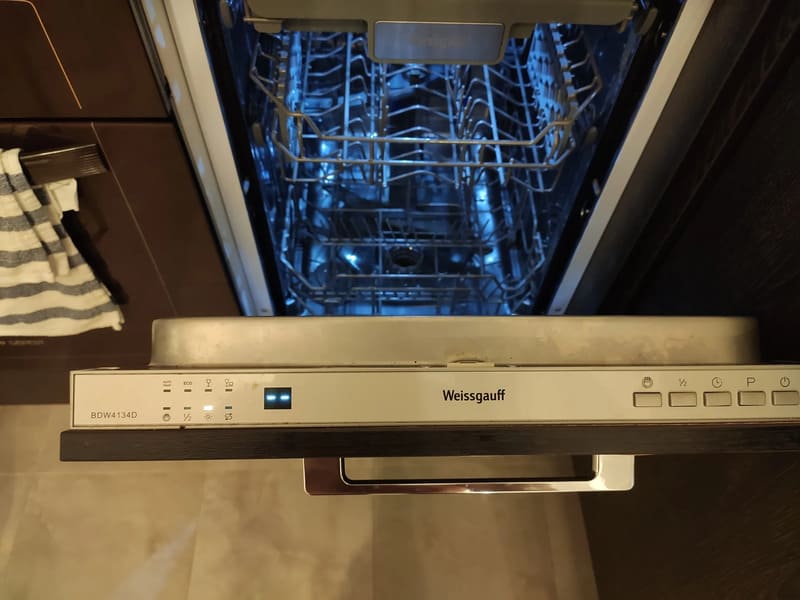
Connection to sewerage
In holiday villages there is no central sewerage system, so the arrangement of drainage has its own nuances. To ensure drainage, it is necessary to install septic tanks. At the first stage, you need to install pipes through which the dirty liquid will be discharged. Then they are connected to a septic tank, thus creating an analogue of a sewer system. The drain hose is connected to a similar system; dirty water flows through the pipes into the septic tank.
However, not everyone can afford to install septic tanks. Fortunately, there is a fairly simple solution. To do this, the drain hose from the machine is lowered into an empty bucket.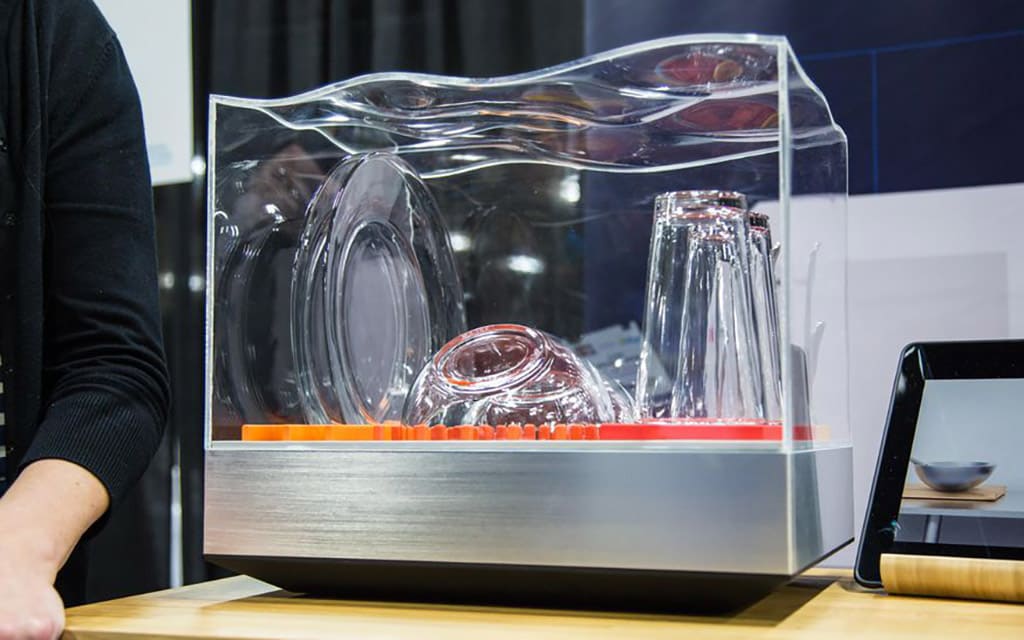
When the machine finishes working, the bucket of water is flushed into the toilet. Some people prefer to run the hose directly outside, but this is not the best solution. The drained liquid is filled with chemicals that will be absorbed into the ground. Over time, it can negatively affect the growth of nearby plants.
Connection to water supply
The machine installation process is greatly complicated due to the lack of necessary communications. Residents of holiday villages often have neither running water nor sewerage. Even if water supply pipes are installed, you still won’t be able to use them. After all, many villages place restrictions on use.Water flows intermittently or during the allotted hours.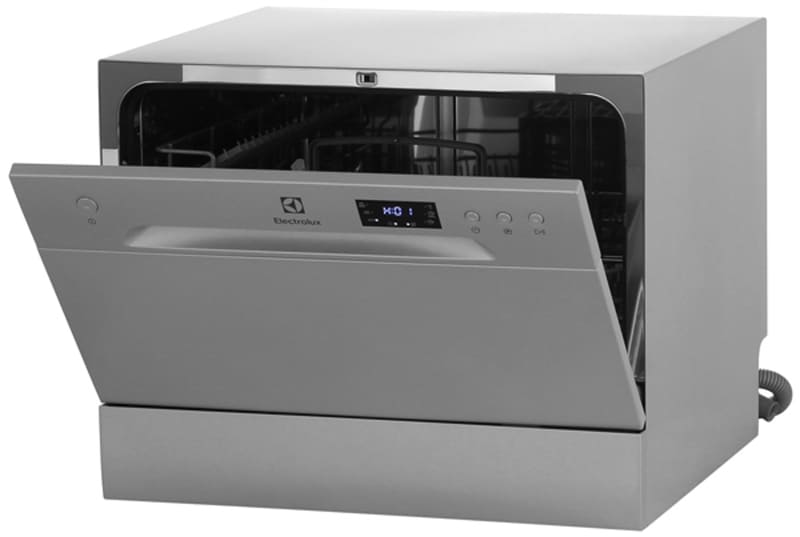
In addition, it has a low pressure, which eliminates the possibility of connecting a dishwasher. The equipment simply will not turn on at low pressure. Therefore, the methods for connecting the device are suitable for an apartment, but not suitable outside the city. However, lack of communications is not a reason to abandon useful technology. You can create the conditions for connection on your own.
Low pressure can be eliminated using a pump, which will create the necessary pressure. Additionally, it is necessary to connect a water purification filter to extend the life of the device. If there is no running water, you will have to limit yourself to a tank. The container will need to be filled regularly from the well.
To create the necessary pressure, you will need to raise the tank to a decent height. The required distance to be maintained starts from 3.5 m. You can install the container directly under the ceiling or raise it to the attic. To connect the equipment, a hose of suitable length is used.
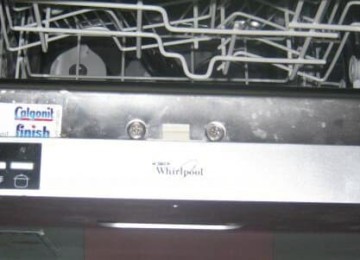
How to connect to the mains
The appliance should only be plugged into a grounded socket specially designated for dishwasher operation. It must be grounded. Do not use it for other devices, as a short circuit may occur. It is not recommended to connect through a surge protector, as it may not withstand the voltage and melt.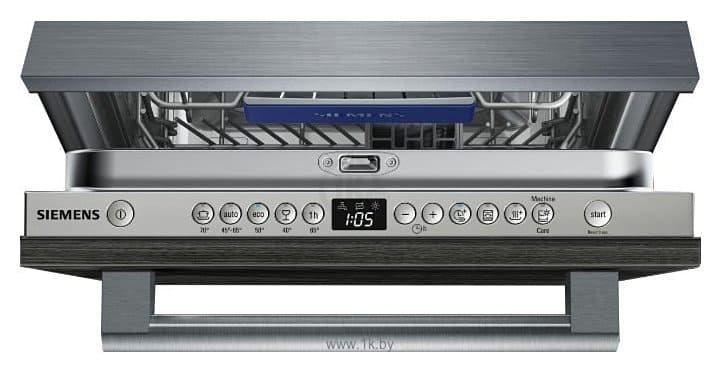
If there is no free electrical outlet, then you should resort to the services of a specialist. It is not recommended to install a new cable yourself. It is necessary to call an electrician who will do all the work: do the gating, lay the wiring, and ground the outlet. If all the finishing work is completed, and it is necessary to install an outlet, then you can run the cable over the wall.
This will allow for gating while maintaining the finish in its original form. You can hide the wires using a special decorated cover. It will not only preserve the overall design, but also protect the cable from moisture. Usually the electric point is installed at a decent distance from the floor - 25-35 cm. This is necessary to protect the wiring from flooding.