Buying a washing machine is a significant undertaking. But it’s not enough to deliver it home and just put it in the right place. It is necessary to ensure that the unit is connected to the network and water. This can be done with the assistance of an experienced specialist. But if you carefully read the instructions and follow a certain procedure, you can cope with this task on your own. How to connect a washing machine yourself will be discussed in the article.
Choosing a place to install the washing machine
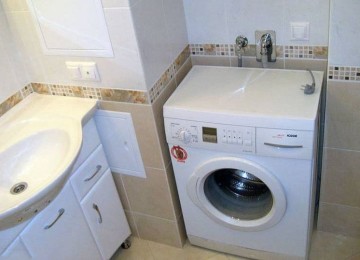
It is most advisable to install a washing machine in the bathroom, but practice shows that there is often not enough space in this room. In this case, it is worth considering the option of installing an automatic washing machine (hereinafter referred to as the SMA) in the kitchen or utility room.
Installing a machine in the bathroom 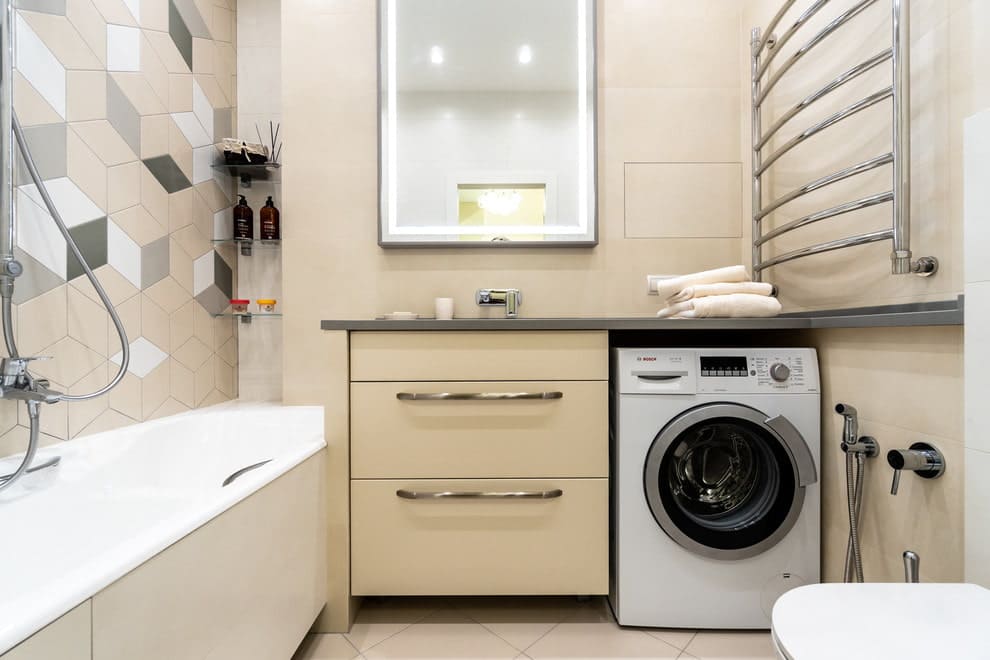
This, as already noted, is the most traditional place to install a SMA. After all, it is in the bathroom that all the communications that may be needed during the connection process are present. We are talking about water supply, electricity and sewerage. The only drawback, as mentioned earlier, is the small area of most bathrooms. Especially if we are talking about an old-style home with combined bathrooms.
Installing a washing machine in the kitchen 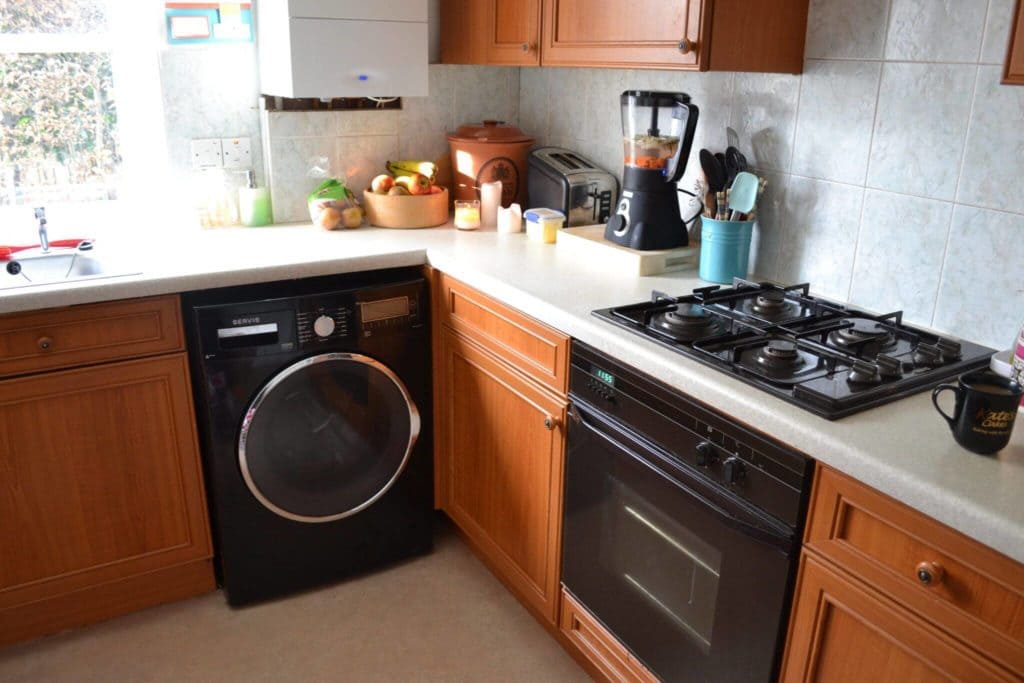
This option is also quite popular. After all, the kitchen has a water supply, electricity and sewerage system, so there are no serious problems with the connection. The difficulties of this method lie, as in the case of the bathroom, in the insufficient amount of free space, especially in "Stalinka" and "Khrushchev" buildings. In most new buildings, fortunately, the kitchens are large enough, so installing a washing machine in them will not disturb the comfort of the residents and will not in any way constrain them.
Installing a washing machine in a hallway or utility room 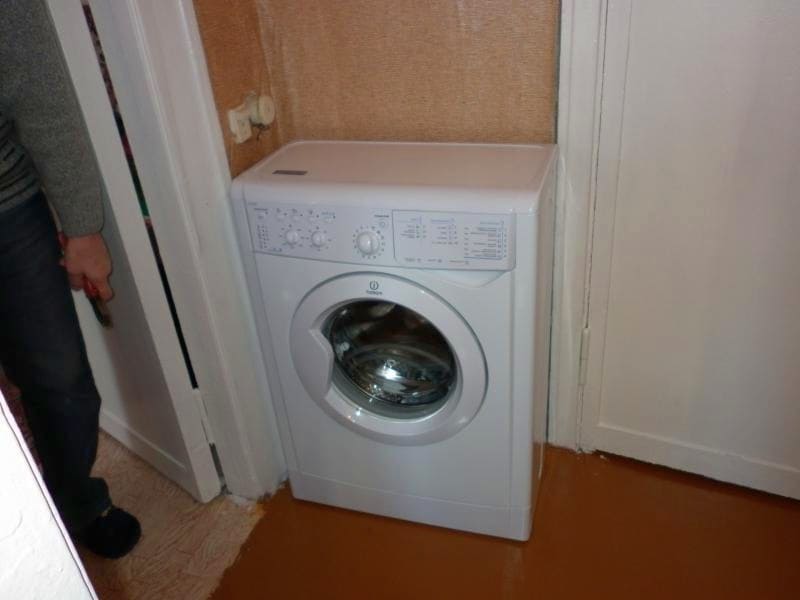
This method is used in practice extremely rarely, especially in cases where it was not possible to do this in the bathroom or kitchen for some reason. Installing equipment in the hallway is only possible if there are pipes in this room that can be cut into.
Each of these methods has its pros and cons.It is most logical to place the washing machine in the bathroom, but the space does not always allow this. Therefore, it is worth considering the kitchen, but in this case the aesthetics of the space may be compromised. In the utility room, the SMA will not create any interference, but you will need to spend additional money and time resources on the installation.
Along with this, it is worth considering several non-standard options for installing this type of household appliances:
- Built-in device. This option will save the surrounding space in any house or apartment. It will not be difficult for the owner to make a bedside table for the washing machine or place it in a closet. A popular method is to install it in the wall. Only in case of implementation of ideas, you need to think through every step in order to avoid the occurrence of unforeseen circumstances.
- Organization of a washing machine in a private house. Of course, in this case it is most advisable to install the washing machine in the bathroom. The process will be simple, will not take much time, and using the equipment will be as convenient as possible. The only drawback may be an increase in humidity in the room, which will lead to equipment malfunctions. For this reason, many owners of private houses choose other places - storage rooms, closets and other utility rooms located on the territory. But with this approach there is a risk of problems with water, electricity and communications.
- In the utility room. If there is not enough space in the areas that are considered the most common, the equipment can be placed in the corridor. But most often there are no necessary communications there, and they will have to be carried out, which will make the process more complicated and expensive.
- Above the toilet. In this case, it is worth using a narrow wall-mounted machine.A high-strength shelf is pre-made for it. Additionally, it is worth providing several strips at once. As for the approach, you will have to try hard with it: you will need special tools and a set of skills.
- If there is no running water, this is not a reason for frustration, the main thing is that there is a source of clean water on the site. Equipment can function properly if alternative methods of installation are used. For example, a large water tank with a capacity of 500 liters or more, but it will have to be raised to a height of up to 5 meters. Then you need to attach a hose to its bottom that will lead to the machine. The connection process itself in this case is standard.
These are the main options for installing a washing machine in a city apartment or private house.
Preparatory work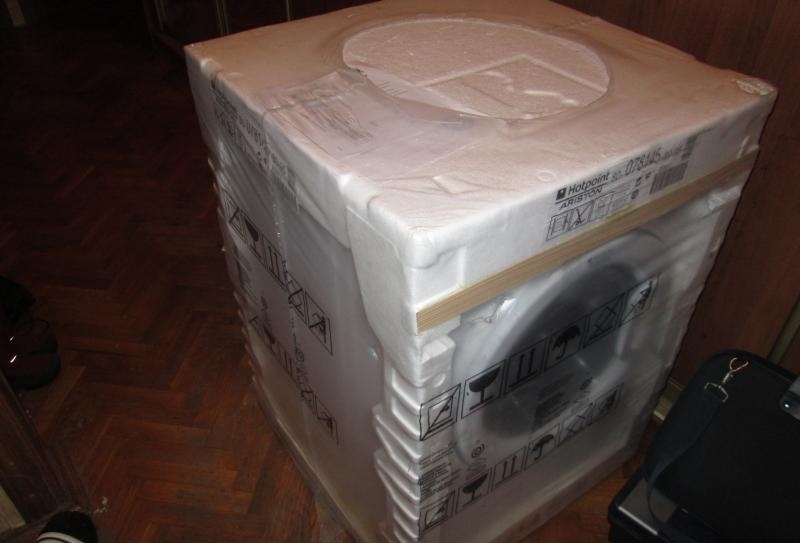
A new washing machine is usually delivered to the buyer’s home in packaging that was manufactured at the factory. It also provides various clamps that are designed to protect internal mechanisms from vibration and unnecessary movements during transportation. Before making the first start, it is necessary to remove all protective elements, which will prevent mechanical breakdowns.
There are several places where fixing fasteners are traditionally located:
- in the rear area of the body (there are brackets holding the electrical power cord, as well as hoses designed to activate communications);
- Between the tank and the body there are sealing bars; to remove them, you need to open the lid and slightly tilt the device forward;
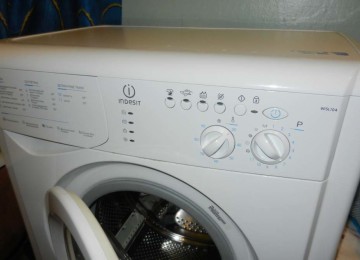
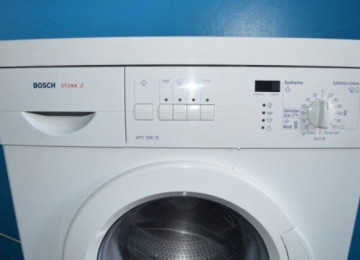
- almost any model has transport bolts, which ensure the fixation of the drum, depending on the specific model, they are located in front or behind, to determine this point, you need to read the operating instructions.
By the way, these bolts must be taken out with the brackets intended for fixation. All fasteners must be removed in case of a sudden breakdown of the washing machine. They will need to be installed again in order to deliver the equipment to the service center. After dismantling work has been carried out with respect to all the clamps, you can proceed to the subsequent installation of the washing machine.
Leveling the washing machine 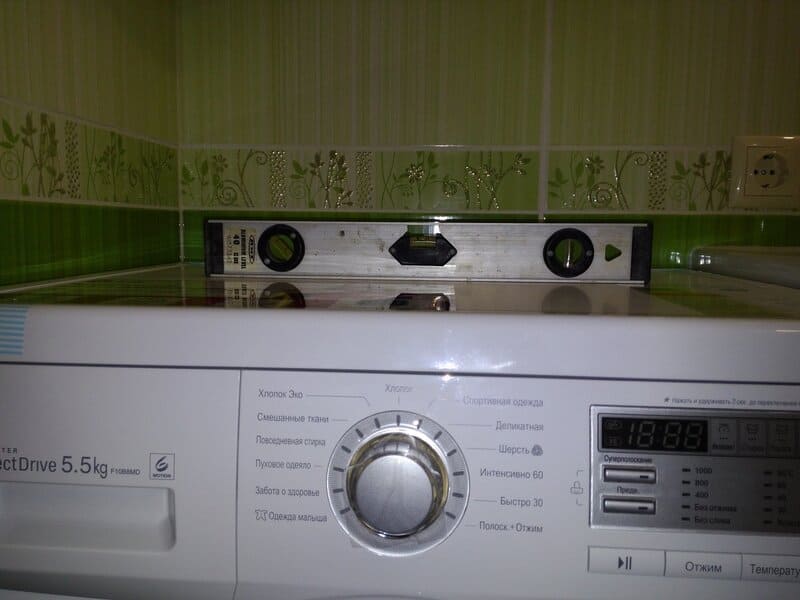
In order for all units and assemblies to work perfectly, you need to place the device on a level base. It is important that the equipment does not wobble and does not make vibration noise while the drum is working. To dampen vibrations, it is worth using anti-vibration stands, it is not difficult to buy them in household appliance stores in the accessories section. Along with this, you can make vibration-damping pads yourself. For example, from rubber or felt material. The thickness of one part should not exceed 3-5 mm.
An important role in the installation of washing machines is the horizontal positioning of the body part. The fact is that if there are distortions, the degree of wear of the units increases, especially for elements that rotate extremely quickly. We are talking about the pulley, bearings, drum mounts, etc. For these reasons, the base on which the machine will be placed must be leveled.
If the floor has minor irregularities, they will not be difficult to level.To do this, use a wrench to turn the nut on the support legs left and right. This contributes to a height change of 1-2 cm in the upper or lower direction. To determine a strictly horizontal position, you must use a building level. The tilt angle of the equipment should be no more than 2-3 degrees.
Connecting the machine to the electrical network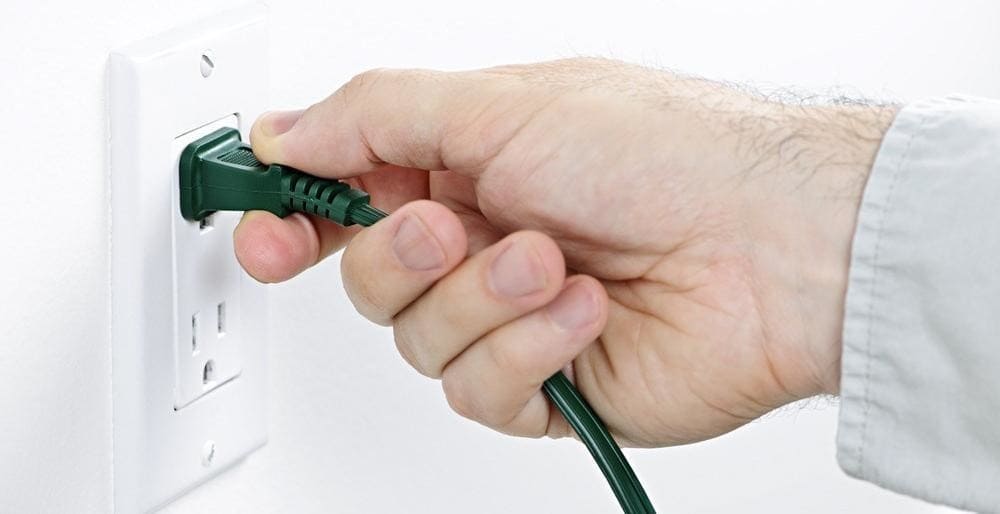
The process of connecting the SMA to the electrical network can be simple only in one case: if the electrical wiring is suitable for the use of such powerful equipment. All you need to do is connect the unit to an outlet. This approach will be optimal in the following cases:
- an independent calculation of the electrical wiring has been made, and the input cable is able to withstand the loads;
- wiring involves grounding, which is mandatory;
- the group of sockets in the bathroom is equipped with automatic circuit breaker or circuit breaker protection.
It is also important to replace the wiring in the old house and equip the circuit with protective devices. Of course, the connection of grounding contacts plays a role. The electrical circuits themselves have a simple structure, so understanding them will not be difficult even for a beginner. At this point, the technical part of connecting the washing machine can be considered complete.
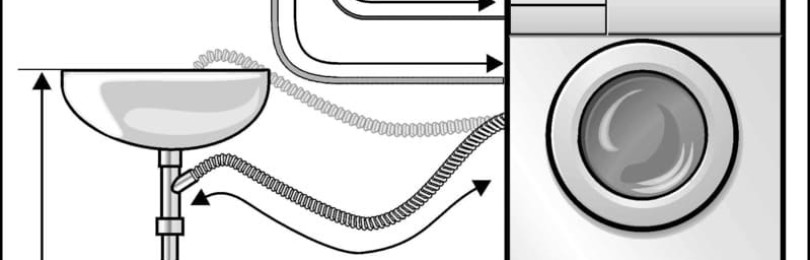
Connecting the washing unit to cold water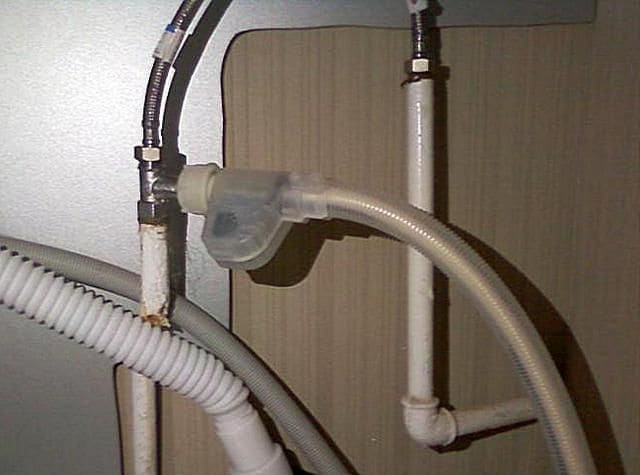
Before moving on to this step, it is necessary to carry out more complex work - connect the unit to the water supply. So that the user has an idea of what this looks like in practice, you must first read the step-by-step instructions:
- The first step is to select the connection location.It is most advisable to use the area in which there is a connection between a metal-plastic pipe and a flexible hose. Although in some situations it is easy to connect to the tap in the shower.
- At this stage, the flexible hose is unscrewed.
- Next, the tee is installed; to solve this problem, a fum tape is pre-wound on the thread.
- Subsequently, the same is done with other types of carving. All you need to do next is connect the faucet and washing machine hoses.
- At the last stage, all thread connections are tightened using a wrench.
It is important to regularly check the O-rings on both sides of the hose. They are the ones who are able to prevent water leakage in the connection areas.
Connection to the toilet cistern
In practice, this method is considered the simplest, especially if the toilet has space for installing a washing machine. The procedure in this case will look like this:
- Complete shutdown of water in the bathroom pipeline.
- Removing the hose from the pipe that is directed to the tank.
- Place a tee on the outlet (it is located in the area of the water supply pipe and has two external outlets).
- Connecting two supply hoses to the tee. The first connects to the toilet cistern, and the second goes directly to the washing machine.
This option will be indispensable for shared bathrooms. They are traditionally found in houses that have an old layout.
Pipe connection
Installing washing machines in rooms with pipes made of plastic material will also not cause any particular difficulties. All you have to do to do this is cut the pipe at the required point.The connection between pipes, or rather their cuttings, is carried out through a tee made of polyvinyl chloride.
A fitting of the required size is put on the outlet of the fitting, which is free. The supply hose of the washing machine, in turn, is screwed to it. This whole procedure is organized using a special soldering iron designed for plastic pipes.
Connection to mixer
Another option for successfully activating the washing machine is to connect it to a faucet. This is a special faucet that is available for the bathroom and kitchen. In this situation, you will need to buy a tee that is combined with a ball valve. The general connection diagram for the washing machine is as follows:
- Shutting off the water supply and disconnecting the mixer from the pipes. This stage will not take much time, but will allow you to prepare the basis for further work.
- Place a tee equipped with a ball valve into the outlet area of the cold water pipe.
- The mixer is placed on the upper part of the tee; this will require additional installation of an extension fitting, which has a similar length. It, in turn, is installed on a cold pipe.
- Next, the hose that feeds it is connected to the outlet; this element actually belongs to the washing machine. If the tee tap is closed, water will flow exclusively into the mixer. But as soon as you turn the tap, water begins to flow into the device itself.
This is only a basic list of activities carried out; in practice, some auxiliary work may be required. Their list is determined by the specific situation.
Connection at any location
In the process of connecting a washing machine, there are often times when it is necessary to organize a tie-in into the water supply area directly in a straight section. This can be done using a special adapter, which is sold in construction stores, namely in the plumbing departments. The device consists of two clips, which are fastened together with bolts. One of them is equipped with a threaded outlet, which is necessary for connecting the supply hose of the washing machine.
In total, the installation procedure is as follows:
- an o-ring is placed on the pipe in the area of future fastening of the adapter, which has an impressive width; with its help it will not be difficult to prevent all kinds of leaks after installing the unit;
- in the next step, two clips are put on top of the seal, they are fastened using special bolts;
- a hole is drilled through the outlet in the water pipe itself; this process does not require an impressive amount of time;
- on top of it you can see the shut-off valve screwed on, and then the hose from the washing machine is attached.
This method is universal, so it can be used for steel and polyvinyl chloride pipes.
Using washing equipment without running water
Due to their design features, automatic washing machines are designed to be used in comfortable houses equipped with a central water supply. However, they can be quickly and easily adapted to function in areas where the benefits of civilization are absent.In such a situation, the use of a water storage tank will be required to activate the unit.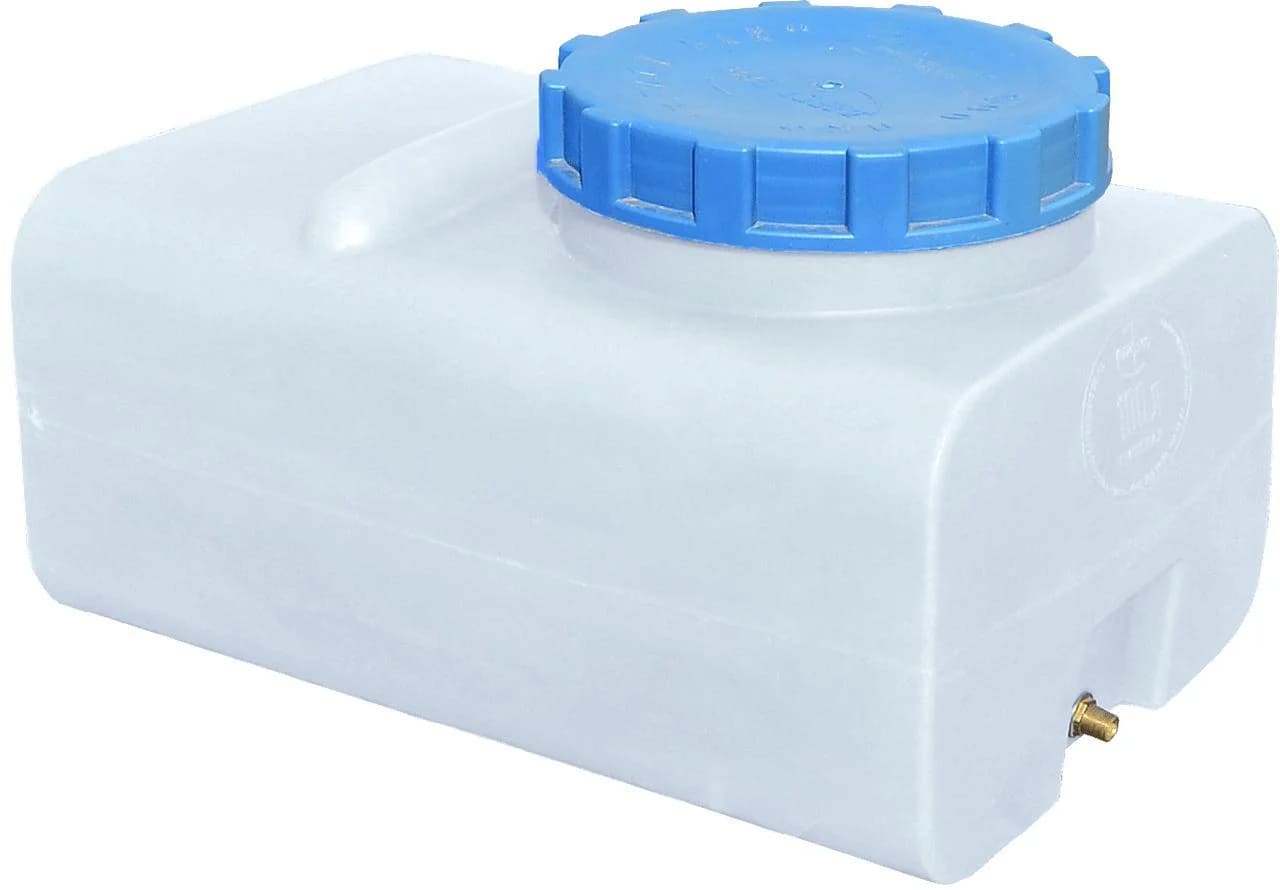 To solve this problem, a container with a volume of 50-100 liters or even more is ideal.
According to the rules, the container must be installed at a height of one meter above the level at which the washing machine itself is located. This approach is needed in order to create ideal pressure. The hose is connected to the tank area, after which you can start. The main thing is to regularly monitor the water level in the container and replenish it in a timely manner, because... machines consume liquid in huge quantities, regardless of operating modes.
This procedure can be simplified if the private house has an autonomous water supply source. In such a situation, a pumping station equipped with a battery is connected to the storage tank. The volume of water that will be used is replenished automatically. This relay helps him, which turns on the pump independently.
Connecting the washing machine to the sewer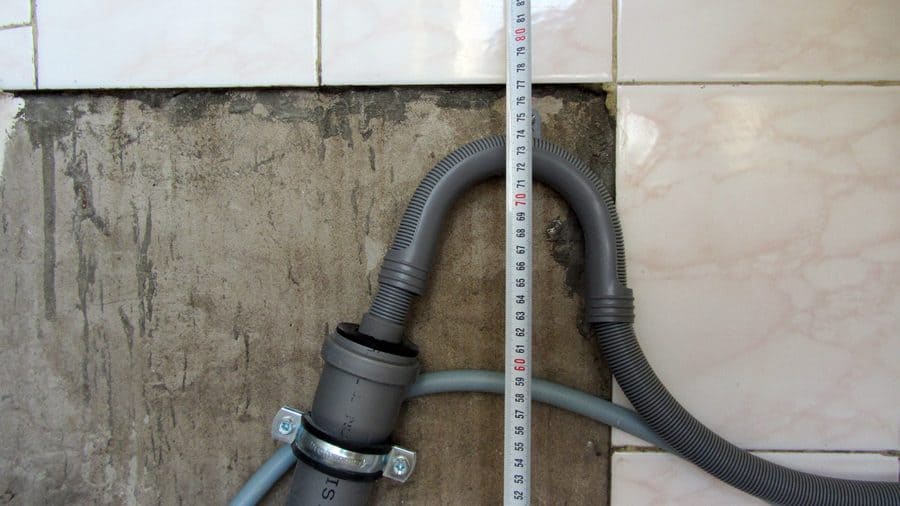
Draining water that has already been used from the tank is carried out using one of two methods:
- using the drain hose that comes with the kit, you can do this into the washbasin or toilet;
- using the capabilities of a permanent connection to the sewerage system.
The device is connected to the sewer collector through a siphon, which contains side-type pipes. This procedure, as a rule, is organized in several stages, occurring sequentially one after another:
- cutting a pipe related to the sewerage system in a certain place;
- insertion into the tee cut equipped with a drain system (it must have a strictly defined diametrical cross-section);
- screwing to the tap branch, designed for emergency shut-off of the drain system.
In any case, a hose from the washing machine is screwed to the tap. This method will be optimal for houses in which new communications made of plastic material are installed. In old houses related to the Soviet construction, cast iron pipes with thick walls were used. Therefore, using the fitting will not be easy.
It is most expedient to simply ensure the connection of the drain hose directly to the sewer pipe, without using a siphon. However, in this case, an unpleasant odor may form in the room, which comes from the collector. The siphon, due to the equipment with a water seal, does not allow unpleasant odors to enter the washing machine, as well as into the room.
Test switching on of the washing equipment 
After all installation work is completed, it is necessary to check the correct activation of the device by organizing a test run. In this case, there is no need to load things into the drum, "running tests" can be organized idly, i.e. without loading. All that needs to be done in the process of organizing a trial run is to take into account certain points:
- The speed at which water is collected in the tank. If it is small, there is a possibility that the pressure present in the supply hose is insufficient. It is necessary to check it and correct the situation.
- Leaks are unacceptable at the joints of pipes, fittings and hoses. If they are still detected, it is necessary to tighten the nuts as tightly as possible. Sealing with the use of seals and winding is also acceptable.
- Water circulation also plays an important role during the washing, rinsing and spinning cycle. The fact is that delays and other difficulties are unacceptable.
- During operation of the equipment, no extraneous noise should be heard. We are talking about vibrations and knocks, which may indicate that the base is uneven. In this case, it needs to be leveled by placing supports. The reason may also be the lack of dismantling of transport fixing parts.
In any case, if any difficulties were discovered during the startup process, they must be eliminated in a timely manner.
Along with this, it is worth considering the answers to frequently asked questions so that no problems or difficulties arise during the installation process.
Can the unit be installed on laminate or wood floors?
In the first case, there is a risk of vibration, which simply cannot be eliminated, even if you tighten the legs. In addition, the device will slide. If there is a leak due to high humidity, the laminate will immediately become unusable.
If the wooden floor is uneven, difficulties will arise in the process of hanging the laundry. Therefore, the service life of the bearings will be reduced. So in any case, you will need to place a rubber mat under the legs or provide stands made of polyurethane. It is these materials that will protect the coating and reduce vibration levels.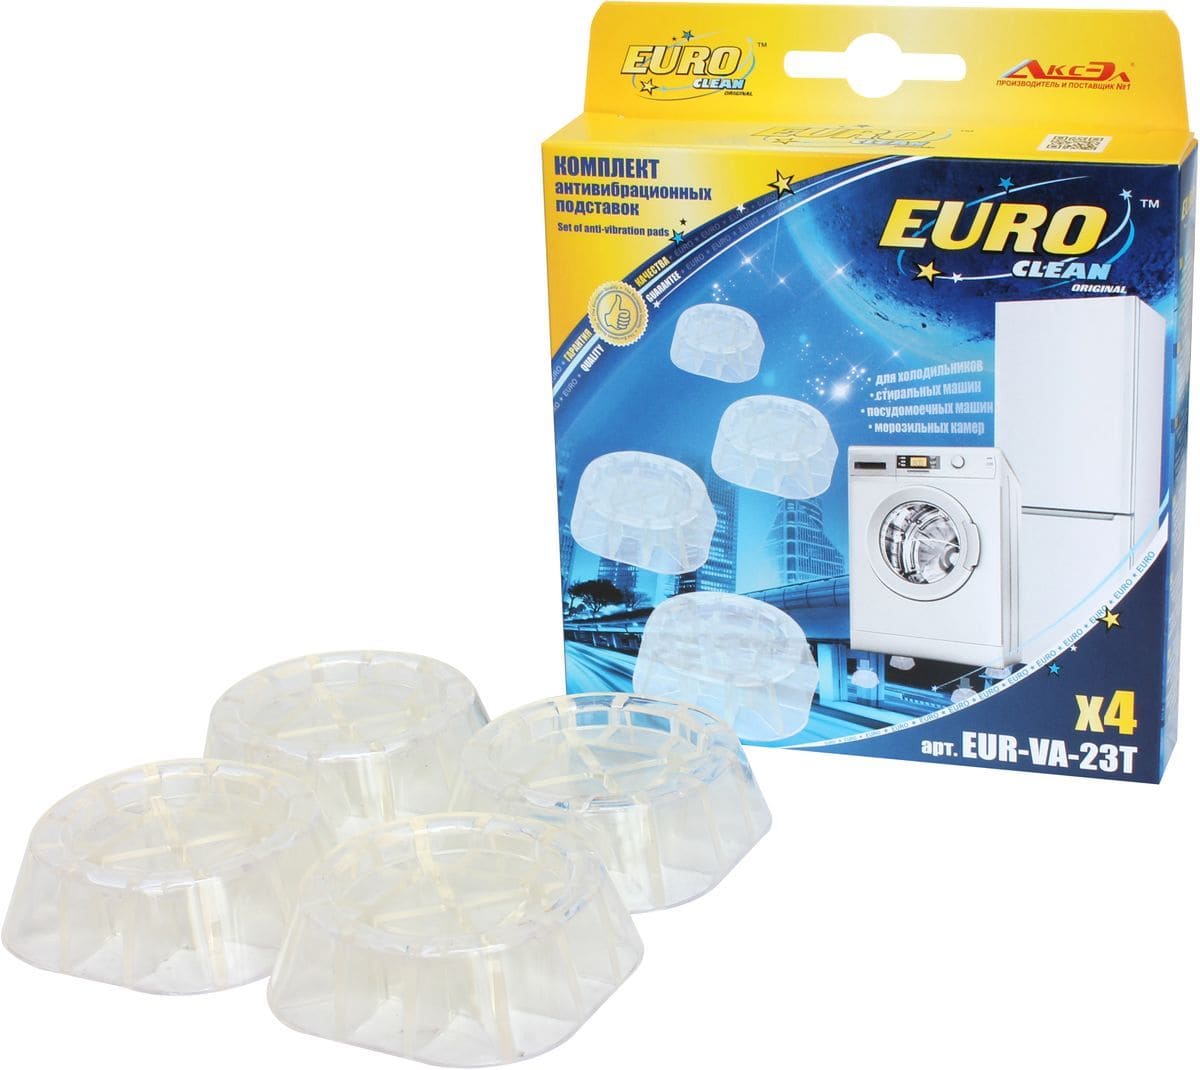
What to do if the washing machine jumps?
First, you need to determine the cause of this phenomenon, and there may be several of them. Most often, the issue is non-compliance with the rules for installing and using the device. In most cases, you can solve the problem yourself:
- The transport bolts were not removed. You simply need to remove them, after first checking the device for “extra” parts.
- Excessively rigid drum fixation. In this case, you need to loosen it slightly and carry out a test run according to the scheme described earlier.
- Lack of stability of the unit on the surface. This problem can be solved quite easily. All you need to do is place a rubber mat under the washer or use anti-vibration pads. Along with this, you can use improvised means, for example, construction tape.
- Foot settings failure. In this case, it is necessary to carry out their regulation and subsequent fixation.
- Uneven distribution of laundry throughout the drum: manufacturers advise adhering to basic recommendations related to the weight of loaded items. If the problem in question is caused by this particular reason, you need to stop the spin mode and remove some of the clothing.
These are not all the reasons why vibration occurs, but practice shows that they are the main ones.
When is it recommended to contact an expert?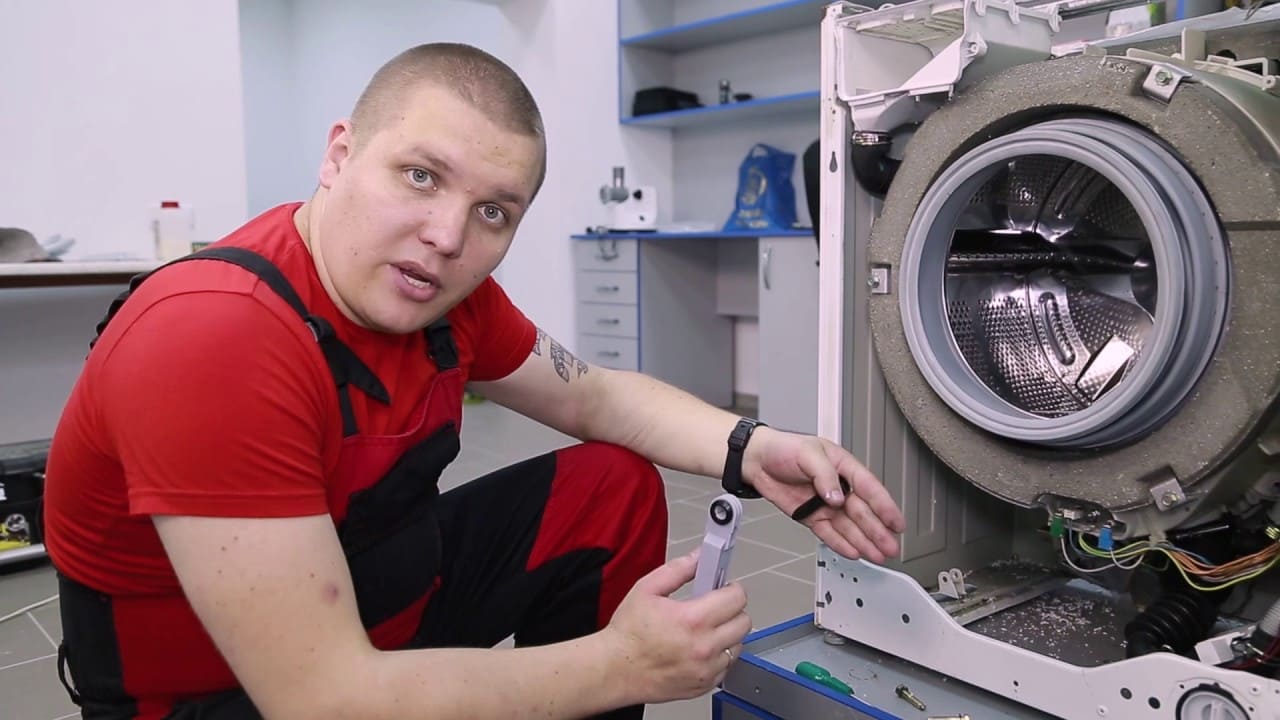
There are several situations in which it will be problematic to cope on your own:
- The installation is carried out by a beginner who is not confident that he can handle it. Instead of guessing what’s what, it’s better to call the service center, the technician will come to your home and organize the installation.
- A non-standard connection method was chosen - in a place where there are no communications, and their supply is required.
- A person wants to be sure that all the work is done to a decent standard, and not have to redo it several times.
- The equipment is expensive and requires compliance with special rules during the installation process.
In all these situations, it is better to contact a specialized service center that specializes in specific brands and even models of washing equipment.
What tools are needed to install the washing machine?
Installing a washing machine with your own hands is only possible conditionally. In fact, to carry out the work you will have to acquire some tools: an adjustable wrench and a wrench, a ball valve, fittings, a crimp coupling, a tee, a bend, an adapter, a flexible hose. Practice shows that this is a standard set that is found in every home, and some elements can be purchased without much difficulty.
Conclusion
Thus, connecting the washing machine to the water supply, as well as to electricity and sewerage, is a job that every person can handle. It’s even nice to do it yourself, although in some situations you may need the help of outsiders. In any case, you must follow the instructions and take into account the specifics of the equipment of a particular brand and model.
First you need to choose a washing mashine and deliver it home. After this, you need to decide on the installation location and unpack the device, freeing it of all parts for transportation. Then you need to organize the preparation of the foundation, install communications (electricity, water, sewerage) and perform a number of plumbing works. At the last stage, a test run is carried out, which will allow you to understand how correctly or incorrectly the work was performed.