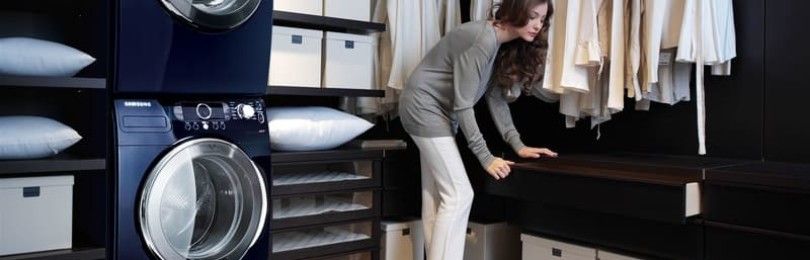
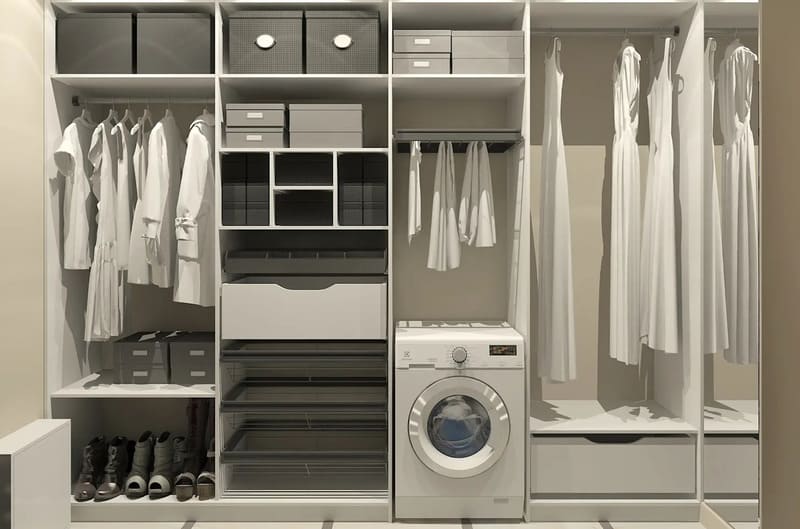
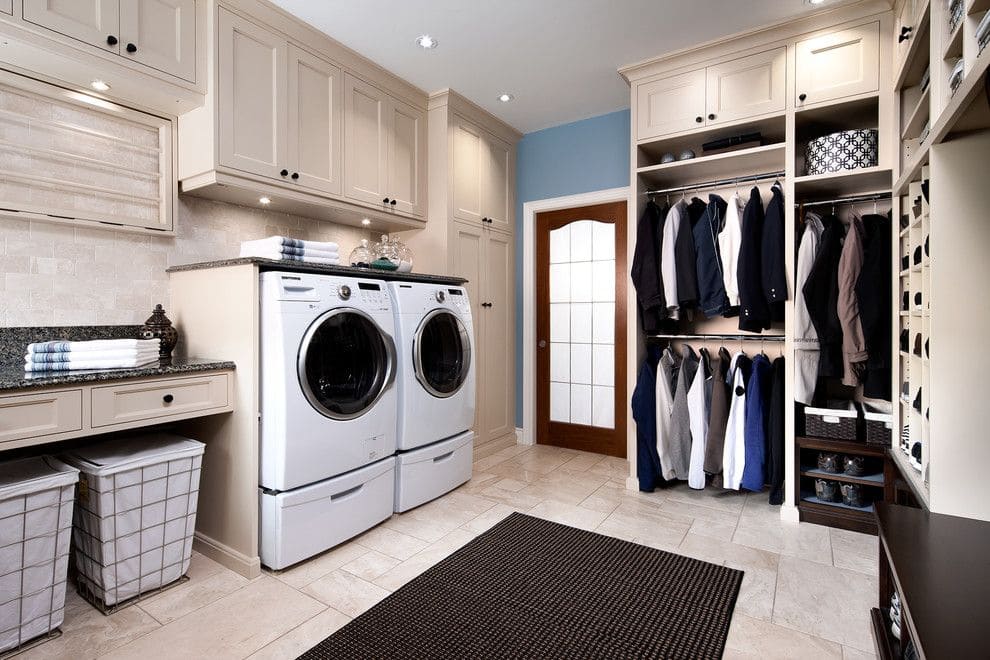
 Washing machine in the dressing room - an advantageous placement that allows you to sort, store and wash clothes in one room. Such a design will be the dream of any housewife. To understand whether it is possible to install a washing machine in a dressing room in a Khrushchev building or an apartment in a panel house, it is worth familiarizing yourself with the features of the procedure, the advantages and disadvantages of the process.
Advantages and disadvantages
Pondering the question of installing a washing machine in the dressing room, people are faced with doubts and prejudices, the pros and cons of the idea. It is worth highlighting the main advantages of this solution:
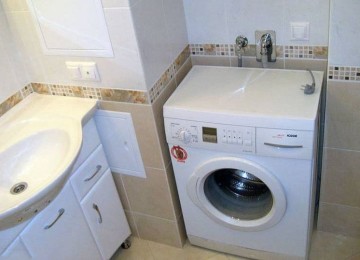
- Such a design will free up extra space in the bathroom or kitchen.
- Installing the device in a storage room saves time because you can sort through, store and rinse clothes in one room. Here the washed items are hung on hangers and dried.
- The washing machine can be installed in a special cabinet with a spacious lower compartment. This will complement the design of the dressing room and save space.
Despite significant advantages, this layout option has its disadvantages:
- During installation of the machine, owners may encounter technical difficulties. This includes the availability of outlets, ventilation and suitable space.
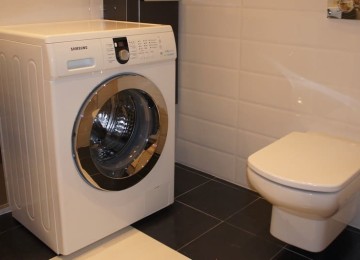
- A large washing machine in a dressing room can damage the floor covering, so it is better to install it on concrete tiles.
- If the dressing room is located at a large distance from the sewer pipe, there may be a problem with pumping out soapy and dirty water.
Design features
Before installation of equipment you need to inspect the selected room and determine the most advantageous place for washing. Owners should consider the following points in such cases:
- You shouldn’t immediately gouge the walls to identify a new outlet. Initially, it is worth assessing the chosen location for compliance with the protruding elements, height and width.
- In addition to the main size of the device, it is worth retreating about 10 cm, since hoses will be located on the back side.
- When a place has been allocated, you will need to check the strength of the floor. If the apartment is old and the flooring leaves much to be desired, it is better to fill the allocated space with concrete or lay tiles on it. A wooden pop can cause the body to collapse. The floor structure must support up to 90 kg of weight.
- If the floor in the apartment is uneven, then there is no need to worry. You can adjust the stability of the equipment using a building level.
- It is also worth choosing a place that is located near a sewer pipe. If it is located at a distance of more than 3 meters from the washing machine, dirty water will be difficult to drain, which will lead to subsequent breakdowns.
- Before installation, you need to inspect the hose from the washing machine. Usually it has a length of up to 1.5 m. If this size is not enough, it is worth change the hose to a longer one.
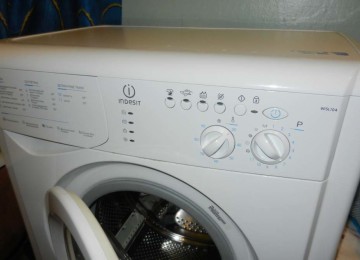
Installation of equipment
Before starting the process, you should prepare for the fact that owners will face additional material costs. Their level depends on the characteristics of the room and equipment. What the preparatory process looks like:
- The first step is to provide the necessary ventilation for the dressing room. Constant washing causes dampness, which leads to the formation of fungus and mold. Constant air circulation will solve problems and eliminate unnecessary inconvenience. Many residents skip this point and hope for a constantly open door. However, this brings constant inconvenience and leads to air pressure.
- Now we need to think about connecting the equipment to the water supply and sewer pipes. Previously, the procedure was carried out using special taps and rubber hoses. Today, such techniques are already outdated. Because the drain and inlet hoses are already installed in the equipment.
- When installing adapters, it is better to rely on the shut-off valve. It allows you to shut off the water after the end of the cycle and during repair work.
- Now you need to cut a special recess to install the tee. Tools for work are selected depending on the material of the main pipe.
- Next, connect the equipment to the sewer. Here residents may encounter difficulties, so if they do not have the proper experience, it is better to contact an experienced technician.
- Now comes the turn of the sockets. They are rarely found in the dressing room.Therefore, they must be done near the washing machine. If there is an old outlet in the room, it is better to replace it. Sufficient power is required for stable operation of the equipment. Old sockets will not be able to provide this. This will lead to equipment failure or fire. It is worth noting that connecting equipment to the network using extension cords is prohibited. It is best to provide direct access to the network.
- For socket installation You should focus on parts with a moisture-resistant housing; they are characterized by a long service life and reliability.
- They make a place for the electrical network at the same level as the washing machine. Before starting the process, you will need to turn off the power supply to the apartment.
- Now you can make the markup. The optimal distance is up to 100 cm from the floor. You need to mark the measurements using a simple pencil.
- Next, you need to determine what size wiring is needed to lay the path from the equipment to the junction box. It is better to measure out the extra 30 cm in case of repairs or changes in design.
- Select a drill attachment suitable for a specific wall and drill holes. If you don’t have a variety of attachments at home, it is recommended to use the standard one. All actions are performed using a respirator and gloves.
- Next, focusing on the markings provided, you need to drill a small hole for the future outlet.
- Using a grinder, make a 4 cm groove.
- Thoroughly clean the resulting holes from dust and dirt, fix the socket box in the hole made.
- Place the wire under it. One end of it will need to be connected to the shield, and the other to a drilled hole in the wall.
- To make the structure invisible, it is masked using plaster or putty.It is imperative to wait until the mixture hardens.
- Now you can insert the socket itself and connect the wires.
Ensuring stable ventilation
After installing the socket and connecting the machine to the sewer, you can safely wash things. However, if the dressing room is not large in size and does not have windows, you should think about normal ventilation in the room. Otherwise, mold and a damp smell will appear in it, which will appear on hanging clothes. To organize ventilation, the following measures are taken:
- Make a small hole between the floors and a door.
- Install a special door containing bars.
- Make holes in the walls, which are kept at a distance of up to 30 cm from the floor covering. According to user reviews, this is one of the most reliable options.
- Make a hole in the floor. A similar method is used in private houses with a basement floor.
Normally, the dressing room should be regularly ventilated and there should be good air circulation. The integrity of the clothes, their smell and the degree of contamination depend on this. It would be a good idea to organize an exhaust duct. It is made using a special grille, which is installed right under the ceiling.
Installing a machine mount
During washing, the equipment produces strong vibrations and shocks, which put strong pressure on the floor. Because of this Installing the device on wooden and fragile floors is not recommended. To get out of this situation, you can use the following designs:
- Using a special mat with an anti-vibration function. It helps to reduce the percentage of pressure on the floor and protect the washing machine from damage.
- Installing a massive concrete slab. Such a design will take time, however, it will be able to reduce the level of vibrations during washing. It is worth remembering that a concrete covering will not fix the problems with the floor and will not make it more level.
- Construction of an installation rising above the floor. To do this, you will need to cut 4 holes in the floor, insert metal pipes into them and cover them with a strong plywood sheet. Such a design reduces the amount of vibrations, but quickly becomes unusable.