 One of the most well-known malfunctions of washing machines, including those from Kandy, is bearing failure. To eliminate the defect, you can call a service center representative, but if the owner of the device wants to save a significant amount of money, he can change the bearing on the Kandy washing machine himself at home. To do this, you need to purchase a new part, prepare the tool and perform the work according to the instructions.
Causes of malfunction
Bearings on washing machines not only from Kandy, but also from other companies fail for a number of reasons. Firstly, this happens if the equipment has been in operation for many years. Components have a certain service life, after which they break.
Secondly, the culprit of bearing failure may be a damaged oil seal. When holes and cracks appear on it, moisture begins to seep through it. It washes away the lubricant, resulting in much stronger friction, which leads to damage to the part.
Thirdly, the bearing breaks due to the design features of belt-driven equipment. In such devices, serious loads are placed on small elements, which is why they gradually collapse.
Also, bearing failure can be a consequence of improper operation of the washing machine. Overloading and improper loading of laundry lead to breakdowns and failure of equipment.
If you do not replace the damaged part and seal at the first sign of a malfunction, the situation may worsen. More serious components will fail, the cost of repairs will increase significantly, in some cases it will be easier to buy a new washing machine.
Preparation for repair
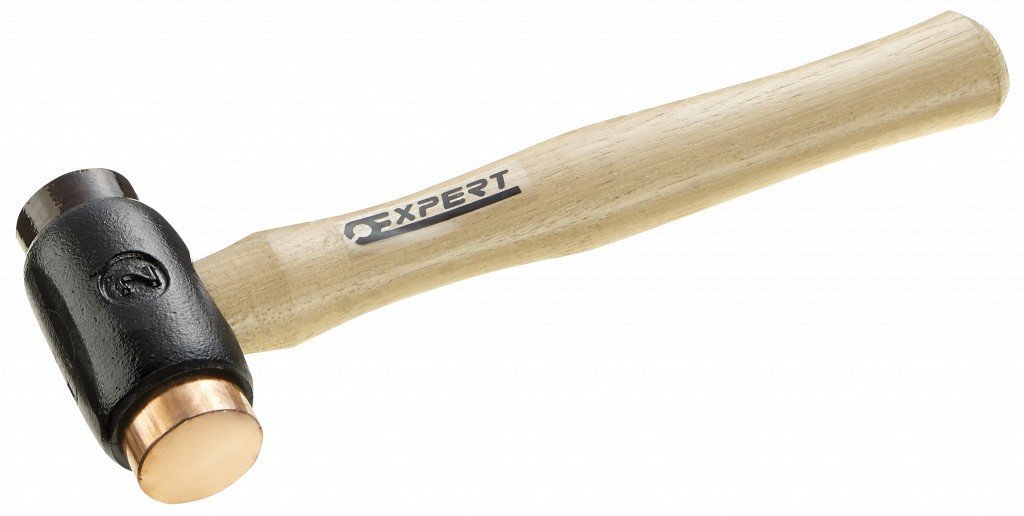
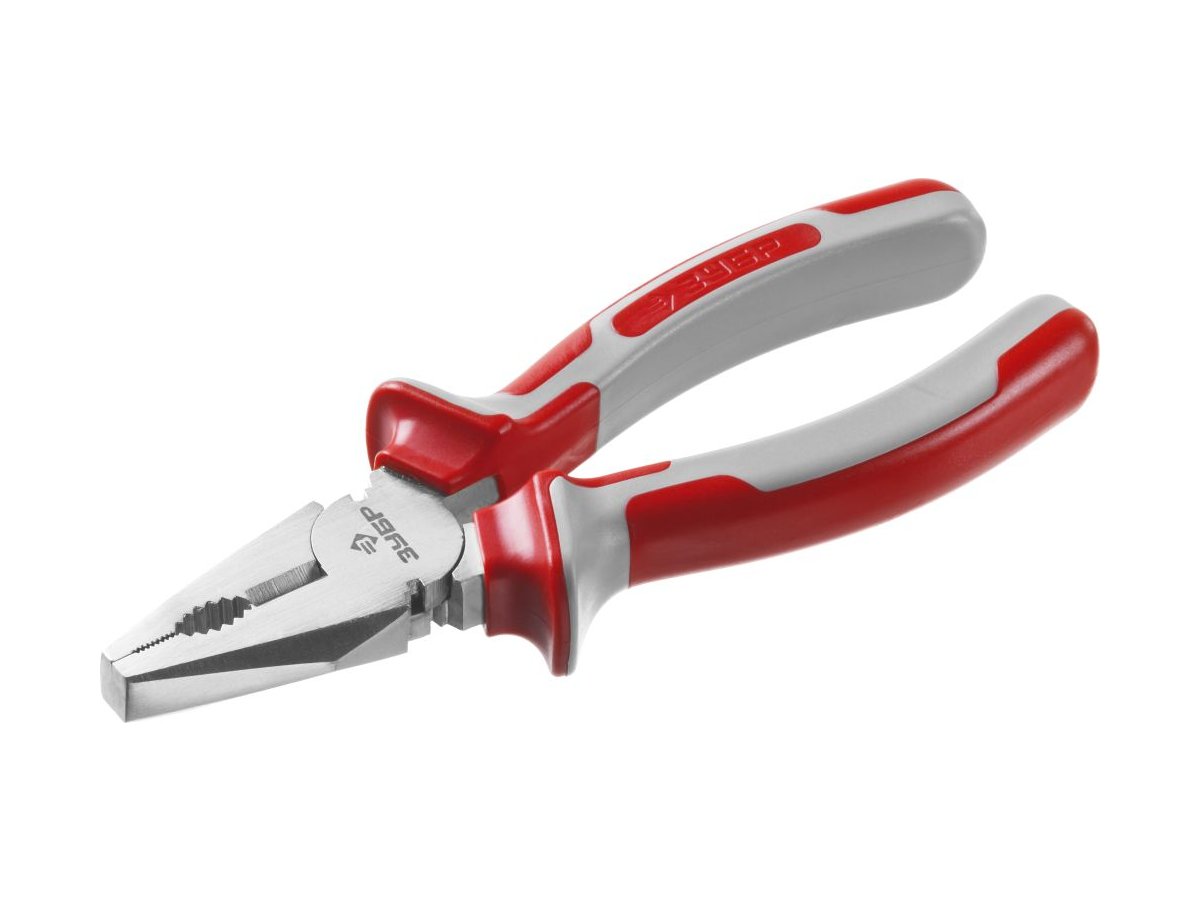
Before repairing, it is necessary to assemble the tool and purchase spare parts. To disassemble the Kandy washing machine and replace the bearing, the owner of the device will need:
- hammer;
- pliers;
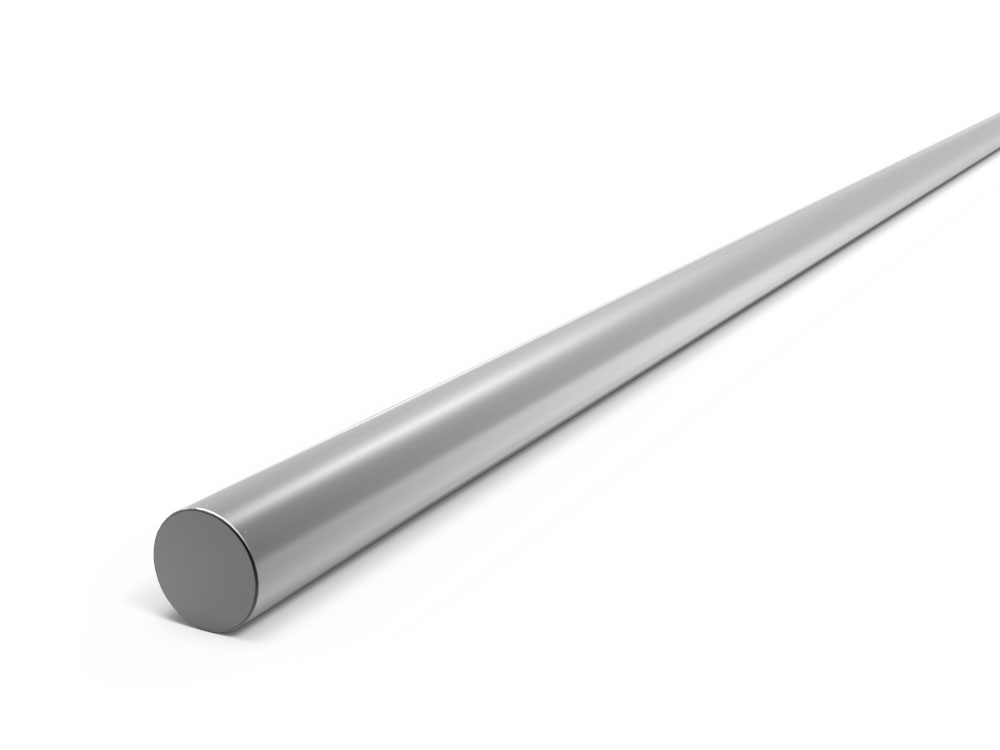
- metal rod for knocking out bearings;
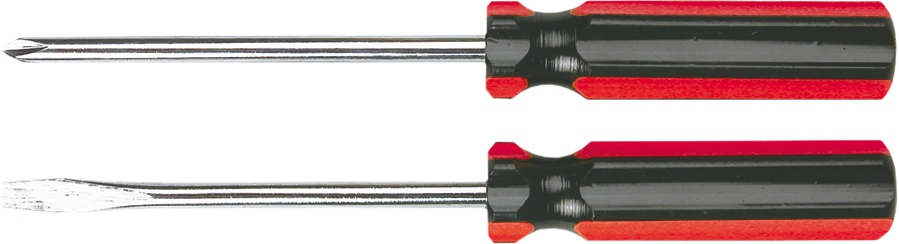
- screwdrivers;
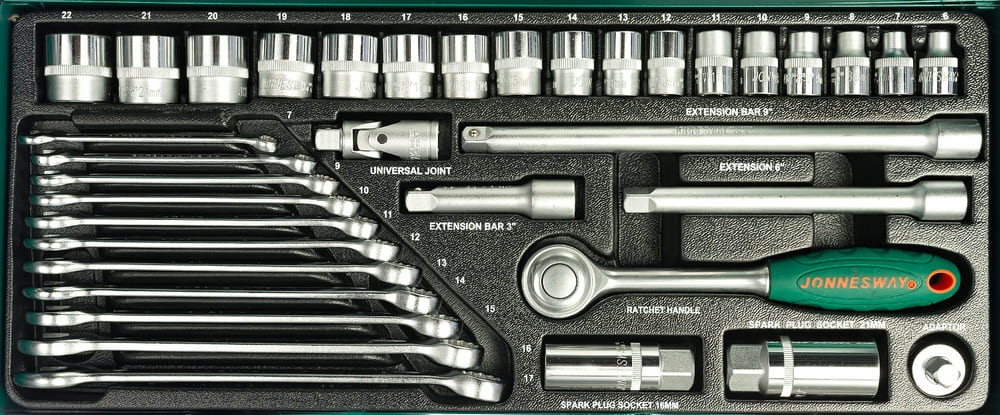
- set of open-end wrenches;
- sealant;

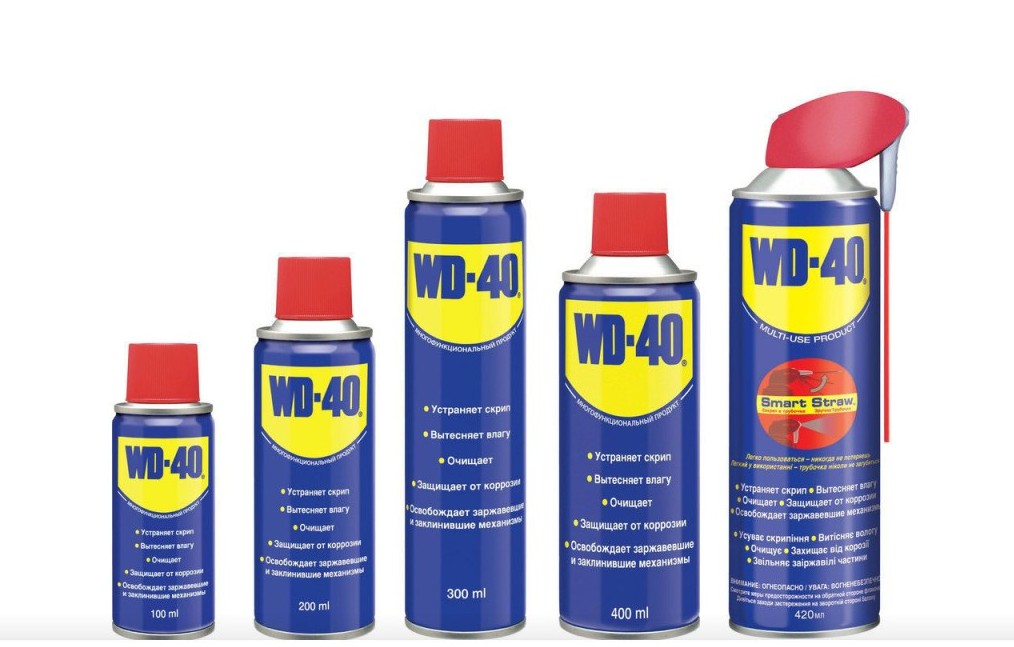
- WD-40;
- bearings and seals.
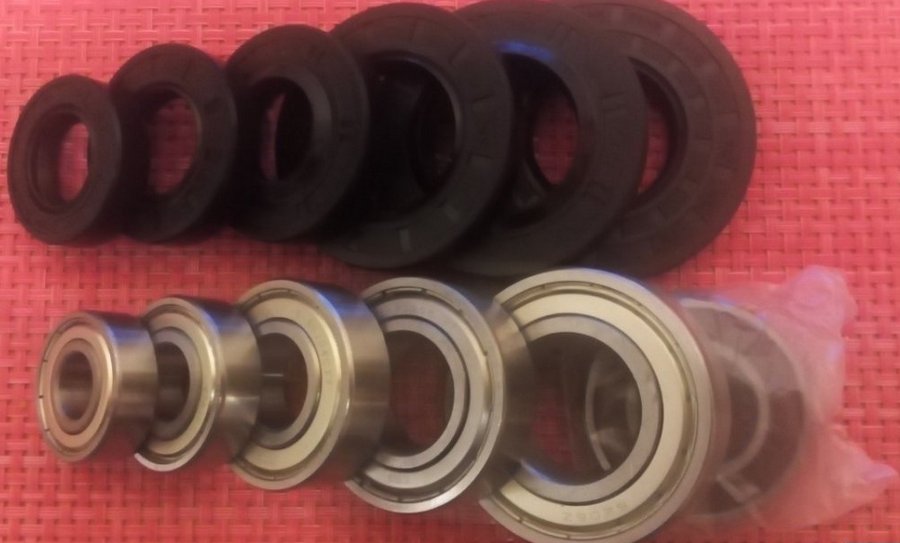
You can purchase spare materials in specialized stores, service centers or order online. Seals and bearings should be selected strictly in accordance with the model and brand of the washing machine. It is better to buy branded components or similar ones of good quality. Purchasing cheap, low-quality materials will soon lead to repeated repairs of equipment.
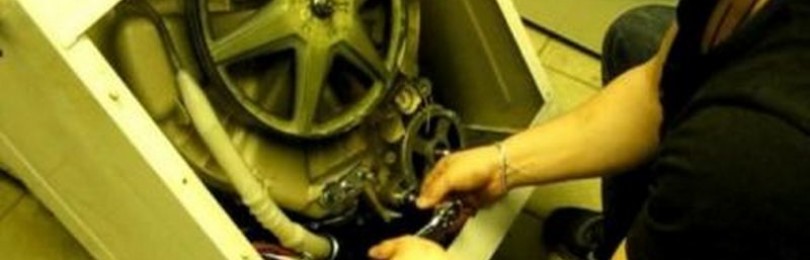
After everything necessary has been prepared to disassemble the equipment and change the bearing, it is necessary to disconnect the Kandy washing machine from the network, water supply and sewerage system and move it to a spacious place so that there is no interference during repair work.
When disassembling a Kandy washing machine, it is recommended to photograph the equipment before removing each component, especially when disconnecting the wiring. This will allow you to assemble it correctly and avoid mistakes that could lead to costly repairs.
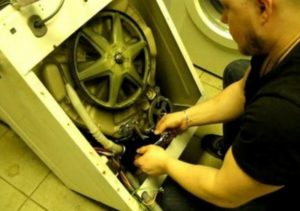
Disassembling the washing machine

To replace the bearing, you first need to disassemble the Kandy washing machine. The process looks like this:
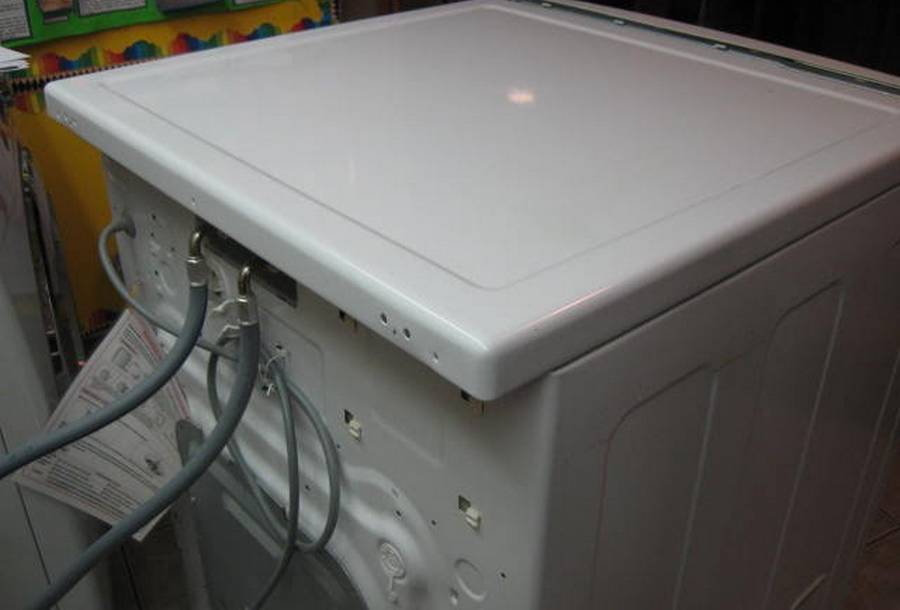
- Unscrew the screws, slide the top cover back and remove it.
- Remove the top counterweight plate.
- Unscrew the fasteners and remove the back panel.
- Pull up to remove the left and right top side panels.
- Unscrew the two bolts on the sides, turn off the wiring, photograph it, and remove the control panel. It is held on by several plastic latches, which are very fragile. They need to be squeezed out with caution.
- Remove the hoses for filling water into the detergent dispenser.
- Turn off and remove the pressure switch.
- Unscrew the fasteners holding the control unit, remove the board, photographing the wiring.
- After removing the bolt, remove the rheostat.
- Disconnect the outer and inner clamps and remove the cuff on the hatch door.
- Remove the screw and remove the detergent tray.
- Disconnect the pipes holding the powder receiver and the tube from the rheostat.
- Remove the belt, heating element, motor, temperature sensor.
- Disconnect the remaining wiring.
- Disconnect the hose from the tank to the pump.
Now you need to make sure that all wires and hoses are disconnected and all parts that may interfere with the removal of the tank are removed. The washing machine door must be open. To remove the tank, you need to remove it from the side springs and pull it up.
Tank disassembly
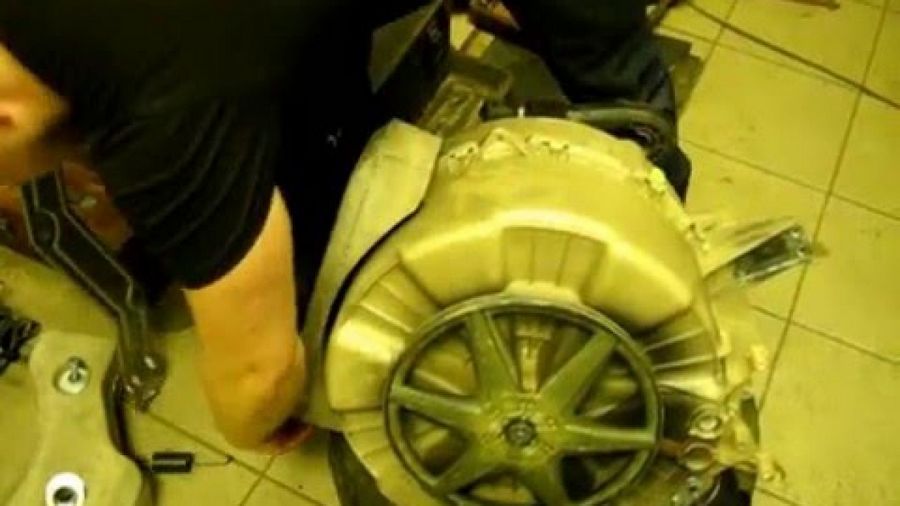
To disassemble the tank, you must:
- Remove the second counterweight and the rubber cuff from it.
- Unscrew the bolts and remove the upper part of the tank, and also remove the gasket that ensures tightness.
- Turn the tank upside down and remove the pulley.
- Use a screwdriver to block the pulley so that it does not rotate and unscrew the nut.
- Remove the pulley. Access to the shaft will open.
- Find a similar nut, so as not to spoil the original one, screw it back on and knock out the shaft with light blows of a hammer on the nut. The blows are applied strictly at right angles so as not to bend the shaft.
- After the shaft is knocked out, unscrew the nut and remove the lower part of the tank, freeing the drum.
- Inspect the crosspiece for damage. If there is play, it needs to be changed.
- Clean the shaft from dirt and grease. If defects are found, it is also better to replace it. Particular attention is paid to the shaft sleeve. If it is worn out and there are transverse grooves, it should be replaced. Otherwise, moisture ingress will cause the new bearing to fail.
Bearing replacement
The bearings are located in the rear wall of the drum. Before you take them out and replace them, you need to pry up and remove the oil seal with a flat screwdriver. It will also need to be replaced with a new one.
Next, you need to knock out the inner and outer bearings in turn. These actions are performed using a hammer and a metal rod. First, the bearing installed on the outside is knocked out. The blows are applied evenly in a circle until the part comes out of the seat. Next, remove the second oil seal and knock out the inner bearing.
After the bearings are knocked out, you need to clean the drum and bearing seats. It is necessary to remove dirt and wipe these parts dry.
Now you need to change the bearings - first the internal, then the external. They are driven in evenly in a circle; this process must be monitored very carefully to prevent the part from skewing.
Next you need to change the seals. Before this, they should be thoroughly treated with a lubricant that has water-repellent characteristics.
Assembling the tank and washing machine
Before assembling the tank, both halves must be thoroughly cleaned of scale and dirt. The joints should be carefully treated with silicone sealant. The gasket between the tank halves should be replaced with a new one. The bolts should be tightened crosswise.
Reassembling the Kandy washing machine is done in the reverse order. If the user took photographs at the disassembly stage, you should check them, especially when connecting the wiring. Installed parts must be inspected, cleaned if necessary, or replaced if damaged. Be sure to descale the heating element.
After the equipment is assembled, it is necessary to leave it for the time required for the sealant to completely harden. Next, you need to connect the washing machine to communications and electricity, add a small amount of detergent and run a test wash. This is necessary to remove dirt, grease and unpleasant odors remaining after the repair. If during the test wash the Kandy washing machine operates quietly, no extraneous noise is heard, and no moisture appears under the machine, this indicates that the bearing repairs were carried out successfully and the equipment was assembled correctly.
Recommendations for using technology
To ensure that bearings fail as rarely as possible, it is necessary to operate the Kandy washing machine correctly. The equipment must not be overloaded; there should be no more things in the drum than is allowed by its characteristics and the selected program. Bulk items should be placed inside the drum carefully and distributed evenly there. Imbalance and overload negatively affect the condition of the bearings.
If the owner of the equipment detects the first signs of bearing failure, there is no need to aggravate the situation. It is recommended to change them immediately, otherwise this will lead to failure of more important components and more expensive repairs.
Conclusion
If the user notices that the Kandy washing machine begins to work louder during washing, and a rumble is heard during the spin cycle, this indicates a bearing failure. To change the part, you can contact the Kandy service center or do the repair yourself. Anyone can do this at home if they know the correct sequence of actions and purchase new parts.


