 Any washing machine, including Atlant ones, can break down over time, and one of the most common malfunctions is bearing failure. To solve the problem, you can call a service center representative to your home, but if you don’t want to overpay, you can change the bearing in the Atlant washing machine yourself. All you need is to know the correct procedure, have the necessary tools and new parts.
Symptoms of a problem
In a washing machine, the bearing serves an important task - it rotates and guides the drum in relation to the body. During spinning, the rotation is very intense, on a number of models the speed reaches 1000-1400 rpm, as a result - a serious load is placed on the bearing and it eventually fails.
If, when washing, the owner of an Atlant washing machine observes a hum that gradually increases and becomes very loud during the spin cycle, this indicates that it is time to replace the bearing. A malfunction will also be indicated by play in the drum when you try to rotate it by hand. If a broken part is not replaced in time, the equipment may break down completely, beyond repair.
Required tools and materials
To replace the bearing yourself, the user will need:
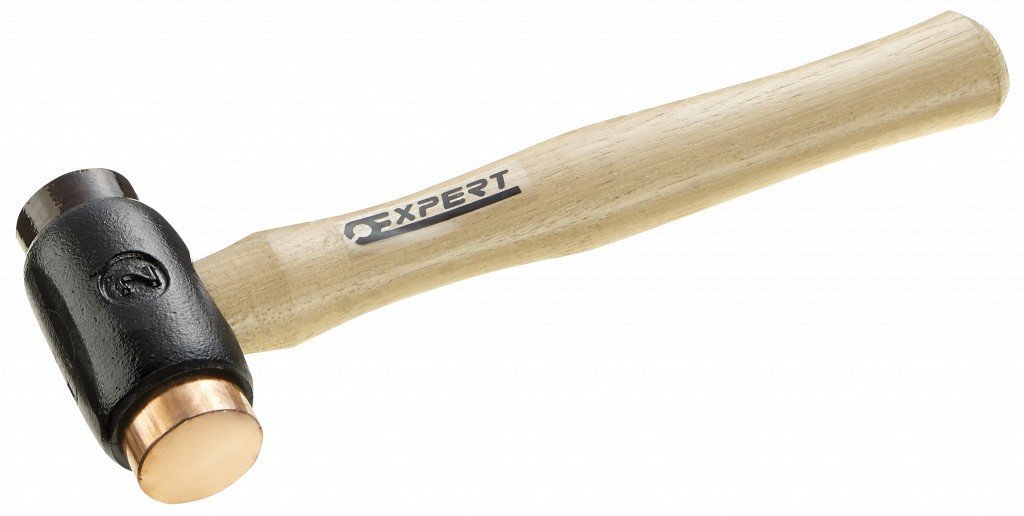
- Hammer.
- Chisel.
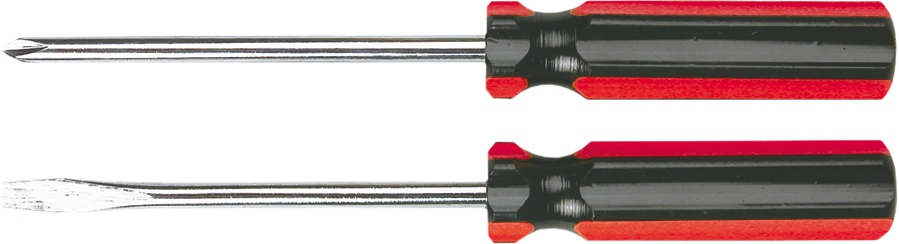
- Flathead and Phillips screwdrivers.
- Socket and wrenches for 12 and 19 mm.
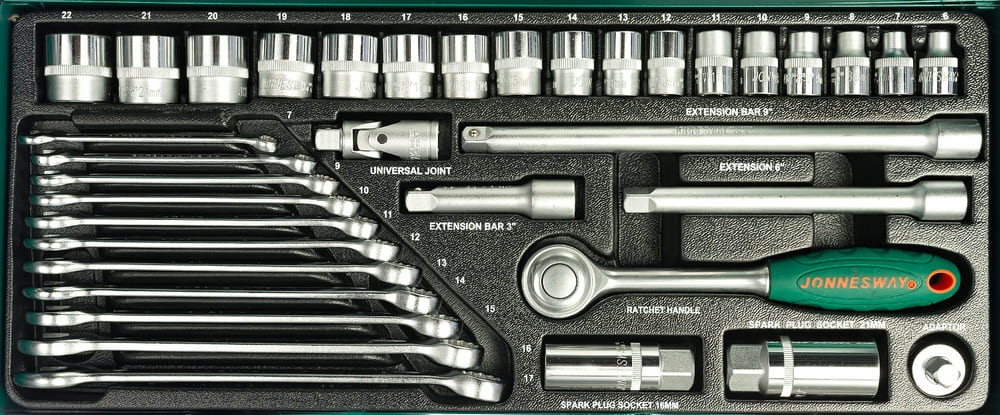
- Set of hexagons.
In addition, you need to prepare the following materials:
- Bearing grease.
- Stuffing box.
- Clean and dry cloth.
- WD-40 and sealant to prevent leaks.
- New bearings.
When purchasing new parts, you must choose only original ones. They will significantly extend the life of the washing machine. Bearings from other manufacturers may be of poor quality, resulting in the user having to carry out repairs again soon.
You must purchase bearings at the Atlant service center or a specialized store, or order online. You must select spare parts strictly in accordance with the model of the washing machine.
Disassembling the Atlant washing machine
Once everything you need is prepared, you can begin disassembling the washing machine. It is necessary to first disconnect the device from the network, water supply, sewerage and move it to a place convenient for disassembly and maintenance. You also need to drain any water that may remain inside the product. To do this, you need to remove the front panel at the bottom of the machine, unscrew and pull out the drain filter, replacing the water container.
When disassembling the Atlant washing machine, it is necessary to photograph the internal structure before removing each part in order to ensure correct subsequent assembly of the equipment. Incorrect actions, for example, incorrectly connected wiring, can lead to unpleasant consequences and expensive equipment repairs.
The process of disassembling the Atlant washing machine is as follows:
- Unscrew the fasteners from the back, slide the cover back and remove it.
- Carefully remove the control panel after unscrewing the retaining bolts.
- Unscrew the screws holding the counterweight plate and remove it.
- Unscrew the fasteners, disconnect the water inlet hose and the detergent cuvette.
- Disconnect and remove the pipes.
- Remove the back cover by first unscrewing and removing the fasteners.
- Disconnect the hoses and wires from the motor and heating element, having previously photographed the wires or made notes.
- Remove the shock absorbers located under the tank.
- Remove the control board.
- Remove all drain and water supply hoses.
- Remove the cuffs.
- Holding the springs, pull out the tank.
Bearing replacement
The advantage of Atlant washing machines is that they have a collapsible tank. This greatly simplifies the work of replacing the bearing.
To change the bearing you need to:
- Unscrew and remove the front counterweight.
- Unscrew the fasteners that connect the parts of the tank. Remove and stow front half.
- Turn the tank over so that the pulley is on top, unscrew the retaining bolt, remove the belt and pulley.
- Remove the drum from the tank.
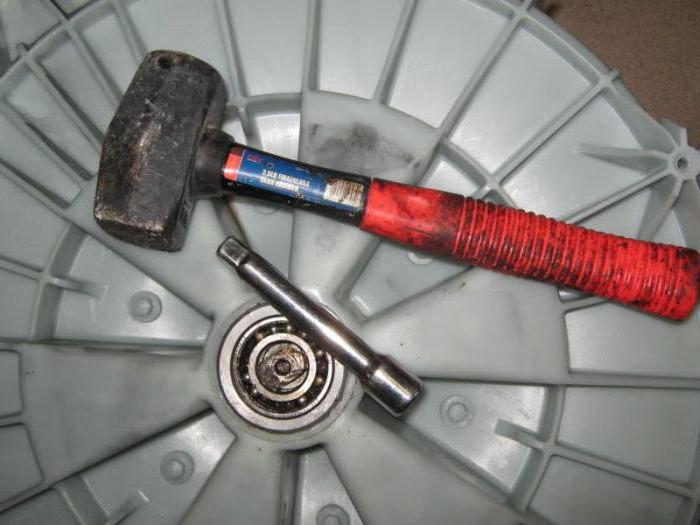
- Knock out the shaft.
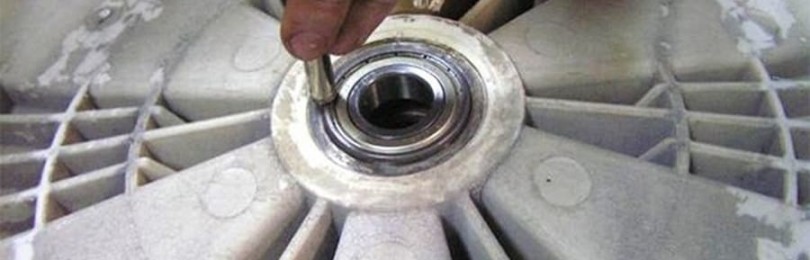
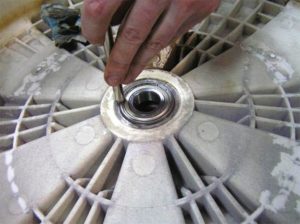
- Pull the oil seal out of the hub.
- Use a hammer and chisel to knock out the bearings.
- Thoroughly clean the area where the parts will fit, wipe dry, and lubricate with WD-40.
- Drive in the bearings one by one by lightly tapping with a hammer (the first one is external).
- Apply lubricant to the new oil seal, and then install it in its original place.
The bearing installation is completed, you can begin assembling the Atlant washing machine. It is first recommended to inspect the remaining parts and carry out the necessary maintenance, for example, descaling the heating element.
When assembling the tank, the joints must be carefully treated with sealant, only then screw in the bolts.When choosing a sealant, keep in mind that it needs to withstand elevated temperatures and aggressive conditions, so it must be of high quality. This will help protect your washing machine from leaks. Also, sealant should be used when connecting pipes.
After the Atlant washing machine is assembled, it should stand for the time necessary for the sealant to harden in accordance with the manufacturer’s recommendations. After this, you can connect the machine to water and sewerage, turn it on, add a small amount of powder and perform a test wash. This is necessary to remove dirt and unpleasant odors that appear when using sealants and lubricants.
If during a test run the washing machine runs quietly and no moisture appears underneath, this indicates that the bearing has been replaced correctly.
Bottom line
You can replace the bearings on your Atlant washing machine yourself. To do this, you need to know the correct sequence of actions for disassembling equipment and replacing parts. During the process, before each action, it is recommended to take a photo in order to correctly assemble and not break the Atlant washing machine, thereby dooming yourself to expensive repairs.


