
 One of the most serious failures of an automatic washing machine is the failure of the bearings. The fact is that replacing these parts, which are simple in all respects, involves almost complete disassembly of the device, which requires knowledge, skills and ability. During the work, you will have to remove the panels, remove and disassemble the drum of the washing machine, and only then proceed directly to removing the old bearing and pressing in the new one.
Is it worth taking the job?
Most often, the washing machine drum is disassembled in order to replace failed bearings. It is not difficult to identify this breakdown; you just need to turn it manually and listen. If you feel resistance to rotation, you hear extraneous noises, usually crunching and crackling noises - the bearings need to be changed.
Without a doubt, replacing bearings, like a number of other works, can be performed by a specialized service center, but the cost of a specialist’s services is often unreasonably high, this is especially true in the case of repairing a machine with a non-separable drum. Not a single service center will undertake repairs of this kind, offering to install a new module instead of replacing the bearing.
If repairs in a workshop are expensive, you have the time, desire, tools and experience of this kind of work, you can disassemble any drum yourself, it is only important to be extremely careful and attentive.
The main reasons for drum failure
The drum of an automatic washing machine is one of its most important components; it is the basis, at least, of its mechanical component. Like any other component and unit, it can fail, which will entail the need for repairs. In addition to the most common malfunction - bearing failure, repairs may be required in a number of other cases.
Drum jamming caused by foreign objects getting inside. Unfortunately, this happens quite often. A torn button, a fastener, a metal object forgotten in a pocket - all this can end up in the space between the body and the drum, get caught on the heating element, fall into the hole, blocking rotation and destroying the tank.
The use of certain types of detergents can cause rapid wear of the seals, they lose their elasticity and crack. The seal does not cope with its task, water seeps through it, which negatively affects the operation of the machine as a whole and can cause an accident.
You cannot do without dismantling the drum even if the shaft is damaged. A broken drive belt, a skewed pulley - all this may entail the need for serious repairs associated with complete disassembly of the device.
A common reason for a machine to suddenly stop working is the failure of the electric motor or the need to replace the commutator brushes. To repair the engine, it is not necessary to disassemble the drum, but you definitely cannot do without removing it.
Preparatory work
Before getting down to work, you should prepare your workplace and stock up on the necessary tools. We need to start with the washing mashine. Removing the drum is a large-scale undertaking; the machine must be moved away from the wall, preferably installed in the middle of the room to gain access to all its parts.
Immediately you need to worry about lighting. Even if you have a bright room for work, it would be a good idea to prepare a portable lamp or lantern.
In order not to be distracted by searching for tools during work, everything you need must be prepared in advance. The list can be adjusted depending on the brand and model of the device, but in any case you cannot do without the following:
- screwdriver or universal screwdriver with a set of attachments;
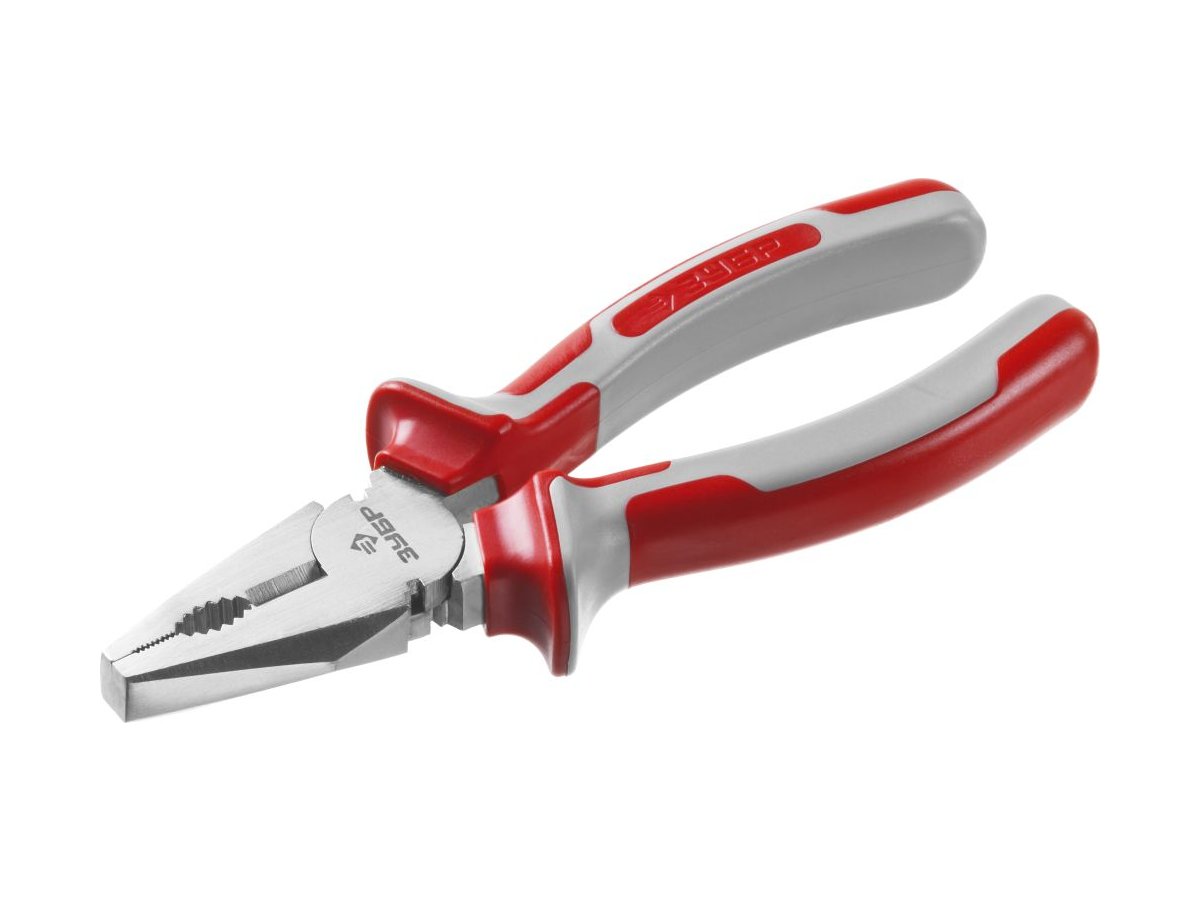
- pliers, preferably several with different jaw widths;
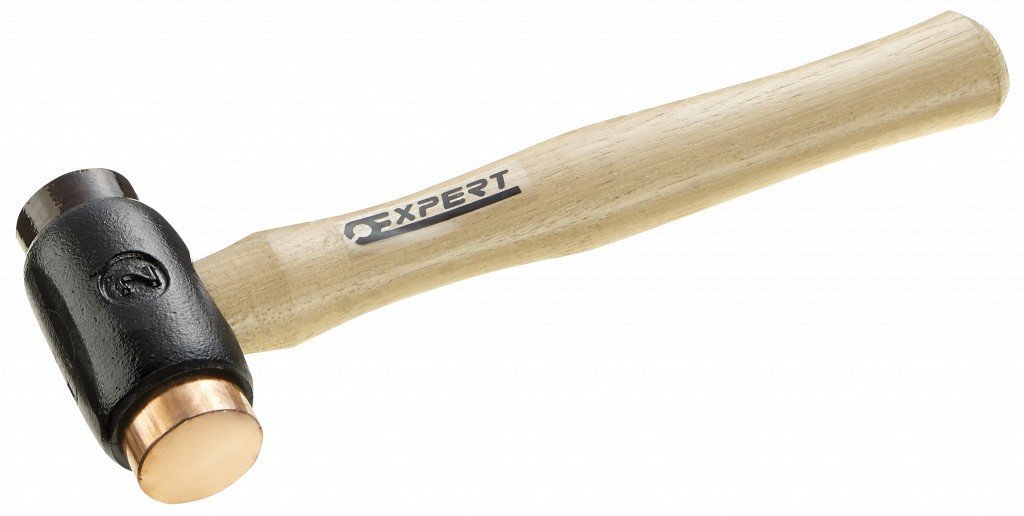
- metal and wooden hammer (mallet);
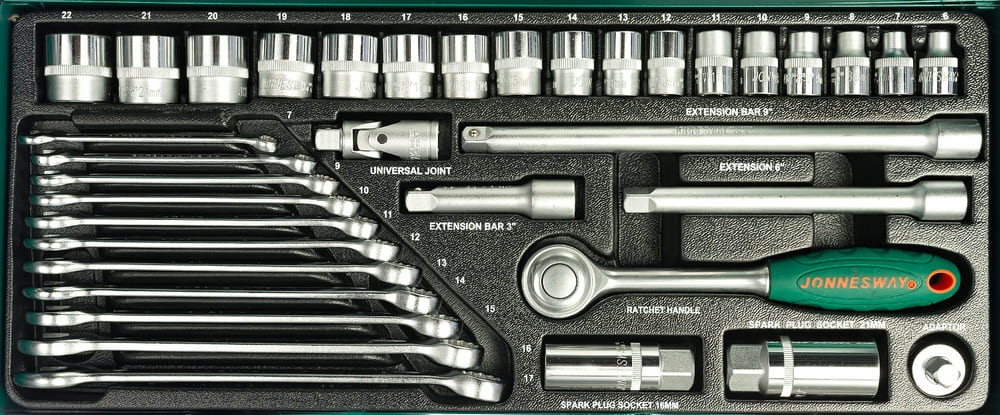
- a set of keys or sockets with a knob;
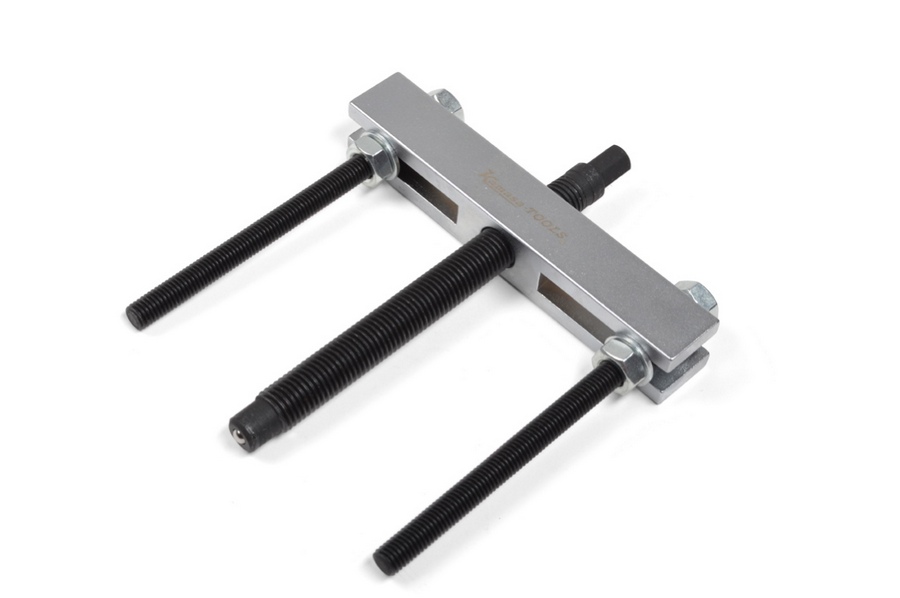
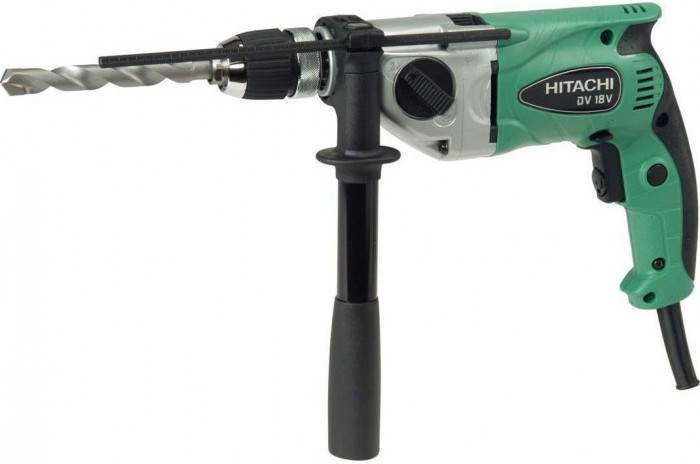
- washing mashine bearing puller.
If the task is to disassemble a non-separable drum, you will have to prepare something else:
- electric drill and drills;
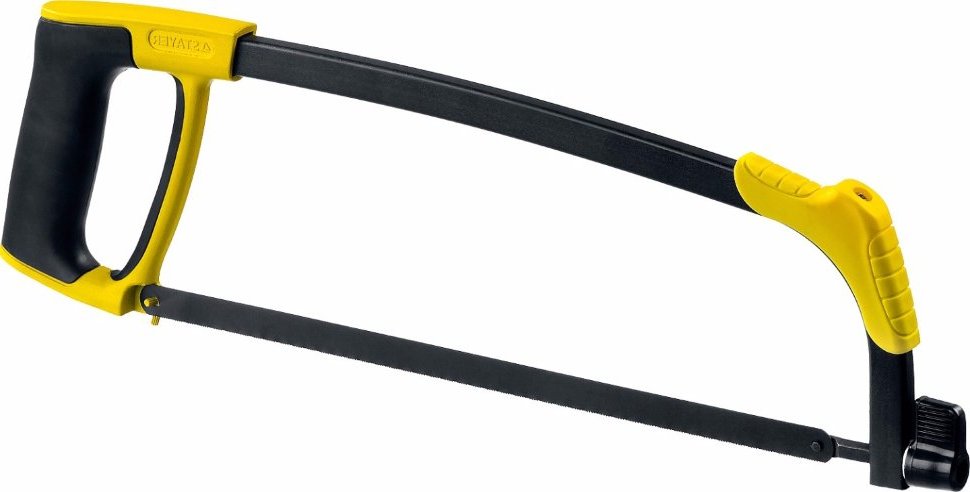
- hacksaw for metal;
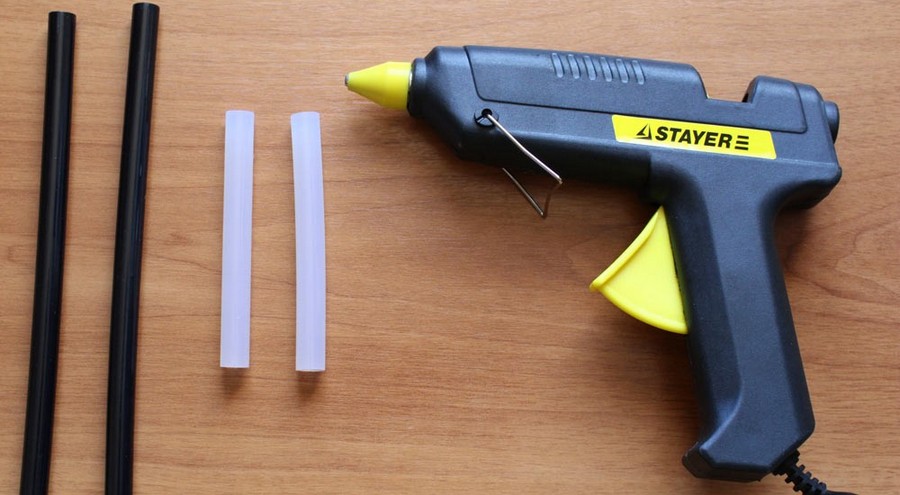
- Hot melt glue.
As a result of prolonged use in a damp room, the bolts are guaranteed to be covered with a thick layer of oxide; to remove them quickly and painlessly, you must also stock up on WD-40 or its equivalent. A blowtorch or gas torch will help you quickly and easily dismantle the bearings. Of course, you should not work with open fire in the house. It would be better to go out into the yard or work in a ventilated workshop.
Removing the Drum
Before you can begin to actually disassemble the drum, it must be removed; the operation algorithm largely depends on the type of machine, the specific model and its manufacturer.
Front loading machine
This type of machine is the most common. The process of removing a drum from such a machine is a rather complicated procedure, but with persistence, attention and accuracy, any job can be completed.
Before starting disassembly, it is important not to forget to disconnect the machine from communications, turn it off and remove the plug from the socket.
- After unscrewing several bolts holding the top panel, it is moved back and removed. Access to the insides of the device is provided.
- Unscrew the bolts securing the rear wall. They take it off.
- By turning the pulley, remove the drive belt.
- Disconnect all wiring going to the drum.
- Unscrew the bolts securing the electric motor.
- If the model has an upper counterweight, remove it.
- Remove the detergent tray. In most models from LG, Samsung, Indesit and a number of other manufacturers, it is held in place by a plastic latch.
- Disconnect the supply pipe.
- Unscrew the bolts holding the control panel.
- Carefully remove the panel.
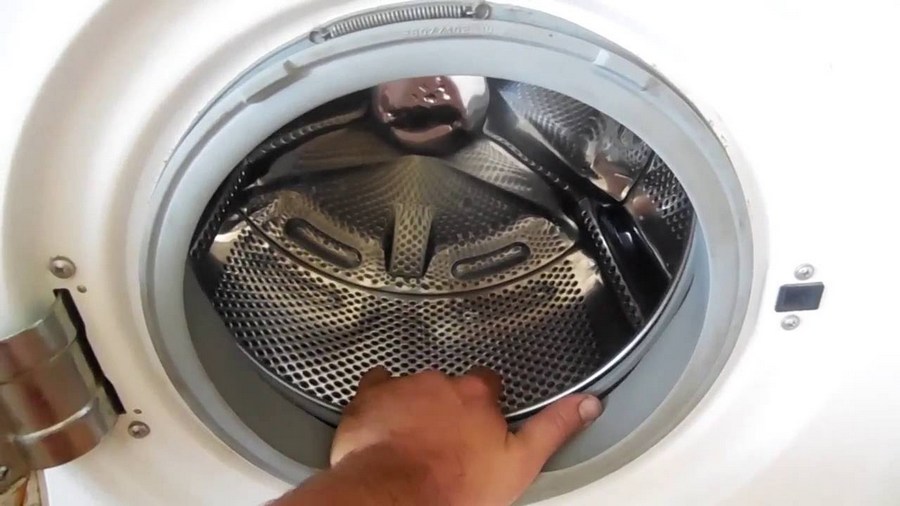
- Loosen the clamp securing the cuff of the loading hatch and tuck it inside the drum. It is important not to forget that the cuff is made of soft material and is very easy to damage.
This will open access to the drum, hanging freely on springs and shock absorbers. You can remove it. In some models of washing machines, in particular those manufactured by Samsung, it will be easier to work if you first remove the front panel and unscrew the lower shock absorbers.
Top loading machine
These devices are distinguished by excellent functionality with very modest dimensions. A top-loading washing machine has a hatch at the top. The drum is fixed in it with bolts.Due to significant differences in design, disassembling the device looks slightly different.
- They turn the washing mashine around.
- Unscrew the back wall by unscrewing several screws.
- Move the side walls aside and dismantle them.
- Remove all interfering electrical wiring.
- Unscrew the bolts securing the plastic cover.
- Release the shaft and remove the drum.
Regardless of the type of machine, it would be useful to take step-by-step photographs during the work. Having your own instructions with a photo will make subsequent assembly much easier and will protect you from the appearance of “extra” spare parts.
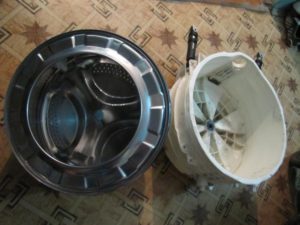
Collapsible drum
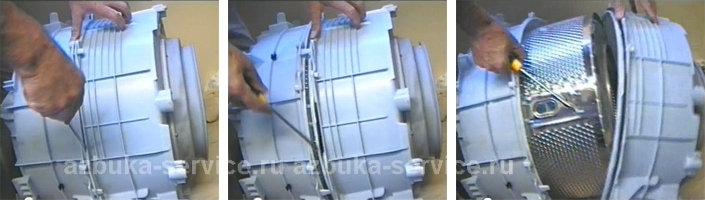
Most models of modern washing machines, this is true for models from famous manufacturers: LG, Samsung, Ariston and others, have a collapsible drum, which significantly simplifies any repair work associated with it. Structurally, it consists of two halves, which are bolted together. Along the joint line there is a gasket or a layer of sealant, which ensures ease of disassembly and tightness of the drum.
Most often, disassembly is not particularly difficult, you just need to perform a number of actions in the following sequence:
- place the drum on a flat surface with the hatch down;
- jam the pulley using a small wooden block;
- Use a socket wrench or a socket with a ratchet to unscrew the bolt securing the pulley;
- after the pulley is removed, use a wrench of a suitable size to unscrew the connecting bolts;
- The halves are easy to separate; you may need to apply several light blows to the shaft with a mallet or a regular hammer through a wooden block.
When planning to unscrew a pulley, you must be prepared for the fact that the bolt will resist.If this is the case, you should not try to unscrew it “forcibly”; it is easy to tear off the edges, or even break the rod, as a result of which the repair will take a long time. Before unscrewing any bolts inside the washing machine, you should use WD-40, this will make the work easier and ensure the safety of the original fasteners.
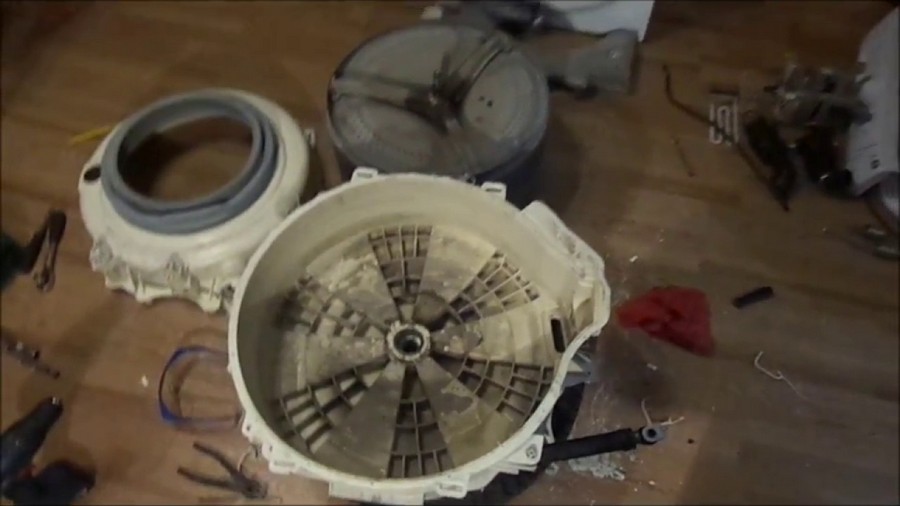
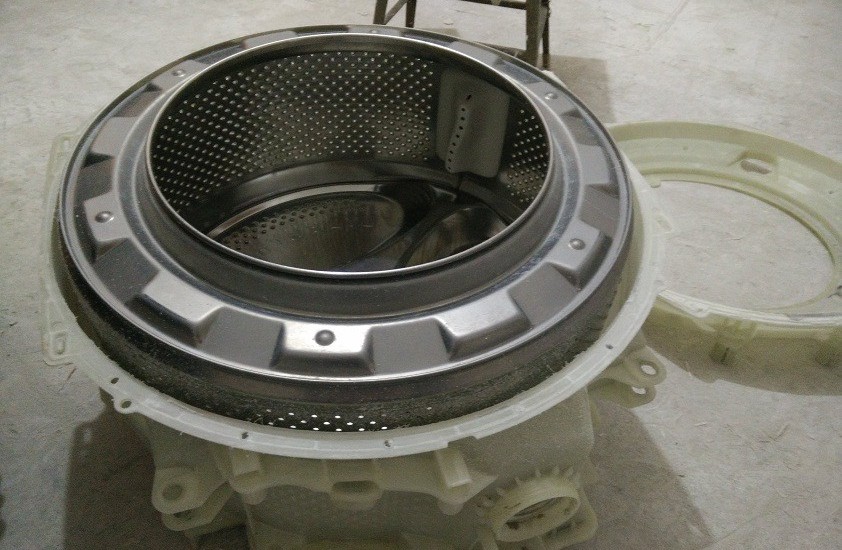
After the drum is disassembled, you can proceed directly to replacing the bearings or removing foreign objects that have jammed the machine. If the task is to remove old bearings, it is better to use a screw-type puller. You can preheat the bearing, but you must use a torch or blowtorch with extreme caution so as not to damage the drum itself.
When changing bearings, it is important to pay attention to the condition of the sealing seals. If they have lost elasticity, there is a lot of wear or mechanical damage, the seals are replaced along with the bearings. Afterwards all that remains is to assemble the car; this is done in the reverse order. Of course, before assembling the drum, a layer of sealant must be applied to the parts being connected.
Non-separable drum
Some manufacturers make the drum non-separable “disposable”. The goal is clear. On the one hand, it’s easier to manufacture, there are no bolted connections, on the other hand, you can make money on repairs, because the owner of such a machine, if a penny bearing fails, will have to buy the entire drum.
Certified service centers are unlikely to agree to disassemble a non-separable drum, however, this can be done in a home workshop. As a result of such repairs, you will be able to save a lot of money, because you will only have to pay for failed bearings.
In essence, disassembling this drum differs from working with its collapsible counterpart only in that it will have to be sawed. This is not very difficult, it is more difficult to choose the best tool for this. There are several options.
- A hacksaw for metal gives a thin, even cut, but when heated, it often gets stuck, plus the blades break easily.
- A hacksaw for wood does not heat up, does not get stuck, or breaks, but it produces too wide a cut, and even with torn edges. In other words, it is easy to cut with such a hacksaw, but difficult to assemble the drum afterwards.
- A jigsaw allows you to get a thin, even cut, but in some areas it is extremely inconvenient to use.
Such a popular tool as a grinder is not considered at all for this operation. The disk rotates at a very high speed; one wrong movement is enough to ruin everything.
There is no ideal tool for sawing a drum, you will have to improvise. Some experts recommend using a regular hacksaw and a piece of cloth with a homemade handle for working in hard-to-reach places.
Before you take up the cutting tool, you need to worry about subsequent assembly and ensure the reliability of the connection. To do this, at the gluing site, where the cut will be, you need to make small diameter holes for the bolts. The number of holes may vary, but 15 - 20 pcs are sufficient.
The drum is placed on its side. Now you can take up the instrument. Where to cut from is a matter of taste. There is no single correct algorithm. We can only advise you to start in a place where it is easier to get to, this will give you the opportunity to do most of the work before your enthusiasm dries up. That's right, it will take a very long time to cut.It may take several hours to disassemble the drum, but there is no need to rush. It is better to spend time on monotonous boring work than to buy a new drum later.
Then, exactly as in the previous case, change the bearings and seals. Hot glue is applied along the cut line, the halves are pressed together. To give greater rigidity to the structure, bolts of a suitable diameter are screwed into the pre-drilled holes. Let the glue harden. Before assembling, the glue seam should be carefully examined again, if there is a suspicion of cracks, questionable areas should be glued again.
The assembled drum is installed in the machine in the reverse order. Screw on the pulley, install the engine, drive belt. The drum is suspended on springs, counterweights are installed, the inlet and outlet pipes are connected, the device is completely assembled.
Breakdowns of an automatic washing machine, for the elimination of which it is necessary to disassemble the drum, are considered the most difficult, however, if you have a small list of tools and desire, they can be eliminated independently. Do-it-yourself washing mashine repair is beneficial in all respects: there is no need to go to a repair shop, money and time are saved. In addition, do-it-yourself repaired equipment is an opportunity to do something with your own hands, which is always nice.


