 Despite the abundance of fairly cheap and high-quality modern washing machines, the time-tested Soviet “Malyutka” still enjoys well-deserved popularity in the post-Soviet space. This is the best washing mashine for a summer house, a small apartment, or for families who move frequently. It is simple, rarely fails, however, if it suddenly breaks down, the question of how to disassemble the Malyutka washing machine can confuse a novice repairman.
Special key
Disassembling the Malyutka washing machine is not a difficult task, but for this you need a tool that is not sold in stores - a key, you will have to do it yourself. It's simple and inexpensive, all you need is:
- a piece of pipe with a diameter of 15-20 mm and a length of up to 20 cm;
- two bolts 6x50 mm with nuts;
- electric or hand drill;
- 6 mm drill for metal;
- pliers;
- screwdriver.
Most likely, all of the above is already in the household of the home craftsman, therefore, there is no need to buy anything. By the way, instead of a pipe, you can use a rectangular profile; it’s even easier to work with.
The key for the Malyutka washing machine is a metal handle (a piece of pipe) into which two bolts are screwed parallel to each other.Their free threaded parts will be the working part of the tool. Therefore, to make a key, it is enough to drill holes at a distance of approximately 95 mm from each other (for greater accuracy, it is worth taking the machine that is supposed to be disassembled and measure the distance between the holes on the activator). The bolts are secured with nuts, the key is ready.
Disassembling the Malyutka washing machine
The most difficult part of the work is done, you can proceed directly to disassembly. Disassembly is not particularly difficult, but you need to work carefully, not use excessive force, and it is important not to forget that the washing mashine will also need to be assembled.
Stage 1. Preparing to disassemble the washing machine
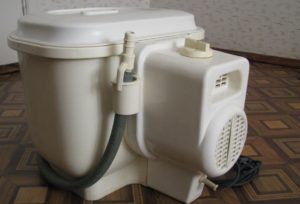
First, remove the cover and put it aside, then you need to remove the drain hose so as not to accidentally damage it. It is also worth removing the wire; it is advisable to wind it up and temporarily secure it to the engine body.
The washing mashine is placed on a flat floor; it seems reasonable to cover it, for example, with an old newspaper, so that nothing gets lost during disassembly.
Stage 2. Locking the rotor
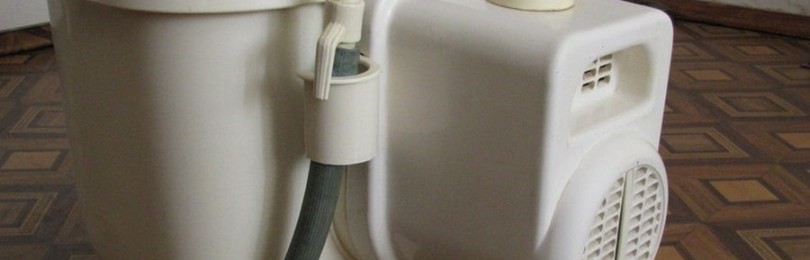
Structurally, the Malyutka washing machine is a laundry tank to which a housing with a motor is attached. Disassembly consists precisely in separating the housing and removing the engine from it.
There is a plastic plug at the rear of the Malyutka engine housing. Using a thin screwdriver, remove it. Next you need to jam the engine. For this purpose, a hole is provided in its impeller. By rotating the activator, align it with the hole on the body and block the movement of the rotor with a regular screwdriver.
Stage 3. Dismantling the housing with the engine
Using a special key, turn the activator and unscrew it together with the flange.It is worth noting that the direction of rotation may vary from model to model; “Baby” ones were produced with different thread directions.
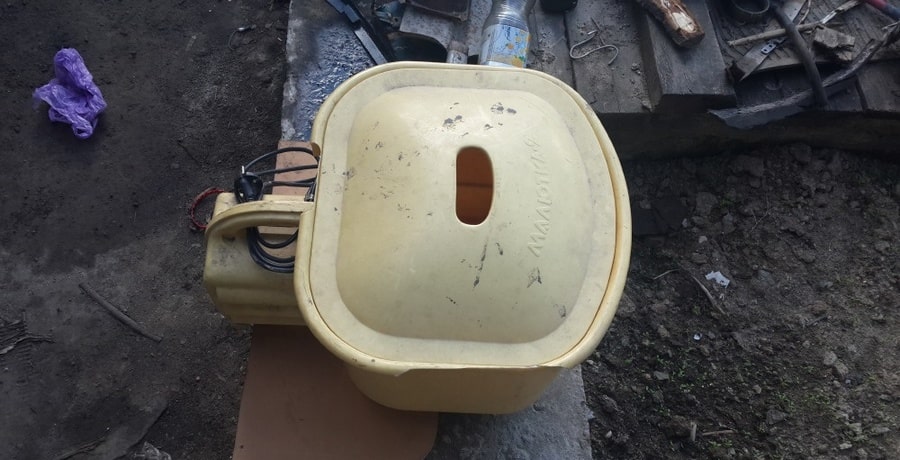
The body itself is attached to the Malyutka tank using six screws that need to be unscrewed. It is important to be extremely careful here; do not forget that the body parts of the machine are made of ordinary plastic; a sudden movement can pierce the body, which will entail expensive repairs, or the need to buy a new machine.
Once all the bolts are removed, the engine housing can be removed. It’s better to put the tank aside; there’s nothing else to unscrew in it.
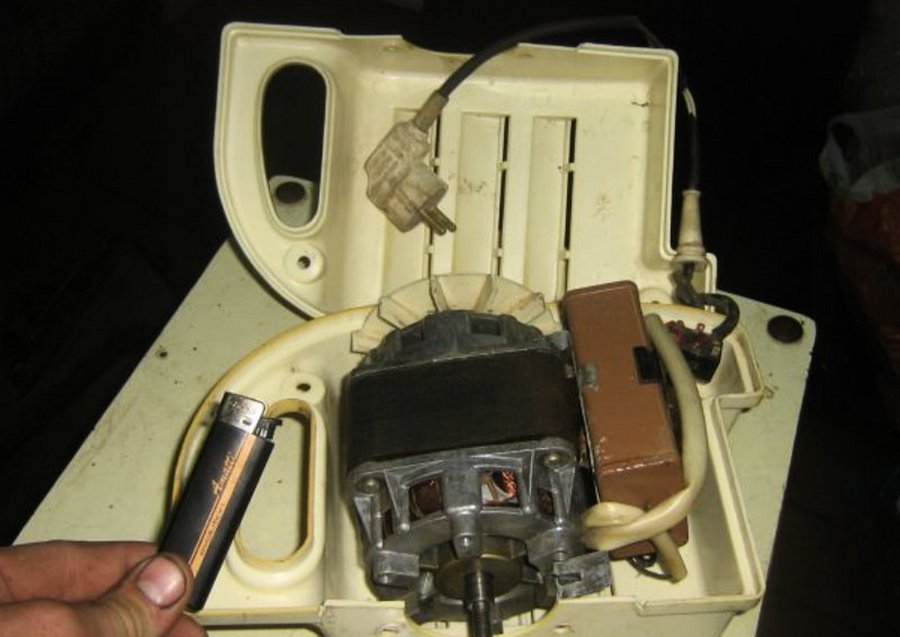
Stage 4. Removing the machine engine
As a rule, the Malyutka washing machine is disassembled in order to replace the seal. If so, then the disassembly is complete. The cuff is accessible and can be changed.
Sometimes complete disassembly is necessary when replacing a motor or circuit components. It's not difficult, you just need to separate the two parts of the casing.
The seal is removed. Remove the elements fixing the halves and carefully remove the side parts without excessive effort. Disassembly of the “Malyutka” is completely completed, you can move on to repairs.
Stage 5. Assembling the washing machine
After the machine is completely disassembled, repair work is carried out. Change the cuff or parts of the control circuits. Next you need to assemble the device. Assembly is no less important a task than disassembly; it is important to connect the component parts correctly so that there are no distortions that will cause loss of tightness.
The work is performed in reverse order. First, install the engine into the housing. Assemble both halves. Check that they are connected correctly.
The seal is assembled, and at the slightest suspicion of loss of elasticity it is changed, this is a cheap part, it will be a shame to disassemble the washing machine again because of it.
The motor housing of the washing machine is screwed to the tank. The mounting bolts are tightened. Using the same homemade key, the activator is tightened, it is important not to forget to jam the motor, otherwise the shaft will spin. The drain hose is connected last. That's it. The repair is done, the "Malutka" washing machine is completely disassembled and reassembled.


Alexander Davydov