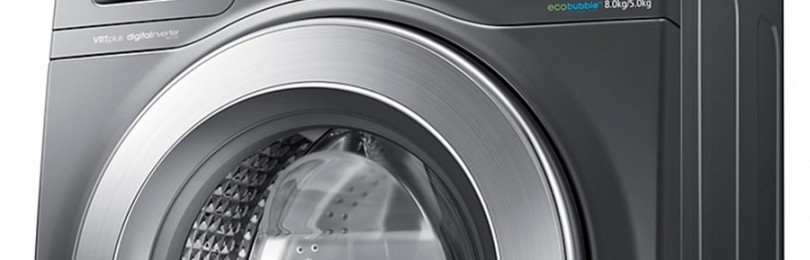
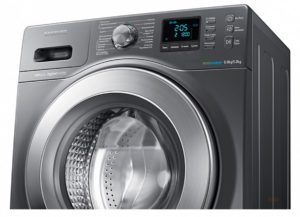
 Samsung washing machines are devices for constant use. Therefore, maintaining a working condition remains an important factor. After all, washing clothes takes a really important place in human life. You can learn to disassemble the machines yourself if you follow the simplest instructions. This article will tell you how to disassemble a Samsung washing machine.
Washing machine: how is it arranged?
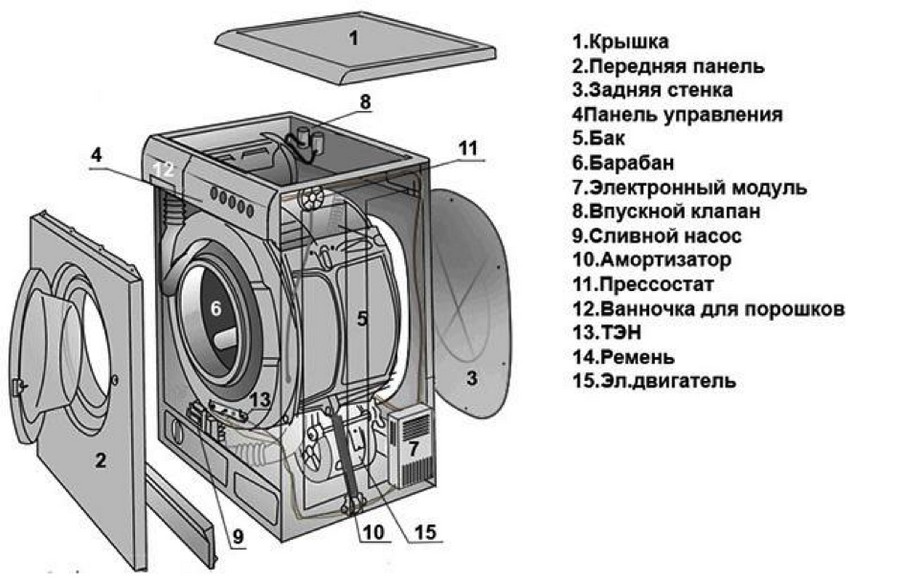
- First, it is worth considering what parts a Samsung washing machine consists of. This determines whether the user can properly disassemble the Samsung machine. They can be described as follows, regardless of the manufacturer:
- There are several panels inside. Front and rear, baseboard options are available.
- A tray of the appropriate type, where you pour and add products.
- A panel with programs is a mandatory component of machines, especially modern ones.
- Each model is equipped with a drum, couplings and a tank.
Weights for the tank.How to disassemble a Samsung washing machine for cleaning or repair - washer.tomathouse.com
Repair
Wash
Exploitation
- Dishwashers Purchase
- Accessories
- Miscellaneous
Reviews
- Home page
- Repair
- How to disassemble a Samsung washing machine for cleaning or repair
- CONTENT
- Washing machine: how does it work?
- Carrying out preparation work
- Let's start the analysis
- Front loading
When loading vertically
About troubleshooting basic problems in Samsung devices
Unexpected stops during washing
Problems while collecting water
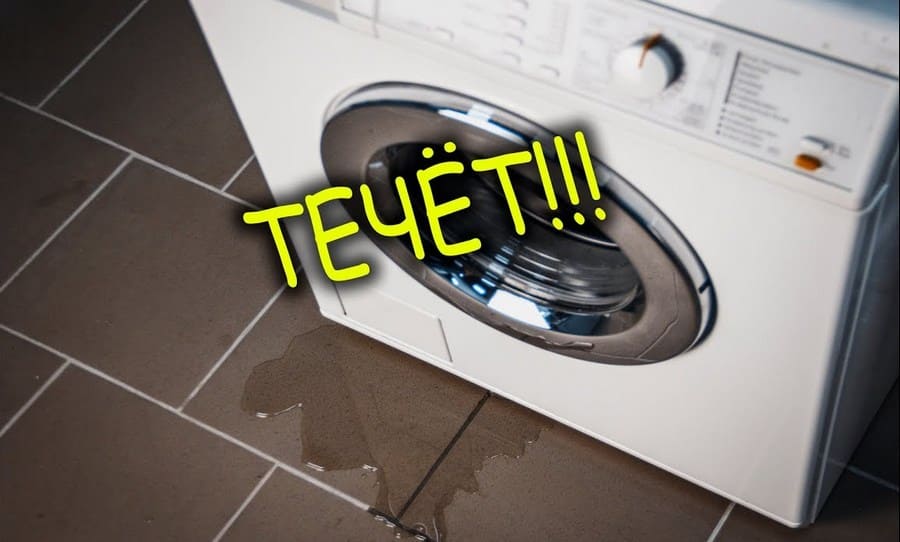
If there is a leak from the unit
- Wear of the heating element, failure of this part
- The appearance of noise and vibration during operationWhat errors are found in programs? Final Thoughts
- Samsung washing machines are permanent appliances. Therefore, maintaining good condition remains an important factor. After all, washing clothes occupies a really important place in human life. You can learn how to disassemble the washing mashines yourself if you follow the simplest instructions possible. This article will tell you how to disassemble a Samsung washing machine.
- Washing machine: how does it work?
- First, it’s worth considering what parts a Samsung washing machine consists of. This determines whether the user can properly disassemble the Samsung machine. Typically they can be described as follows, regardless of the manufacturer:
- There are several panels inside. Front and rear, base versions are available.
- A tray of the appropriate type into which the products are poured and filled. The program panel is an essential component of machines, especially modern ones. Each model is equipped with a drum, couplings and a tank.
Tank weights.
- Engine.
- Spring mechanism.
- Water pump.
- heating element.
Pressostat. Carrying out preparation work Preparation for further disassembly of Samsung washing machines largely depends on the scheme in which the laundry is loaded - vertically, in the frontal version. Sometimes, to access the internal parts, it is enough to remove a special panel located at the back. This makes disassembly easier.
It is recommended to study in advance the electrical diagram and description of the main components for a specific model of a Samsung washing machine. Only after this can the owner begin the independent repair and disassembly process.
Before disassembling the Samsung washing machine begins, the following steps must be performed:
- First, the instructions are studied along with all the rules described in it. They say there
- how to disassemble the case.
- Then you need to start preparing the appropriate equipment.
At the next stages, the machine is completely disconnected from the supply of electricity and water. The drain hose and the outlet to the sewer must also be disconnected. Disassembly is easy here.
As for the equipment for disassembling a Samsung washing machine, it will consist of the following items:
- Long bent pliers.
- Insulated pliers.
- An ordinary type of wire cutter.
- Pliers and wire cutters used to process self-clamping clamps.
Phillips head screwdriver. Flathead screwdriver. Wrenches for 19, 9 and 8.
Service key. Without it, disassembly is impossible.
When disassembling a Samsung washing machine, you need to take into account that most of the parts are made of plastic. Therefore, you need to work carefully and carefully.Otherwise, the elements may be damaged and will have to be replaced, which will involve additional costs.
Let's start the analysis
Automatic, semi-automatic modern washing machines in most cases are produced with front loading. For other types of devices, loading is vertical. It is worth understanding the disassembly diagram for a Samsung washing machine in each case.
Front loading
Each manufacturer has certain features, but there is a procedure that always remains approximately the same:
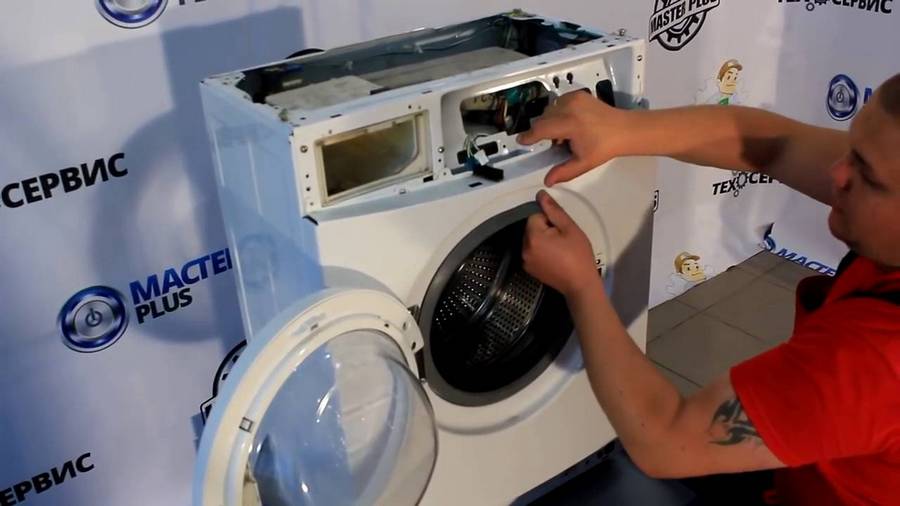
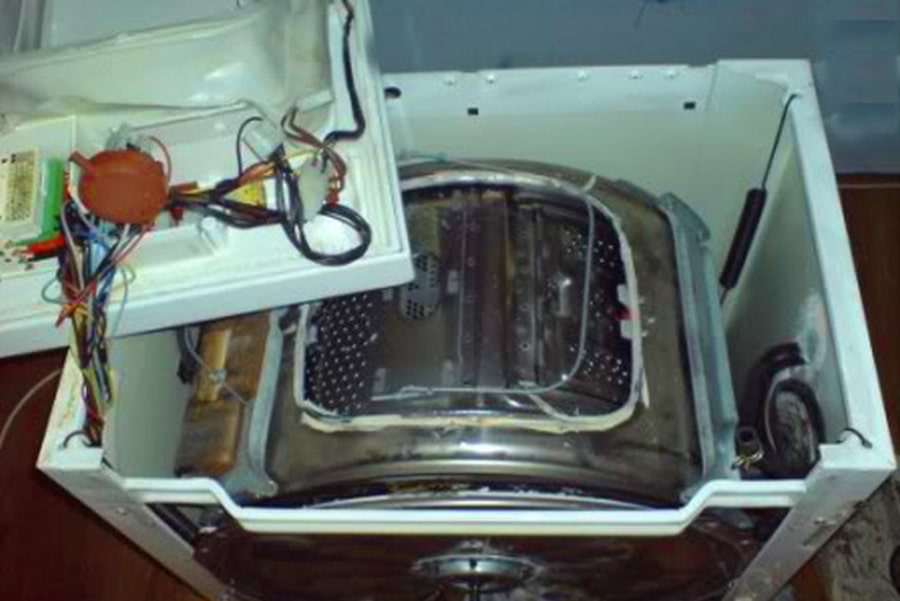
First, the top type panel is removed from the Samsung washing machine. We use a Phillips screwdriver to unscrew all the fasteners. The owner then carefully pulls the lid towards himself to remove it. The main thing is to be especially careful so that the parts do not break.
Next, release the distributor recess. It is designed to be placed inside a powder or other type of cleaner. Press your finger on the special central area. At the next stage, the container is removed easily and simply.
Disassemble the pump
won't be difficult.
- The control unit is also dismantled. First, the bolts are unscrewed from the top of the upper control panel. Particular care is needed when turning the blocks 90 degrees. Then all that remains is to remove this block from the neighboring mechanisms. Connectors and special wires are also disconnected. To do this, they are simply pulled out of special grooves, and disassembly continues.
- The service-type panel is located at the bottom of the front part of Samsung washing machines. When disassembling, it is also removed for a while during disassembly. To do this, you will have to unscrew all the bolts on the sides.To remove the panel, you will need to carefully pry it open with a flat-head screwdriver.
- A rubber-based cuff is separated from the panel in the middle. You need to pry the clamp with a screwdriver. Then the entire part is freed from the grooves.
- The next stage is removing the counterweights during disassembly. In Samsung washing mashines, such parts can be located both in front and behind. They look like blocks made of concrete. The design is designed to ensure that the washing machine does not make strong extraneous noise during operation. Long bolts are usually used for fastening. Without unscrewing them, you cannot temporarily get rid of the counterweights.
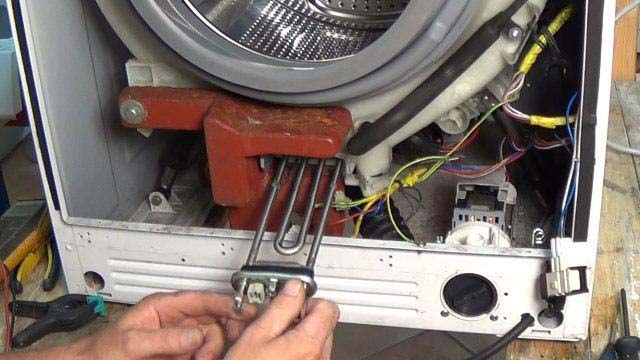
- The heating element is the heating element of a Samsung washing machine, which is removed next during disassembly. The back side of the lower part of the tank is where this part is located on many modern washing mashines. The fixing nut must be opened first. And this detail is easy to find in the center. Next, press on the pin used when twisting the nut itself.
Disassemble the drum
no more difficult.
The pin is pressed inward. You can tap the surface with a hammer if it is difficult to handle the work manually. The heating element is easily pryed off with a screwdriver having a flat end. Afterwards the element is carefully removed. Let's move on to the next stages of disassembly.
The drive belt of a Samsung washing machine is also removable. It extends from the engine to the pulley. The latter, in turn, is connected to the tank. All wires inside the tank and motor must be removed. First, the fixing elements of the tank are removed, then they move on to the tank itself.
The next step is to remove the panel in the center. This element is attached to the body with 4 bolts - these are the first to be removed.Then the panel itself is dismantled.
The sunroof lock connector can be disconnected separately.
The panel at the back is also removable if necessary. The pinch bolt and mounting screws must be removed. The disassembly ends.
Assembly is performed in the reverse order of all the steps described above. When assembling, it is important that each element is in its place. Any small mistake can lead to premature failure of the device. Therefore, while disassembly is underway, it is recommended to remember the exact locations. Then
disassemble the drain hose
- will be simpler.
- When loading vertically
- Disassembling such devices can cause certain difficulties for a novice master. Here are just a few of the malfunctions that device owners encounter most often:
- The drum quickly loses balance during washing.
- The drum suddenly opens on its own.
- Corrosion of metal blocks. Then disassembling doesn't help.
- Bearing failure is another major problem that almost every owner faces. You will need to disassemble the machine to fix the problem.
- Disassembly proceeds in the following order:
- Unscrewing the screws from the side.
- Shifting the block towards the person doing the repairs.
Disconnecting all wires.
Pulling out the panel of the Samsung washing machine itself. Disassembly is complete.
The presence of the WF marking on the washing machine indicates support for the front loading type. WD – designation of the function of the built-in dryer. The accompanying documents help you understand how
disassemble with your own hands


