 Zanussi vertical and front washing machines are distinguished by high quality washing and reliability, but over time they also fail. The user can fix most of the problems on his own by purchasing spare parts and selecting the right tool. To carry out the work of replacing parts, he needs to know how to disassemble a Zanussi washing machine partially or completely, depending on the type of repair.
Preparatory stage
Depending on which faulty component requires replacement or repair, the Zanussi washing machine will need to be partially or completely disassembled. First you need to collect the necessary tools and prepare the equipment.
The washing machine must be disconnected from the network, water supply and sewerage, and then moved to a spacious room convenient for carrying out work. It is recommended to place one or two tables nearby on which the disconnected components will be placed.
To disassemble the washing machine, the owner of the device will need:
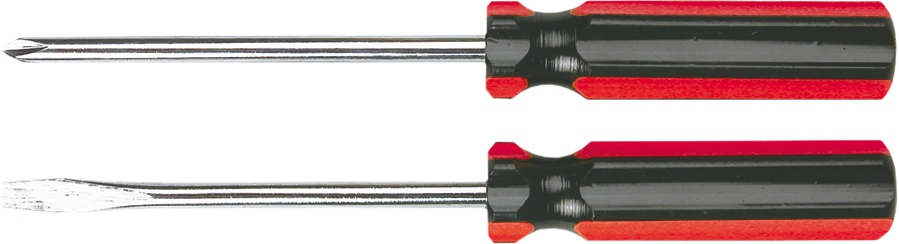
- slotted and Phillips screwdrivers;
- set of keys;
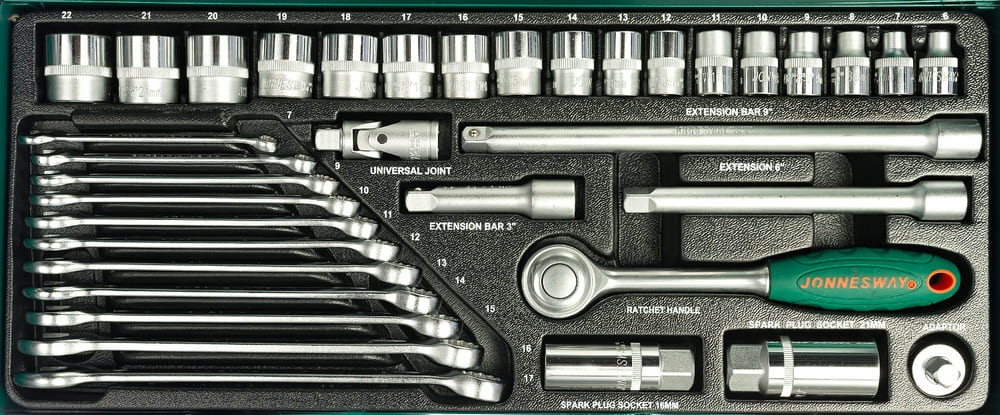
- set of socket heads;
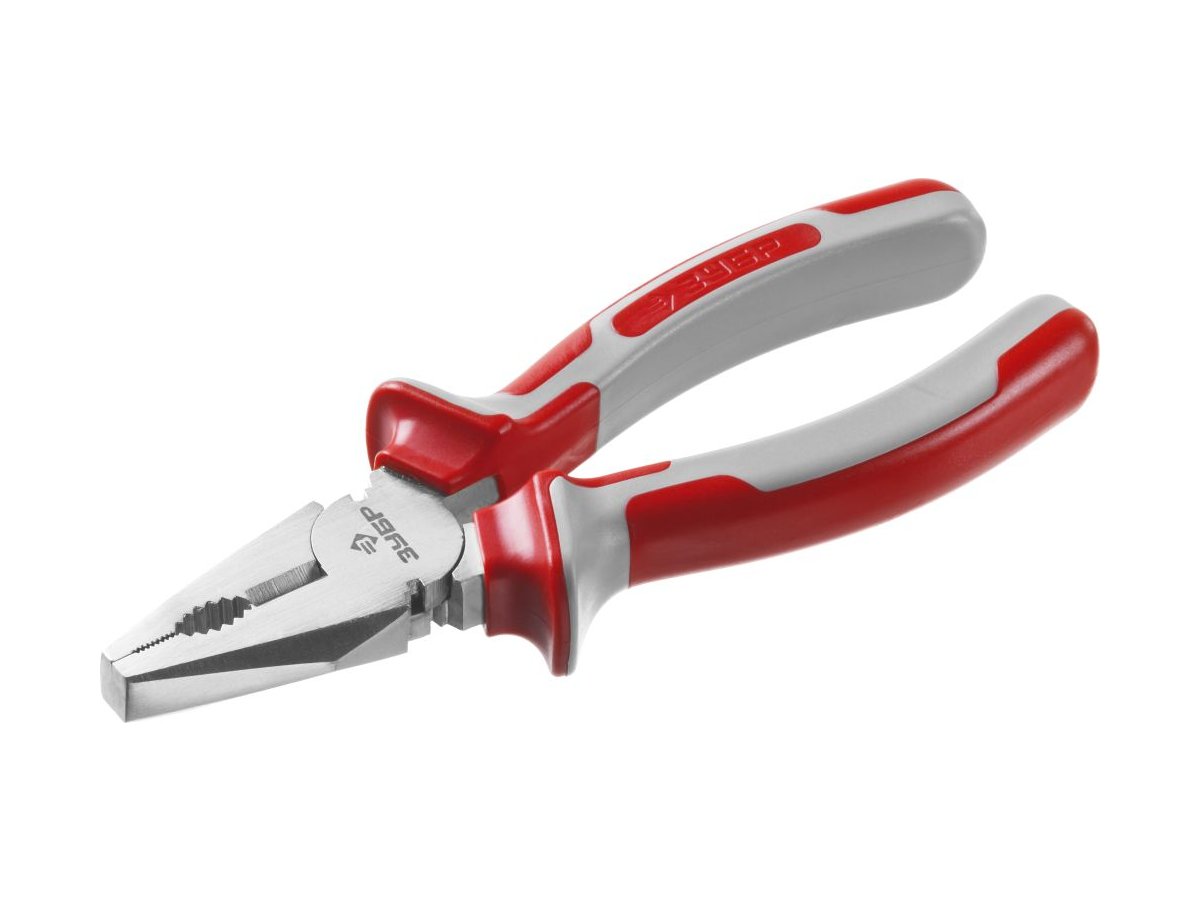
- pliers;
- wire cutters;
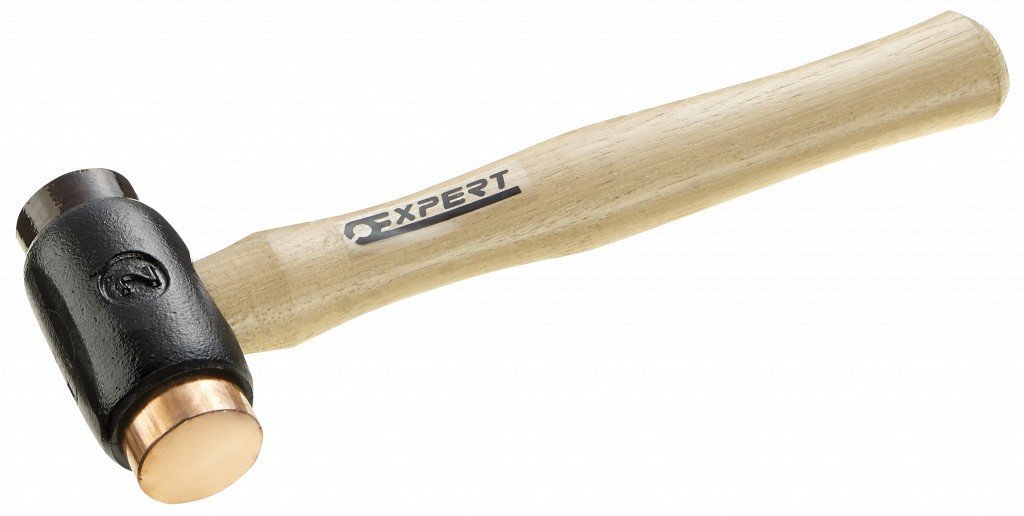
- hammer;
- chisel;
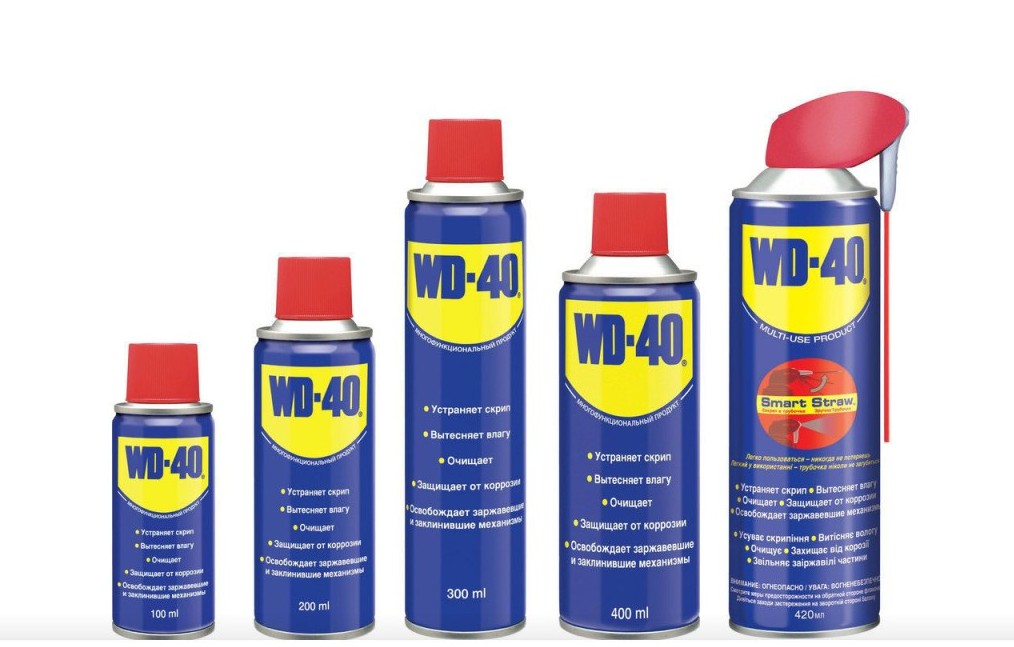
- WD-40;
- Silicone sealant.

In addition to the tool, you need to purchase spare parts from a service center or specialized store, or they can also be ordered online. To purchase, you will need to name the make and model of your Zanussi washing machine.
During repair work, it may turn out that other parts require replacement. Therefore, it is recommended to first disassemble the equipment, inspect all important components, and only then go shopping.
Before disassembling the Zanussi washing machine, you need to prepare your phone or camera and take pictures of the equipment before disconnecting any component, especially before disconnecting the wiring. This will protect against possible errors during assembly and help avoid costly repairs in case of incorrect actions.
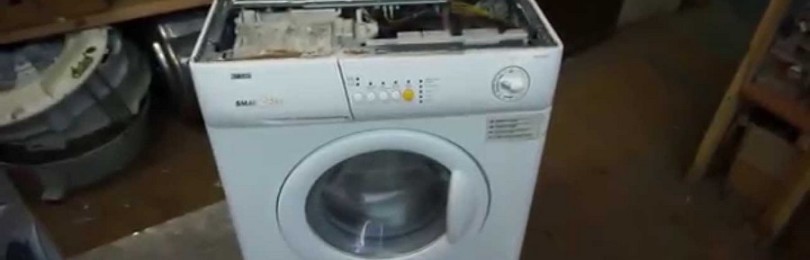
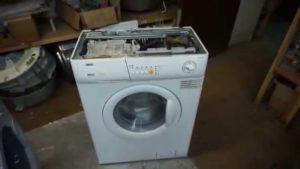
Analysis of the Zanussi front washing machine

Typically, the body of washing machines consists of a top cover, a front, a back and two side panels. Sometimes there is a bottom pan. Zanussi's technique is slightly different - instead of four panels, the body is divided into two halves, connecting at the sides of the washing machine.
To disassemble the equipment, you need to perform the following steps:
- Unscrew the screws, move it back a little and lift the top cover.
- Under the cover in the middle there is a metal plate, along its edges there is a fastener that holds the front and back panels. You need to unscrew it.
- There are plastic plugs on the sides of the machine at the panel joints. They need to be pryed and pulled out. There are screws underneath that will need to be removed.
- On some models, two more screws are located on the bottom of the back of the washing machine. They also need to be removed.
- Now both halves are fixed only with a plastic holder. To remove it, you need to carefully press the latches.Sometimes it can consist of two halves connected with a screw. Unscrew the fasteners, press the latches, after which the holder rises up and moves to the side.
- Now you can move and move to the side the back half of the case.
Partial disassembly of the washing machine is complete. Now the owner of the device gets access to the motor, pump, heating element, belt and many other units for repair or replacement.
In some cases, for example, to replace the bearing, it is necessary to completely disassemble the Zanussi washing machine.
- First, you need to disconnect the wiring from the heating element and motor, pressure switches and pump, water inlet valve. It is recommended to mark the wires or take a photo before disconnecting. If errors are made in its connection during assembly, this can lead to serious consequences.
- Remove and pull out the temperature sensor.
- Unscrew the upper counterweight.
- Turn the pulley, remove the drive belt.
- Loosen the clamps, disconnect the pipes. Unscrew the fastener holding the motor.
- Using light blows on the pulley, move and remove the motor.
- Unscrew the nut between the contacts of the heating element, carefully, so as not to break the contacts, pull out the heating element.
- Unscrew the tank posts.
- Disconnect and remove the pressure switch, loosen the clamps, release the filling pipes and pull them out together with the water inlet valve.
- Unscrew the drain pump, disconnect it from it and put aside the hose.
- Disconnect the pipe at the top of the tank.
- Open the hatch, pull back and pull the cuff towards you. Use a screwdriver to pry the clamp, find and loosen the latch, remove the clamp.
- Pull back the upper part of the cuff, find the watering pipe, loosen the clamps, then disconnect the part.
- Unscrew the interference filter.Sometimes it may consist of two halves connected by a screw. Unscrew the fasteners, press the latches, after which the holder rises up and moves to the side.
- Now you can move and remove the back half of the case.
- Partial disassembly of the washing machine has been completed. Now the owner of the device has access to the motor, pump, heating element, belt and many other components for repair or replacement.
- In some cases, for example, to replace a bearing, it is necessary to completely disassemble the Zanussi washing machine.
- First you need to disconnect the wiring from the heating element and motor, pressure switches and pump, and water inlet valve. It is recommended that the wires be marked or photographed before disconnecting. If errors in its connection are made during assembly, this can lead to serious consequences.
- Remove and pull out the temperature sensor.
- Unscrew the upper counterweight.
- While rotating the pulley, remove the drive belt.
- Unclench the clamps and disconnect the pipes.
- Unscrew the fasteners holding the motor.
- Lightly tap the pulley to move and remove the engine.
- Unscrew the nut between the contacts of the heating element, carefully so as not to break the contacts, and pull out the heating element.
- Unscrew the tank struts.
Disconnect and remove the pressure switch, loosen the clamps, release the fill pipes and pull them out along with the water fill valve.
Unscrew the drain pump, disconnect the hose from it and move it aside.

Disconnect the pipe at the top of the tank.
- Open the hatch, pull the cuff back and pull it towards you. Use a screwdriver to pry up the clamp, find and release the latch, and remove the clamp.
- Pull the upper part of the cuff, find the watering pipe, loosen the clamps, then disconnect the part.
- Unscrew the interference filter.
Unscrew the two screws, stick your hand inside the tank and pull out the hatch locking device.
Close the hatch, unscrew the fasteners, remove the hatch.
- Pull out the detergent cuvette, unscrew the fasteners under it and on top that hold the control panel. Release the latches, disconnect the wires, remove and put it away.
- Remove the tank from the springs and pull it out of the housing.
- Disconnect the counterweight.
- Place the water tank with the hatch down, block the pulley, and unscrew the bolt. If it does not budge, lubricate it with WD-40, wait a while, and then try again.
Grasp the pulley with both hands and, swinging it to the sides, separate it.
If the tank is collapsible, unscrew all the screws and remove the top part.
If it is non-separable, select the screws with which it will be connected during assembly and drill holes for them along the seam of the tank. Next, saw the tank along the seam.
In place of the screw that held the pulley, screw in a similar old screw and knock out the shaft with hammer blows at a right angle.
You can then remove the drum from the bottom of the tank.
Now you can disassemble the drum, replace the bearings, inspect and clean the shaft and cross, and perform other work. Complete disassembly of the washing machine has been completed.
Dismantling the Zanussi vertical washing machine
The disassembly process for vertical washing machines manufactured by Zanussi is a little simpler. So, to replace the bearings there is no need to disassemble the tank. Procedure:
Pry up the sides of the control panel and release the latches.
Pull up and then move back a little, tilt, disconnect the wiring, remove the panel.
There is a guide at the top of the panel, and a special groove on the side, which can be used to fix the panel.
Now the user has access to the pressure switch, control board, water inlet valve and interference filter.
To get to the remaining nodes, you need to:
Unscrew the fasteners from the back of the machine, slide the side panels back, remove and put away.


