 The washing machine has firmly entered the everyday life of the modern housewife. It saves energy and time. But, like all things, some pieces of equipment can wear out over time. This also applies to the rubber door seal. To fix the problem, you can go in two ways: call a technician who will replace the hatch cuff of an LG washing machine, or do the work yourself. The second option will take longer, but will save you money.
Causes of malfunction
Before you begin replacing an element, you need to determine the cause of the failure. As a rule, there are two of them: wear of the part or its mechanical damage.
For example:
- long-term use has led to wear of the rubber component;
- the use of strong chemical compounds when washing clothes;
- a situation with the hatch being clogged with small hard objects (buttons, badges, pins);
- regular use of sma lg for washing down jackets, coats, sneakers;
- the appearance of fungus;
- using washing powder of inadequate quality or exceeding the maximum volume;
- friction when working on the inner edge of the body;
- improper care of equipment.
How to remove the cuff
Before you begin, you must disconnect the equipment from the power supply. If you have no experience in carrying out such repair work, you may need up to 50-60 minutes of free time, patience, perseverance and dexterity. All actions should be performed in the garage and workshop.If there are no such premises, you should free up enough space in the apartment. This is necessary for free access to equipment, so that the components do not lie in a common pile and do not get mixed up.
To remove the element, you will need the following tools:
- 2 screwdrivers;
- round nose pliers;
- soap solution;
- alcohol marker.
If the washing machine is front-loading, then disassembling the body will not be necessary. And this, accordingly, saves effort and time.
If the equipment has a vertical method of loading dirty laundry, then you will need to disassemble the housing.
Before you begin repairs, you should buy a new component. To do this, you need to know the serial number of the washing mashine, it is indicated in the passport. You can choose the right part yourself.
Stages of work:
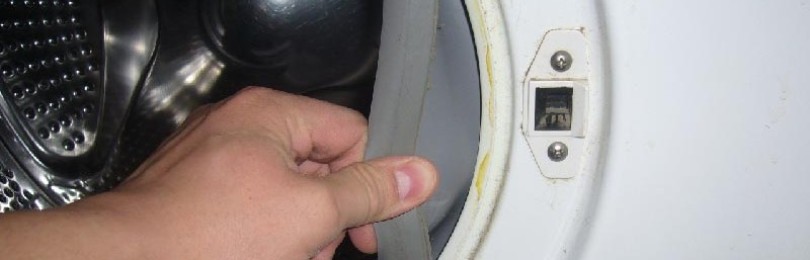
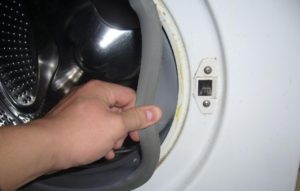
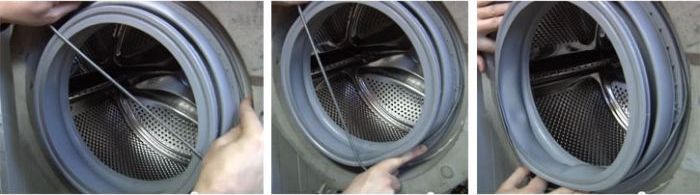
- Remove both clamps that secure the rubber component. To do this, you need to slightly pull it towards you at the places where the clamps are attached. If the element is a spring device, then you need to unscrew the screw and pull it towards you.
- We disconnect the front part, which was previously held by tension. There are marks on the device and tank for correct placement. If there is no mark on the new component, you should mark it yourself with an alcohol marker.
- Now the next clamp is removed, which secures the part from the inside. Before this, you need to remove the outer part along with the hatch. The work is not easy and requires care so as not to scratch them.
- To remove the upper part, you need to unscrew the screws located behind, there are 2 of them. Remove the detergent compartment by pressing the blue locking device.
- Unscrew the screws that secure the control panel to the machine body, there are also two of them. Gently release the latches and gradually pull out the panel.
- Next, loosen the tension on the wires going to the body. Move the panel device to the side and secure it with electrical tape. You don’t have to do this, but simply move it away.
- Unscrew 2 self-tapping screws, through which the outer part with the hatch is attached to the body of the equipment.
- Remove the cover that covers the filter at the drain pump and unscrew the next screw.
- Tilt the device back a little and remove the front panel. To do this, carefully release the double-sided latches. You can use a screwdriver to make the task easier.
- Unscrew the upper mounting screws, and then the lower ones.
- Typically, the rubber element is reinforced with two counterweights. To prevent them from interfering with further work, they must be unpinned.
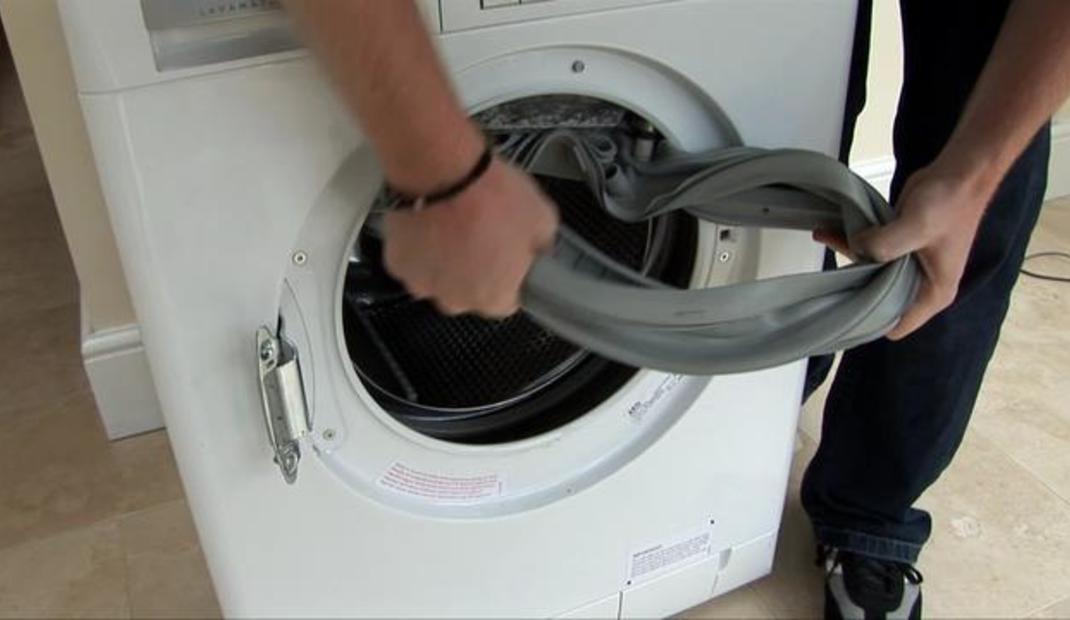
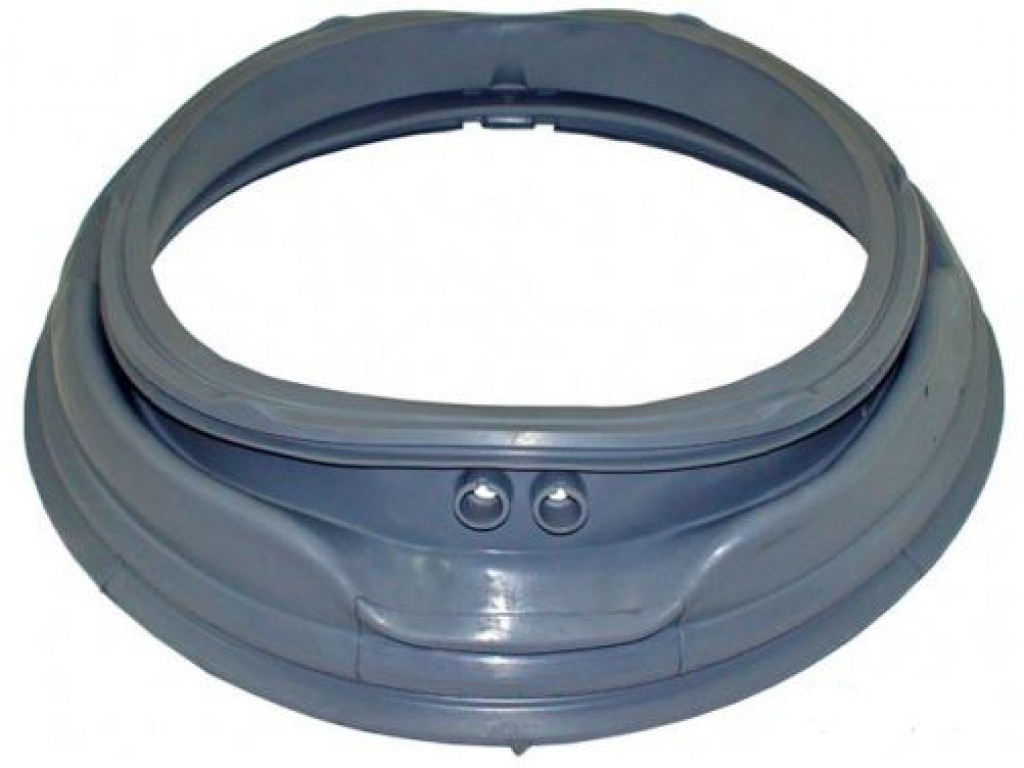
- Finally, remove the sealing collar. It also has a mark on the inside for proper fastening.
- Carefully remove accumulated dirt. This procedure is necessary to ensure that the new component lasts as long as possible.
- We install the new part, while carefully comparing the marks on it and on the tank of the machine. The rubber has the following marks: the top is determined by a small protrusion, the bottom by through holes. There is a triangular symbol on the washing machine tub.
- Pull the part over the edges of the tank, then around the entire circle, gradually working with your hands. If difficulties arise with tensioning the component, then these places can be anointed with any dishwashing substance.
- Check that the sealing rubber is positioned correctly. Rotate the drum; it should not touch the part.
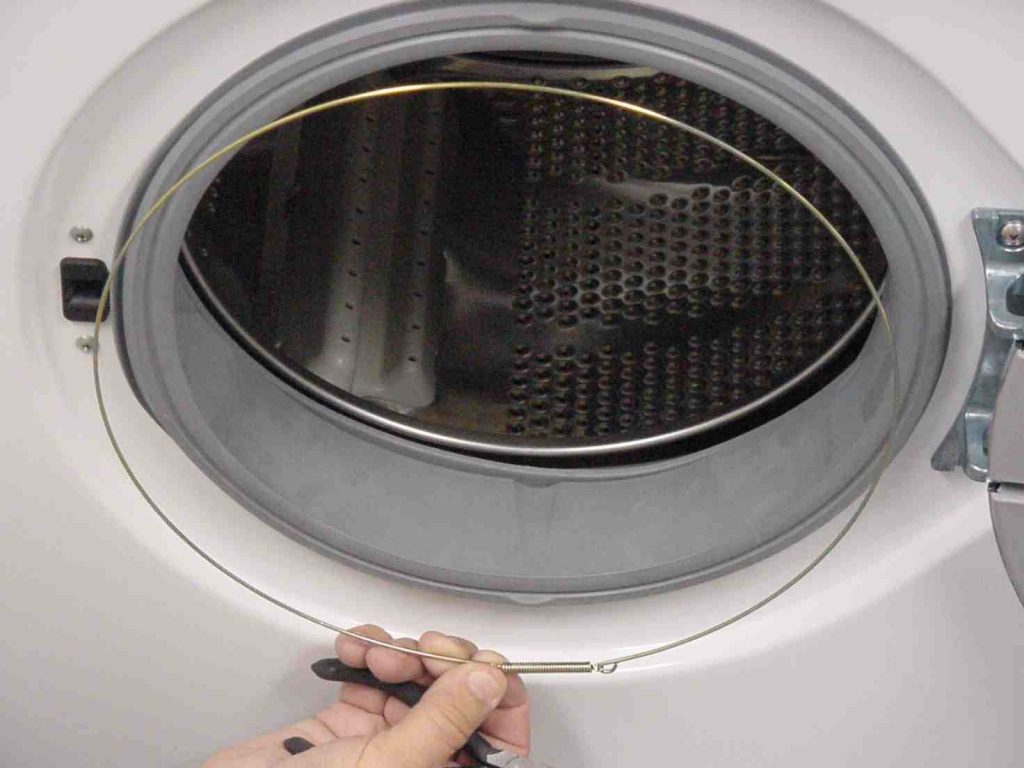
- Now the work is being done in reverse order. Reinstall the clamp.The end with the hook is inserted into the groove, and the end with the spring is pulled over it.
- Install both counterweights and screw in the screws.
- Reinstall the front panel.
- Using special latches, secure the front bar.
- Mount the control panel and screw in the remaining screws.
- Don't forget to put the detergent compartment back in place.
- And one last thing. Pull the component onto the outer casing and secure the last clamp.
- Connect the machine to the network and check its serviceability.
It must be remembered that each washing machine has its own components. When buying a cuff from another company, there is a risk that it will not be sealed. Lack of tightness, in turn, can lead to the hatch leaking.
If there is no time or money to replace the element, then the rubber part can simply be sealed. But such repairs are short-lived and can only be considered as a temporary measure.
Now it is clear how to change the cuff, and that specialized skills are not required for this. This part requires regular maintenance. Namely, after each wash it is necessary to wash it from accumulating dirt in order to prevent the growth of bacteria and the appearance of fungus, which, in turn, do not contribute to the long-term use of the cuff.
Other types of breakdowns
Having completed the repair work, it would be useful to check the correctness and tightness of the installation of the new element. To do this, you need to turn on the washing machine, but do not put laundry in it. During its work, it will become clear whether something needs to be redone or not.
What other difficulties might you encounter? For example:
- Broken handle on equipment. To fix the problem, you will have to replace the entire hatch. This is a simple job that only requires a couple of screwdrivers.A new part can be purchased online or in person in a store if specialist advice is needed. In this case, the consultant will help you select the necessary element, and also offer services for replacing the hatch.
- The drum does not work and does not rotate. The reason may be the presence of a foreign object in the tank, or the drive belt has come off the mounting.
- Water is not drained. Here the hose may be bent, clogged with accumulated debris, or the drain pump itself may be broken.


