 The water level sensor in a washing machine is called a pressure switch. This is a critical part responsible for the flow of water into the drum. Therefore, machine users should know simple and accessible things, including how to independently determine the functionality of this main part.
How to find out about a breakdown
A pressure switch is a specially designed part necessary to control the level of water or other liquid and not only in washing units. It is used in many technical devices where it is required. This device signals the remaining amount of gasoline or other fuel in the car’s gas tank, is used in compressor units, and with its help it is easy to control the amount of windshield washer fluid.
Washing, including heating and rinsing in the machine, depends on the water level and the uninterrupted operation of the pressure switch. If a malfunction occurs during the operation of the washing machine, this circumstance can be immediately noticed by the following criteria:
- The washing process has started, but there is no or little water in the drum.
- The spin program has ended, but the laundry is still damp.
- When the tank is empty, the heating elements turn on.
- Water is poured into the tank above the established level, and overflow is also observed.
- After finishing the wash, the waste water is not drained.
- The Rinse program does not start at all.
All of the above may be a consequence of wear of the pressure switch, as well as a violation of the recommendations for operating the equipment. If the filter is clogged, then the water may also not drain, and the heating elements receive a command to start them.
If the voltage indicator is low, then this ultimately provokes a malfunction of the components and individual elements of the washing unit. If the machine cannot be programmed to check the pressure switch, you must check its serviceability yourself. There are cases when it is simply clogged with debris, but most models provide lighting in the event of a failure. It’s not difficult to determine this; just look at the device’s passport or operating instructions. Different manufacturers have their own fault coding, for example:
- The technical device from Indesit or Ariston reads: F05 or F11.
- Bosch unit: F18 or D 02. D 03.
- Popular manufacturer of Lg equipment: OE/
- Global manufacturer of household appliances Samsung: E2.
- Electrolux company: E F1.
- A company engaged in the production of washing units of the Ardo model: F2.
In any situation, you should initially check the sensor yourself, and only then contact a service workshop. Since malfunctions are also possible for other reasons, for example, the pump has stopped functioning, the filter is clogged, or the rubber gasket is not installed correctly.
The main difficulty when checking is only inconvenience, because the unit will have to be moved away from the wall or the machine must first be disassembled.
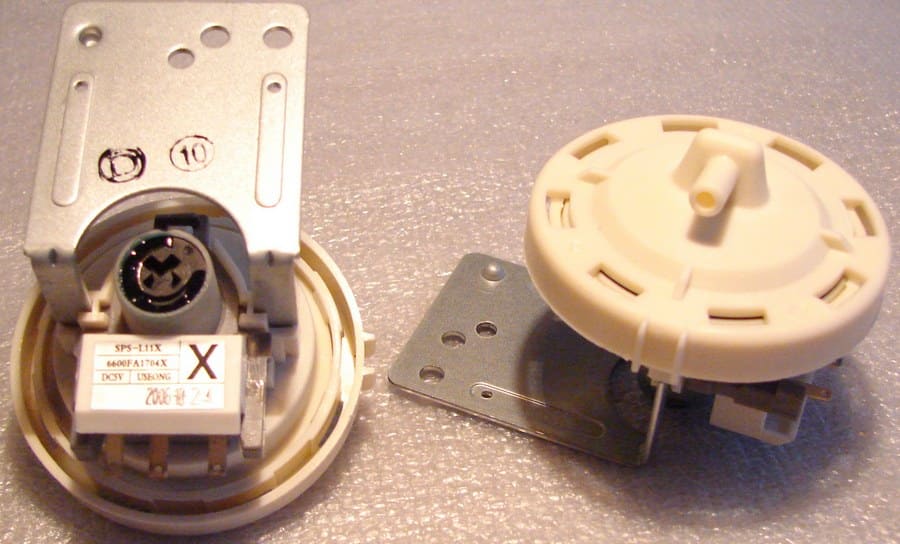
Sensor design
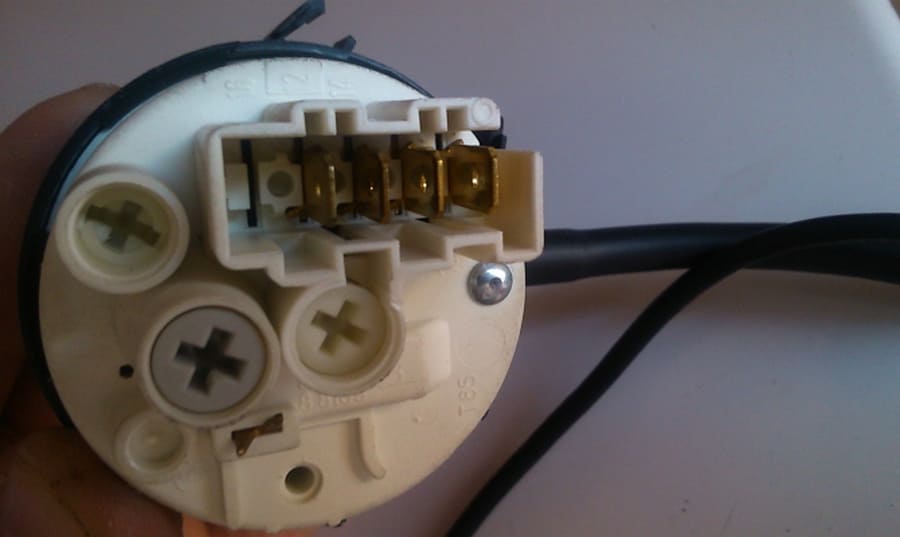
The pressure switch is designed to be round, with flat adjusting screws and contacts located on the outside. The function of the screws is to adjust and regulate the switching on and off of the pumping device at a given water level. There is a pair for the water level mode, namely:
- For a full load of the drum.
- If the unit is loaded only halfway.
- The "Delicate Wash" mode.
4.Economy mode.
One screw is supposed to turn on when the required level is reached, and the second one works to turn off.
The model range of the offered machines differs in the number of modes, that is, the sensor is adjusted for a certain model. To purchase a replacement element, you must tell the seller the model name, since an analog from other equipment will not fit.
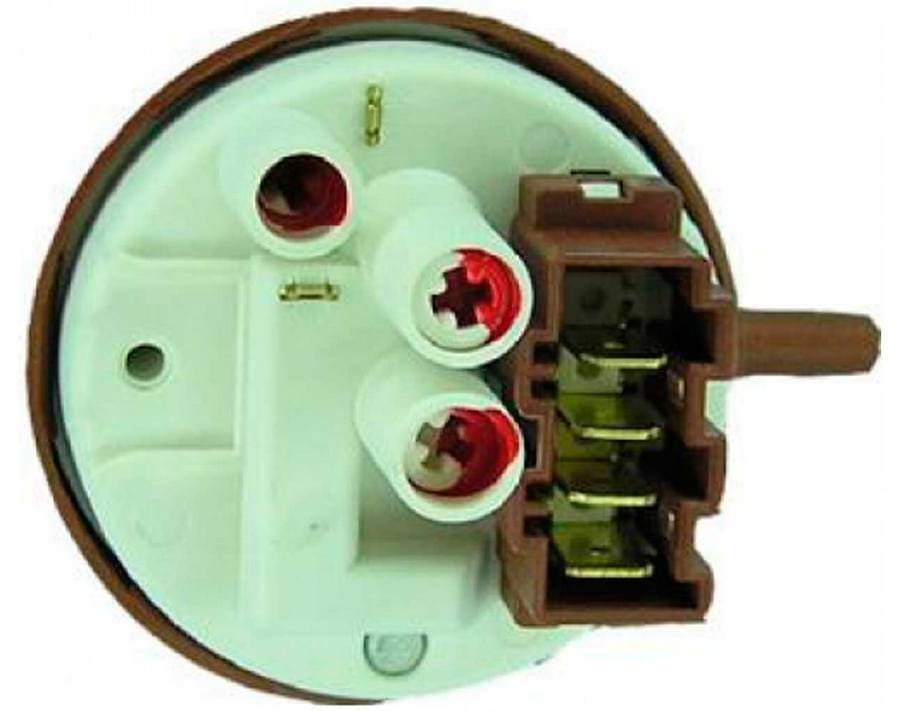
The screw heads themselves are painted, this allows them to be unscrewed and installed without error, and the paint itself acts as a seal for the unit. If the coating is damaged, then we can say that the warranty will not be valid automatically.
The cylinder is designed with an air chamber connected to a tube, which in turn is lowered into the tank. When water is collected, the pressure indicator increases and a notification is transmitted from the built-in membrane to the signal contacts.
The terminals are in one row and are located along the entire plane of the sensor, after which a terminal block with wiring is installed on them, directed to the direct program. From the end, a tube of different sizes is lowered into the tank.
How is the device checked and cleaned
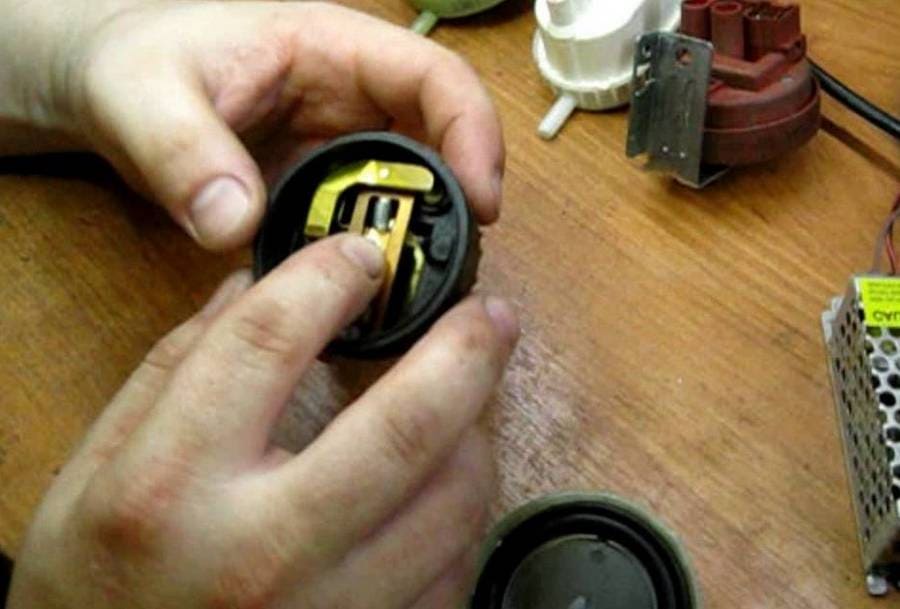
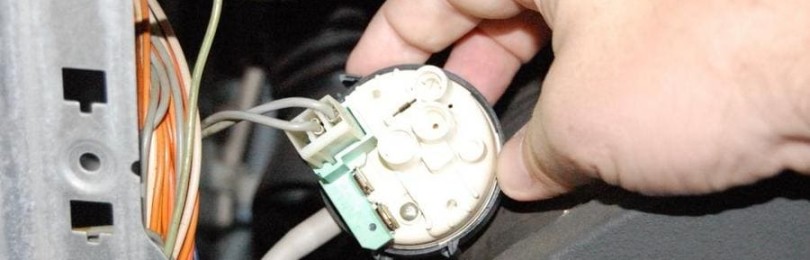
The sensor is checked for operability only when it is removed from the washing machine.As a rule, it is installed behind the front panel, at the top, located closer to the tank.
The removal and cleaning process is carried out according to the following algorithm:
- It is necessary to de-energize the equipment, that is, remove the plug from the socket.
- Release the back wall by moving the machine away from the wall, or better yet, turn it around.
- The top cover is secured to two bolts located at the back. It's easy to unscrew them using a Phillips screwdriver.
- Lift the edge of the lid a little and pull it back a little.
- Now you can see the pressure switch.
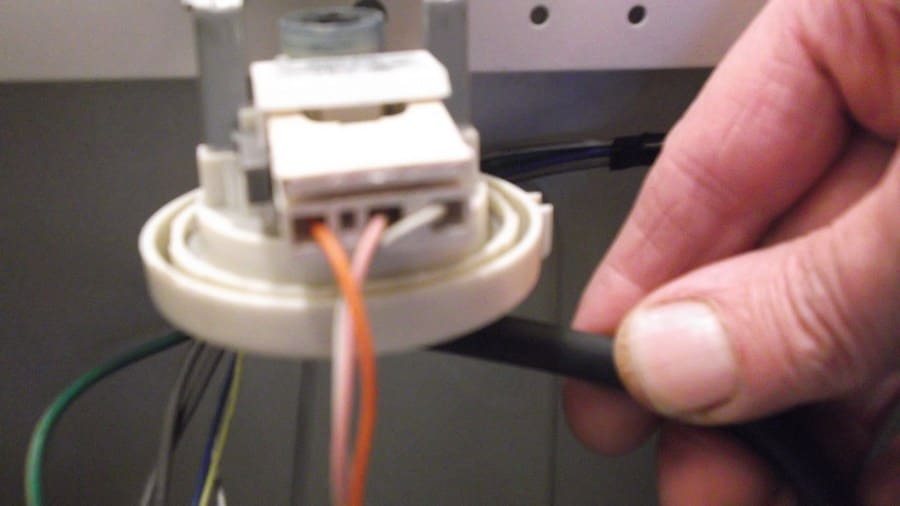
- Find the pressure switch and disconnect the tube from it, and then remove the clamp with pliers.
- Visually inspect the tube for blockages and other defects. If debris is noticed, it should be removed, and if there is damage, it is recommended to replace the tube.
- The wires connected to the programming unit must be disconnected. After the pressure switch terminal, visually inspect and clean.
- Attach a tube of the same diameter to the sensor, providing a supply to the tank, and then blow into the cavity.
If the operation of the pressure switch is normal, clicks are heard from the device, this depends on the water supply mode, usually from 1 to 3.
When checking the sensor to ensure its serviceability, it is recommended to prepare a tall and transparent container with water. The optimal solution would be to use a five-liter bottle with the top cut off. The testing process is simple: the tube must be periodically lowered into the water, and then raised, and clicks can be heard.
Replacing the sensor
It is not possible to repair the pressure switch in all cases, so the best solution would be to purchase a new one and replace it. The sensor is supposed to be replaced with one similar to the type and model of the washing unit.Before purchasing a new unit, it is recommended that you do the following:
- Clearly rewrite the name of the pressure switch that has become unusable, double-checking each symbol or letter.
- Inform the seller of the model to eliminate the possibility of error.
Ideally, you would purchase a marked relay, in accordance with the number written on the sensor housing element.
To install, just use the following algorithm:
- Install the tube that was originally removed from the used pressure switch in the same place, but only on a different sensor.
- All electrical wires must be connected to the sensor.
3.Using bolts, the pressure switch is installed in its intended place.
- The top cover of the washing unit is reinstalled in its intended place, but do not forget about securing it with bolts.
- Now you can connect the machine to the electrical network.
- Loading laundry into the drum is the next operation.
- Set the recommended washing mode and start the mechanism.
After the repair has been carried out, it is strongly recommended to be nearby to observe how the unit functions, so you can conclude whether everything was done correctly. In the absence of comments or other failures, there is reason to believe that everything is normal.
How to configure the pressure switch
We must not forget about fine-tuning the water level sensor, even if everything was done correctly. It should be taken into account that it must operate in a timely manner, despite fluctuations in pressure. All signals must be directed to the centrally located control processor.Only this will determine how much water the tank will be filled with, and it differs at the washing stage.
Calibration, performed with a given accuracy, is carried out by the manufacturer, since specialized ohmmeter devices are used, but under optimal operating conditions no additional adjustment of this element is required. Specialized workshops do not recommend, and also strictly prohibit, adjusting the pressure switch in homes on their own.
There is a seal on the bolt intended for adjustment and its integrity cannot be violated in any way. It is worth remembering that even if you place a screwdriver and unscrew it a little, the sensor setting is automatically lost, and this indicates that the guarantee of flawless operation of the unit is reduced to a minimum.
You should know that all work associated with manually setting the sensor ultimately leads to the heating element burning out, and this circumstance will definitely lead to high repair costs, and even to breakdown of the washing machine.
When it is determined that the cause of the malfunction of the washing unit is a malfunction of the pressure switch, then this element must be replaced entirely, and of course, entrust this work to the service center technicians, after which professional diagnostics will be performed.


