
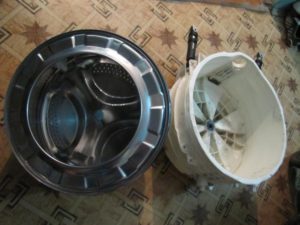
 In many cases, repairing a washing machine requires partial or complete disassembly. Particularly complex breakdowns can only be fixed after removing the drum. If it is necessary to replace bearings or a sealing gland, remove foreign objects that got into the tank during washing, there is nothing left to do but pull the drum out of the washing machine. This is a complex and painstaking job, but if you set a goal and prepare the tool, you can cope with this task yourself.
Why do you need to remove the drum
Complete disassembly of the washing machine with the removal of the drum may be required to perform certain types of repairs, in addition, this may be a stage in disassembling a device that has served its time.
The most common problem that cannot be solved without removing the drum is replacing the bearings. In addition, this procedure is necessary in the following cases:
- removing foreign objects that got into the drum;
- replacing sealing glands;
- repair or replacement of the electric motor;
- eliminating a tank leak.
You must work very carefully so as not to damage the drum and other parts of the machine. Even if further operation of the machine is not considered, the drum can be used as a spare part for the repair of another compatible model.
Required Tools
Despite all the apparent complexity, to remove the drum, a simple set of tools is enough, which can be found in almost every home and certainly in any workshop. Actually, this is the standard kit:
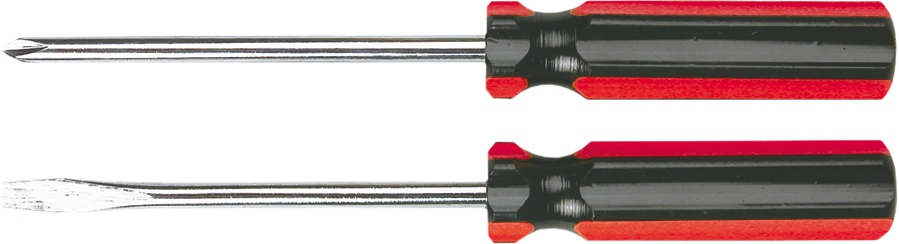
- a set of flat and Phillips screwdrivers;
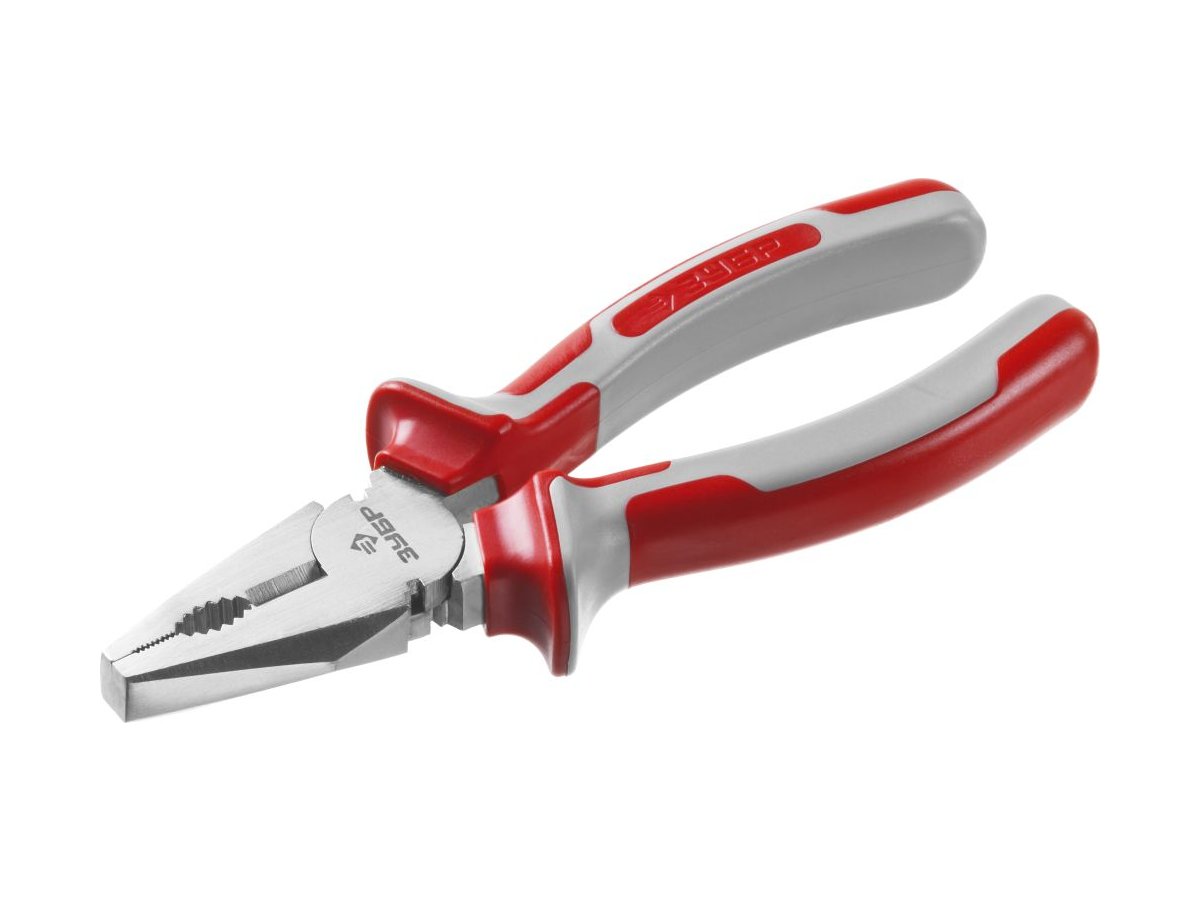
- pliers;
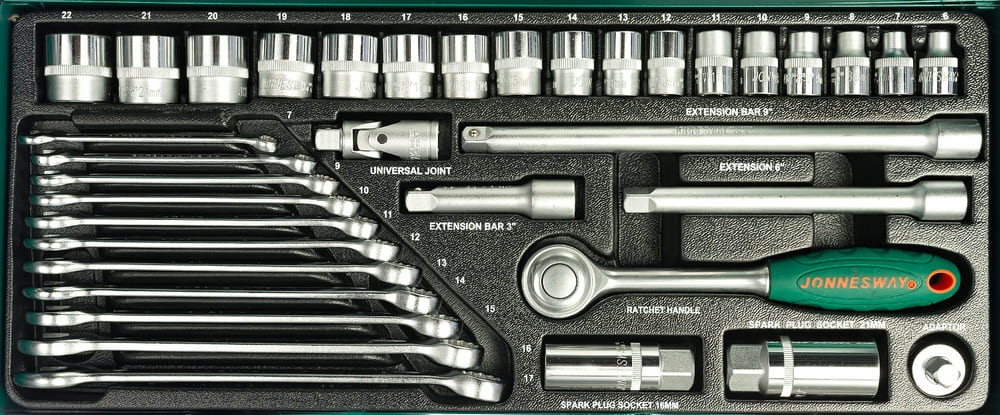
- a set of keys or heads;
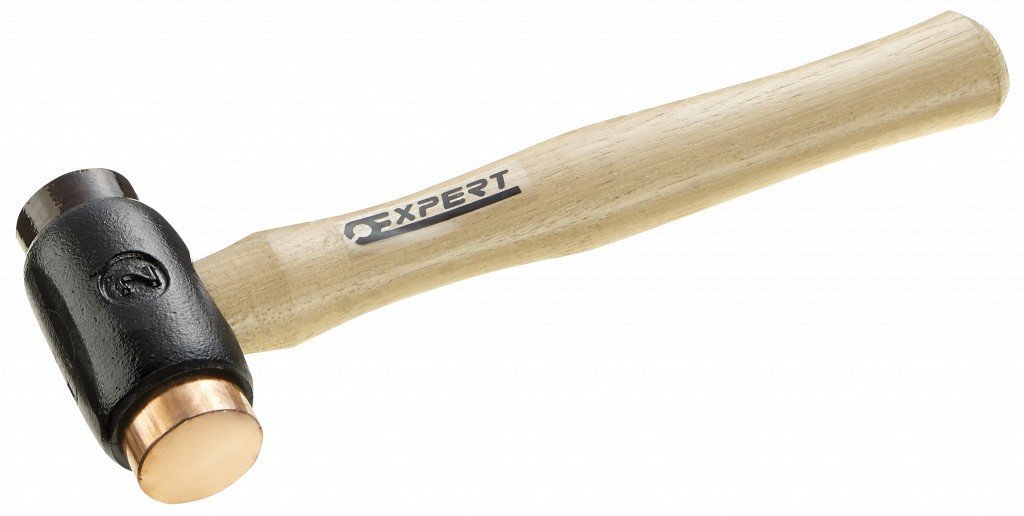
- regular and wooden hammer;
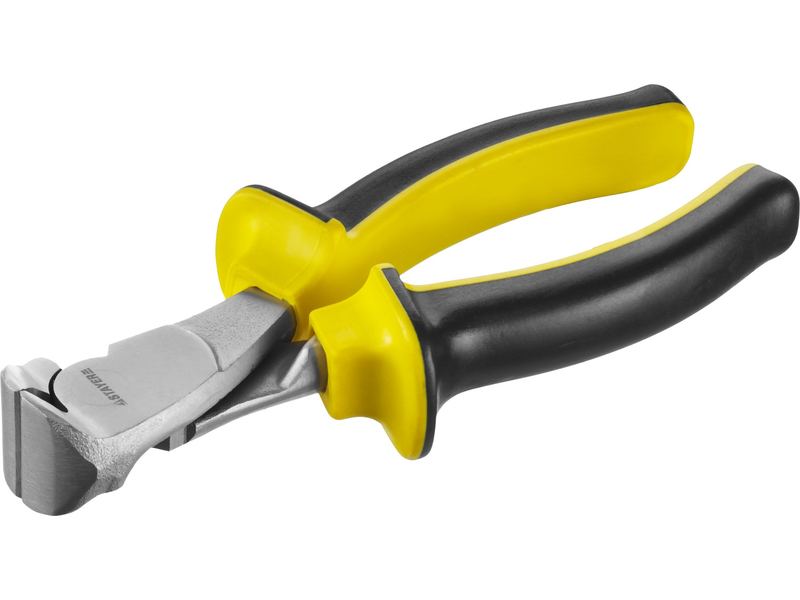
- wire cutters
If the task is to remove and disassemble a non-separable drum, it is necessary to additionally prepare a tool for sawing it. The best option is a hacksaw. To work in hard-to-reach places, a piece of hacksaw blade with a homemade handle will be useful.
Most likely, during work, difficulties will arise when unscrewing bolts and screws, the machine is operated in conditions of high humidity, and the metal is subject to oxidation. You can save yourself from the difficulties caused by corrosion using WD-40 or its equivalent.
Another tool that will be most useful to novice repairmen is a camera or phone with a camera. Taking photographs of each disassembly step will help avoid complications during subsequent assembly.
Removing the Drum
To remove the drum without damaging it or other components of the washing machine, you must act extremely carefully. It is important to take into account the fact that many machine parts are made of plastic; an accidental impact or excessive pressure can cause damage, which will entail additional costs.
Do not forget that complete disassembly of the washing machine provides an excellent opportunity to check all its components and assemblies. Also, during work, you should carefully inspect the wiring and connecting blocks. Using a tester, you need to test all connections, replace sections of wiring if necessary, and clean contacts.
Step 1: Top Cover
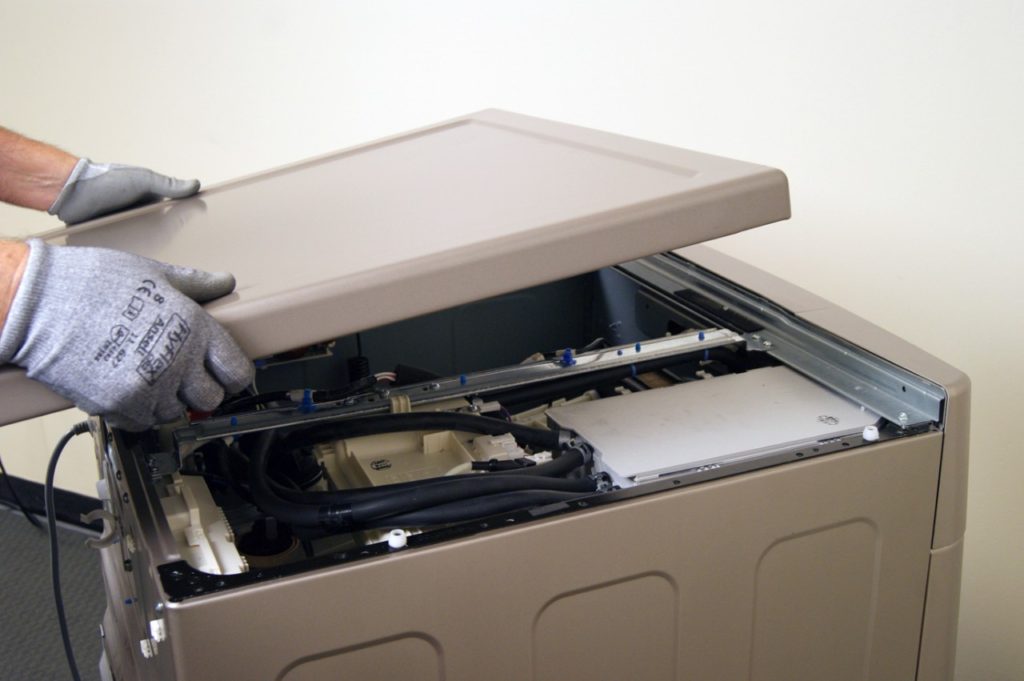
Disassembly of the vast majority of models of modern automatic washing machines begins with the top cover. Most often, it is fixed with several bolts, to access which you just need to move the washing mashine away from the wall. The bolts are unscrewed, the panel is moved away from you and upward. All. Access to the insides of the machine is open.
Step 2: Control Box
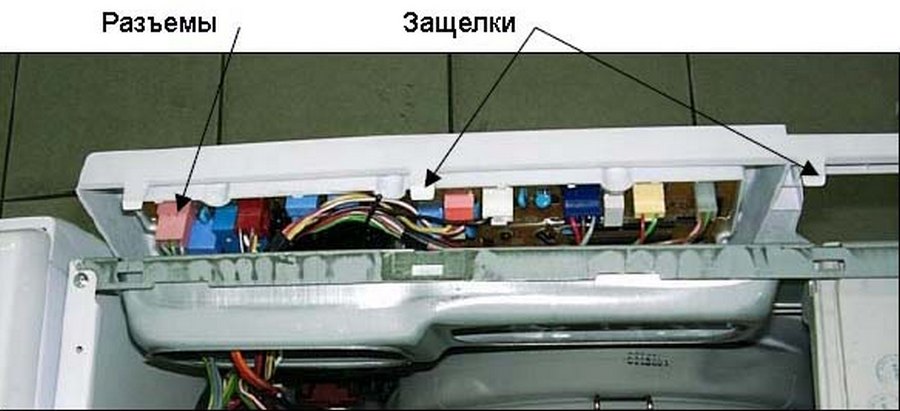
To remove the control unit of the washing machine, you need to unscrew all the screws holding it. Their arrangement directly depends on the model of the device; often several of them are located under the detergent tray, so you will first have to remove the tray. This is unlikely to cause any difficulties; the tray is held in place only by a plastic latch.
The control unit must be removed with the utmost care so as not to damage the wires leading to it. After all the screws are removed from the board, disconnect the wiring, leaving only the cable going to the display panel.
The board can be put aside or hung on the service hook, which is provided in some models.
Step 3: Front Bottom Panel and Drain Filter
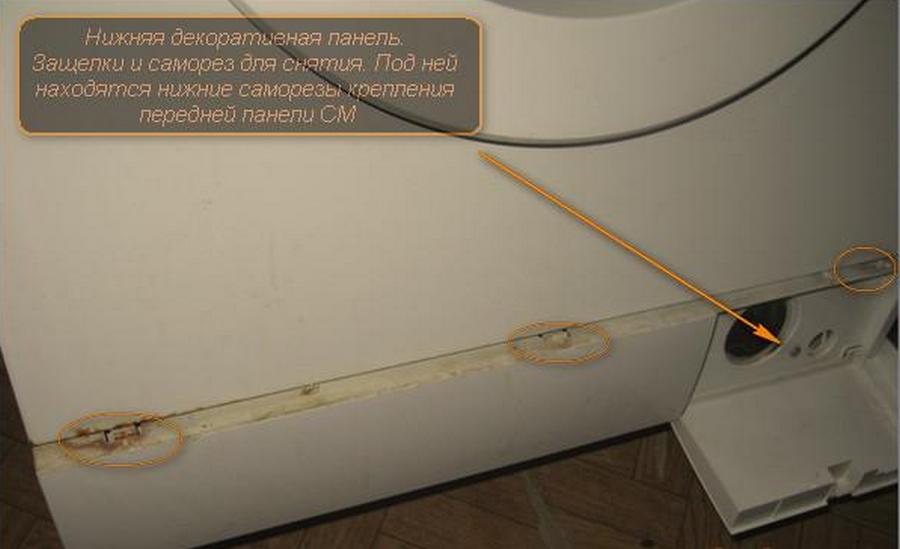
Next you will need to remove the front lower part of the case. This is an oblong narrow panel behind which the drain filter is located. In most models from famous manufacturers, it is held in place only by latches and can be removed with a slight movement of the hand.
You should immediately unscrew the filter in order to clean it later and return it to normal condition. This simple procedure will have a positive effect on the operation of the drain path of the machine.
Step 4: Front Panel
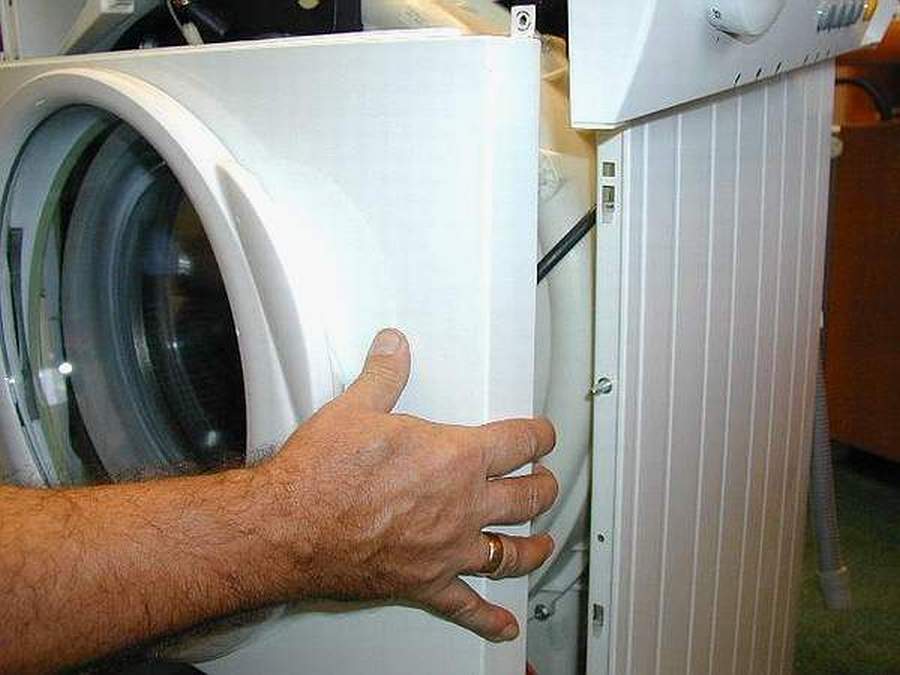
The front panel is attached with bolts or screws, but before unscrewing them, you need to remove the sealing collar of the loading hatch. This is not difficult, you just need to loosen and remove the metal or plastic clamp that secures it, then the cuff should be tucked inside the drum.
After nothing interferes with the removal of the panel, unscrew the bolts holding it, and the panel is removed by moving it towards you.
Step 5: electrical wiring, heating element, pump
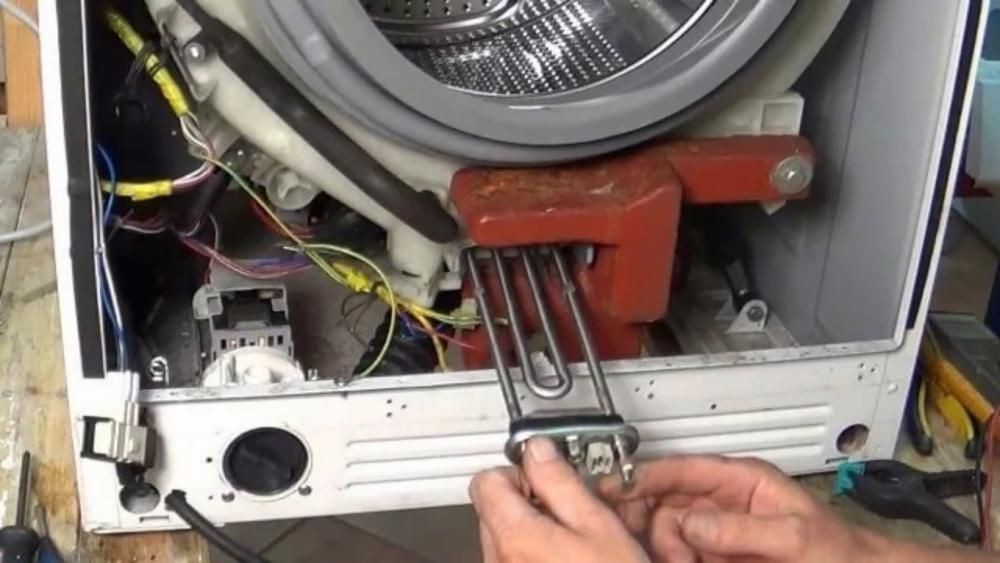
The next step is to disconnect all the wires going to the drum and interfering with its removal. It is necessary to disconnect the contacts of the blocker, remove it, disconnect the wiring of the heating element, motor and drain pump.
At the same stage, you need to remove the heating element and drain pump. It is worth immediately assessing their condition. It is quite possible that the pump will have to be washed, the heating element cleaned or even replaced.
Step 6: Intake Valve and Water Level Sensor
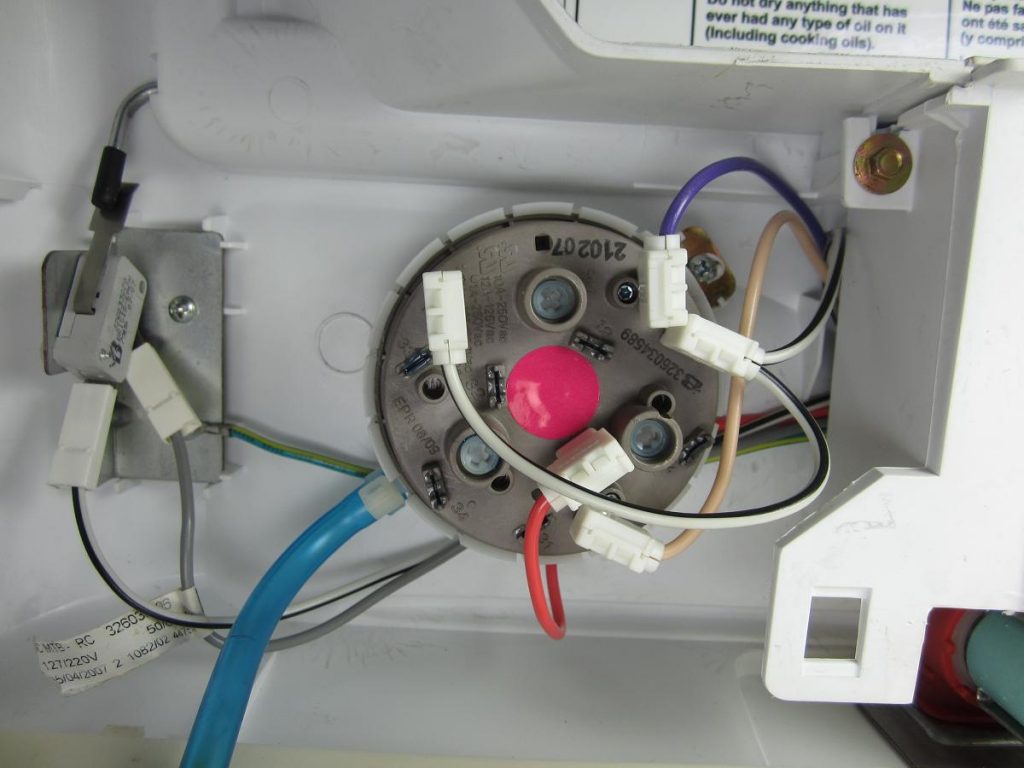
Once all electrical wiring is disconnected, you should return to the top of the machine and disconnect the solenoid valve that controls the water supply to the tank. In addition to the valve, you must remove the pipe that supplies detergent to the drum.
There is also a pressure switch located at the top of the machine; you will also have to remove it, disconnect the wires going to it and the tube transmitting pressure.
Step 7: Counterweights
Before removing the drum, you need to remove the counterweights. This will significantly lighten the design, protect the machine from breakdown and the person disassembling the device from an accident.
As a rule, there are two counterweights, one attached to the top of the device, the second at the bottom. Structurally, these are concrete blocks that are attached to the body with bolts. They must be removed carefully, but the danger is not that the counterweight itself can be damaged, but that it is heavy and can easily injure you.
Step 8: Removing the Drum
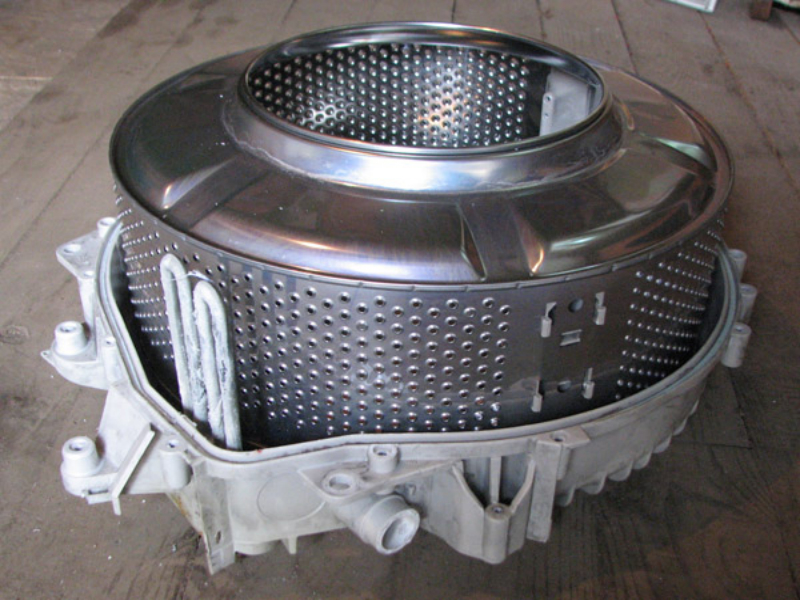
If everything is done correctly, nothing else prevents you from removing the drum; the only thing that holds it in place are the springs and shock absorbers. It is easier to disconnect the fastening elements from the machine body; the springs can be removed directly from the drum after it is removed.
Even though the drum is no longer supported by anything, it is better to remove it with two people. We must not forget that the drum is actually heavy, and besides, it is not particularly durable.
A little force and the drum is removed, but it still contains the motor, pulley and drive belt. It is not difficult to remove these parts; to do this, you need to place the drum on its side, with the hatch down. Remove the drive belt. Next, you need to fix the pulley using a wooden block, and unscrew the bolt holding it with a wrench.
The last thing to unscrew is the engine and remove it. They remove the springs and shock absorbers remaining on the body - the work is finished, all that remains is to disassemble the drum, the collapsible one is unscrewed, the non-dismountable one will have to be cut.
Top loading machine
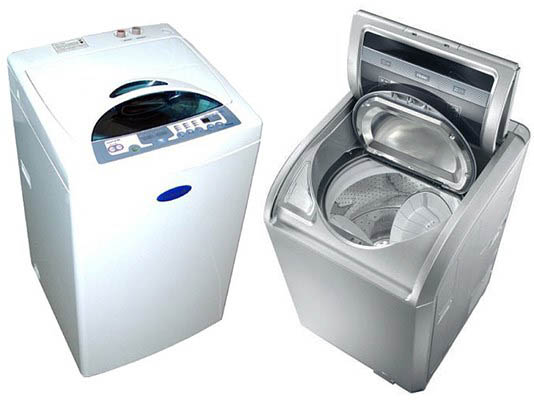
Top-loading devices are not only small in size, but also easy to disassemble. The fact is that the drum of such a machine is fixed in only two places, so removing it is a much simpler procedure.
- All screws on the back panel are unscrewed.
- The back panel is removed.
- The side panels are removed.
- The screws located around the plastic cover on one side and the other are unscrewed.
- All interfering wiring is removed.
- The shaft is removed.
Actually, that's all. All that remains is to close the top cover and remove the drum itself. Of course, when removing wiring and unscrewing screws, do not forget to take photographs; after all, the washing mashine will also need to be assembled.
Most leading manufacturers of washing machines have a developed network of service centers whose specialists can cope with any breakdown. With all this, many try to repair equipment with their own hands. It's profitable, it's fast and cheap. It is only important to soberly assess your strengths, to realize that removing the drum is not even half the battle; after the repair, you will need to install it back and completely assemble the washing mashine.


