
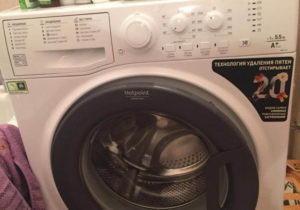
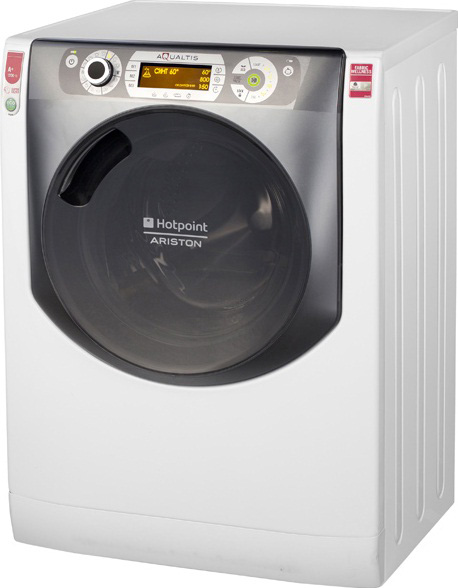
 It often happens that equipment malfunctions. Most problems can be easily dealt with on your own, without turning to specialists. The order in which the procedure is performed will depend on the characteristics of the breakdown itself. In some circumstances it will be necessary to disassemble the Ariston washing machine completely, and in others - partially. This article will tell you how to do it correctly.
First steps
The main thing is to remember that a full guarantee for correcting existing breakdowns can only be given by a certified technician working at an enterprise that also has a license to carry out work. Independent actions do not always, but often lead to the deterioration of the equipment.
But, if you decide to carry out the repair yourself, the first step should be a detailed study of the instructions.
Where should you start?
- First, you disconnect from the machine. It is necessary to disconnect the electrical network from it, as well as the tee tap. This refers to the type of it that involves receiving cold water from the sewer into the washing machine.
- We twist both hoses, the inlet and drain hoses. It is forbidden to disconnect them from the system completely. Then the water will not spill on the floor. The ends must be fixed to the machine body.
- We drag the machine to a place where disassembly is carried out without additional effort. It is better to use the help of someone when doing this work. It is recommended to lay something under the machine, then the floor is more likely not to be flooded with water.
- It is necessary to pull out the powder receptacle, and then set it aside.
- The drain filter is unscrewed next. It remains only to drain the water remaining in the tank. The first stage of the work can be considered complete. This should help to understand how to disassemble the Ariston washing machine.
After this, proceed to the preparation of tools.
We will need the following devices:
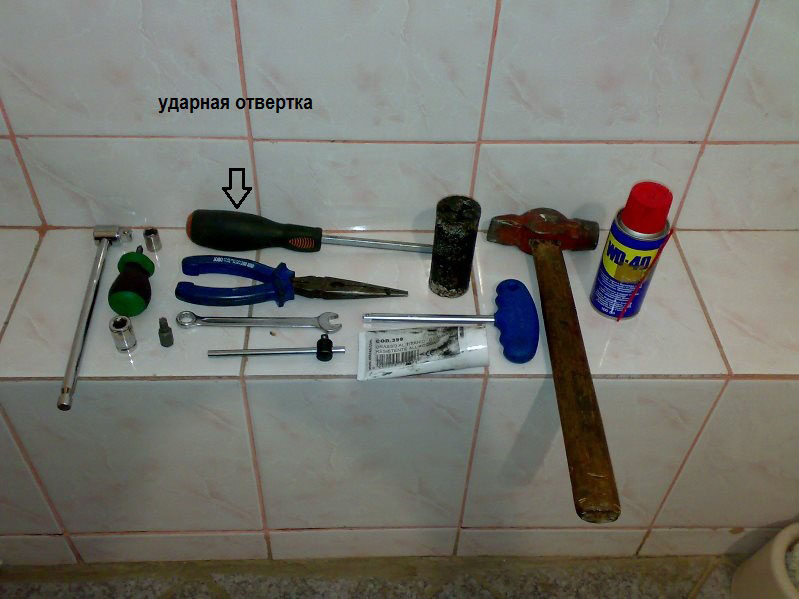
- Hammer.
- Pliers.
- Heads with 7, 8, 12, 14 mm heads. Open-end wrenches, 8 and 10 millimeters.
- You can't do without screwdrivers, you need a whole set - hexagonal and flat, Phillips.
- Lubricating fluid.
- A block, made of wood.
- A puller for washing mashines.
- Awl.
- Markers of different colors.
- A hacksaw for metal processing.
- What do we do next?
The process of disassembling the washing machine continues after preparing the tools.
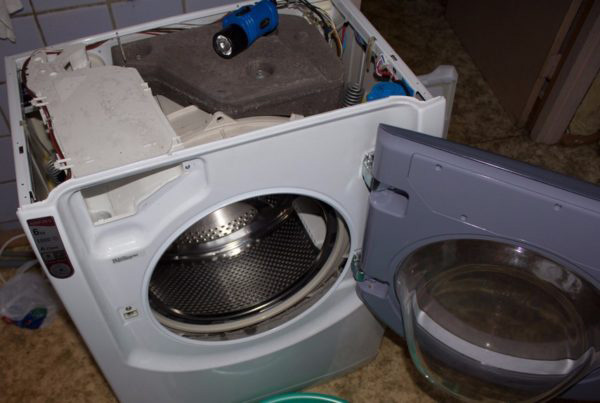
We approach the device from the side where the back wall is located. First, take a Phillips screwdriver. At this stage, you need to unscrew several screws that help hold the service hatch.
- We gain access to the service parts when we get rid of the service hatch. This concerns the temperature sensor, the heating element, the drive belt with the motor, the drum, the pulley.We twist both hoses, inlet and drain. However, it is prohibited to completely disconnect them from the system. Then water will not spill on the floor. The ends must be fixed to the body of the machine.
- We drag the machine to where it can be disassembled without additional effort. It is better to take the help of some person when performing this work. It is recommended to lay something under the washing mashine, then the floor is more likely not to be flooded with water.
- You need to pull out the powder receiver and then set it aside.
- The drain filter is unscrewed next. All that remains is to drain the water remaining in the tank. The first stage of work can be considered completed. This should help you figure out how to disassemble the Ariston washing machine.
- After this, they move on to preparing the tools.
- We will need the following devices:
- Hammer.
- Pliers.
Heads with 7, 8, 12, 14mm sockets.
Open-end wrenches, 8 and 10 millimeters.
Lubricating fluid.
Bar, made of wood. – Puller for washing mashines.
Awl.
Markers of various colors.
Hacksaw tool for metal processing.
What do we do next?
The process of disassembling the washing machine continues after preparing the tools.
We approach the device from the side where the back wall is located. First, take a Phillips screwdriver. At this stage, you need to unscrew several screws that help hold the service hatch in place.
We gain access to service parts when we get rid of the service hatch. This applies to the temperature sensor, heating element, drive belt with motor, drum, pulley.
We use a Phillips screwdriver to remove the two screws that secure the top cover.
- Below the lid you can find a counterweight with large dimensions. Because of it, access to some sensors is blocked, as well as to the tank and drum. At the same time, it remains possible to access the interference filter and control panel without serious problems.
- The washing machine is placed on the left side, with maximum care. If there is a bottom, it is completely removed. It's good to have this part missing.
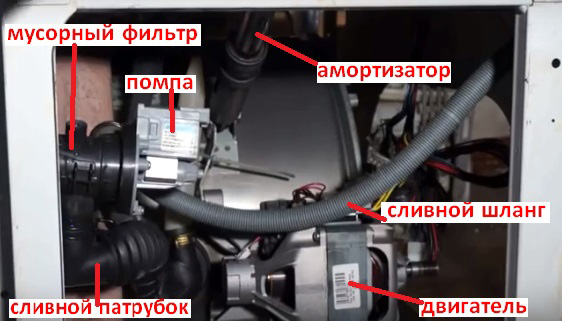
Shock absorbers and motors, a pump, a debris filter and a drain pipe are parts that can be reached through the bottom of the device from Hotpoint Ariston.
All that remains is to get rid of the screws located under the tray. Next, you need to grab the control panel and pull it forward to remove it.
Which parts are the easiest to remove?
After the above steps, the user is able to disassemble the main body of the washing machine. Multi-colored markers will be needed to mark the wires. Then there is less chance that they will be confused.
Work begins with getting rid of the drive belt. First, with one hand we take hold of the metal wheel, which is also called the pulley in the drum part. You need to turn it, and with the help of your second hand you can easily remove the belt.
- The next step is removing the motor. Through the hole in the service hatch it is easy to unscrew the parts that serve as fasteners. It is enough to use a suitable 8 mm socket.
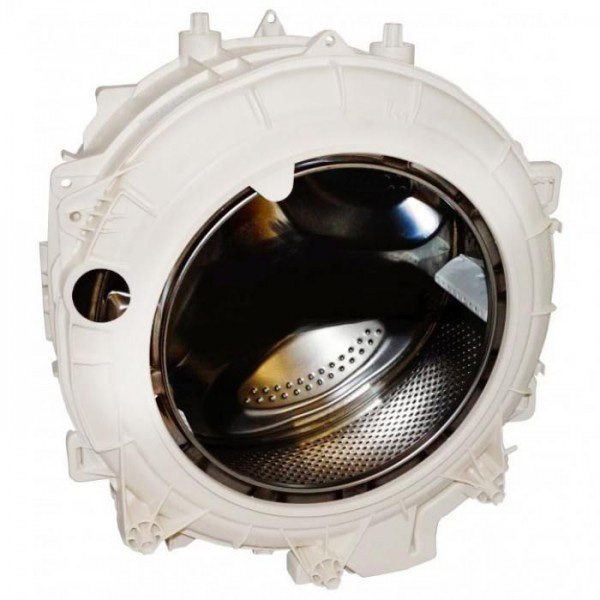
- The engine will unscrew from its seat without any problems as soon as all 4 screws are unscrewed. The heating element must also be removed from the structure. There is a nut between the contacts of the heating element; it will need to be unscrewed. This is done until the heating element is partially collapsed inward. How to disassemble the tank
separate question.
The heating element is pryed off using a flat screwdriver. They pull it towards themselves, in the same way, until the part comes out. Washing machines of the Zanussi brand use the same sequence of actions.
Next, the drain pump is processed. We remove the screws belonging to the part in front with our own hands. We need those parts that are located in the area of the garbage filter. Easy falling out of the garbage filter and pump is guaranteed when the screws are completely unscrewed.
After this, remove the clamps from the drain pipe using pliers. Such elements must be completely disconnected from the pump with a debris filter. All that remains is to remove the bolts that are responsible for connecting the pump to the garbage filter.


