 Electrolux washing machines in good condition operate quietly. The greatest noise is heard during the spin cycle. If the owner of the device notices that the equipment is gradually starting to work louder, a hum or grinding sound is heard, this indicates that it is time to change the bearing on the Electrolux washing machine. To perform this task, you can call a specialist from the service center. If the user wants to save money, then knowing how to fix the problem, he can carry out the repairs on his own.
Preparation for repair
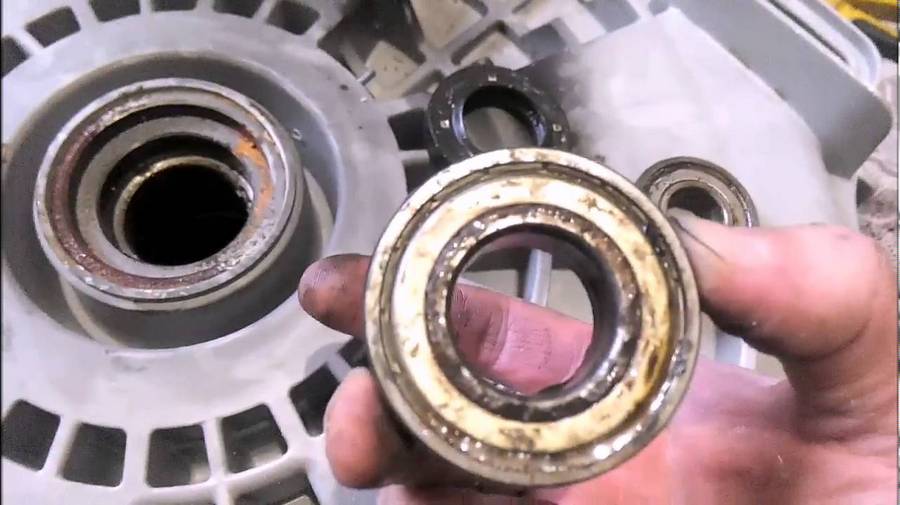
Before you start replacing a faulty part on an Electrolux washing machine, you need to make sure that the problem is really in the bearing. To do this, you need to turn the drum manually or shake it. It will be clearly noticeable that under the influence it moves upward. Typically, bearings in a washing machine are installed in pairs; they are protected from moisture by a seal. Usually the oil seal is what causes problems: it is damaged, water gets into the bearing and dissolves the lubricant. As a result, increased friction occurs, leading to wear of the part.
The faulty element should be replaced immediately when a problem is detected.If the owner of the equipment delays repairs, this may result in a more serious breakdown (damage to the shaft, replacement of the drum) or the need to purchase a new washing machine.
To replace the bearing you will need to purchase new parts and assemble the necessary tools. You can buy new bearings and seals at a specialized store or service center. In order not to make a mistake when choosing, you need to tell the seller the model and brand of the washing machine. For repairs, it is recommended to purchase original bearings, but if they are very expensive, you can purchase Polish ones, which are often used by equipment manufacturers.
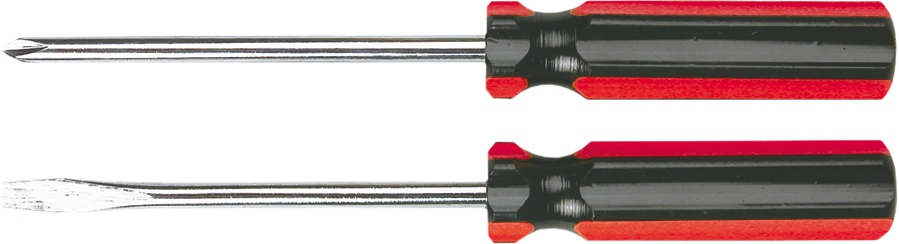
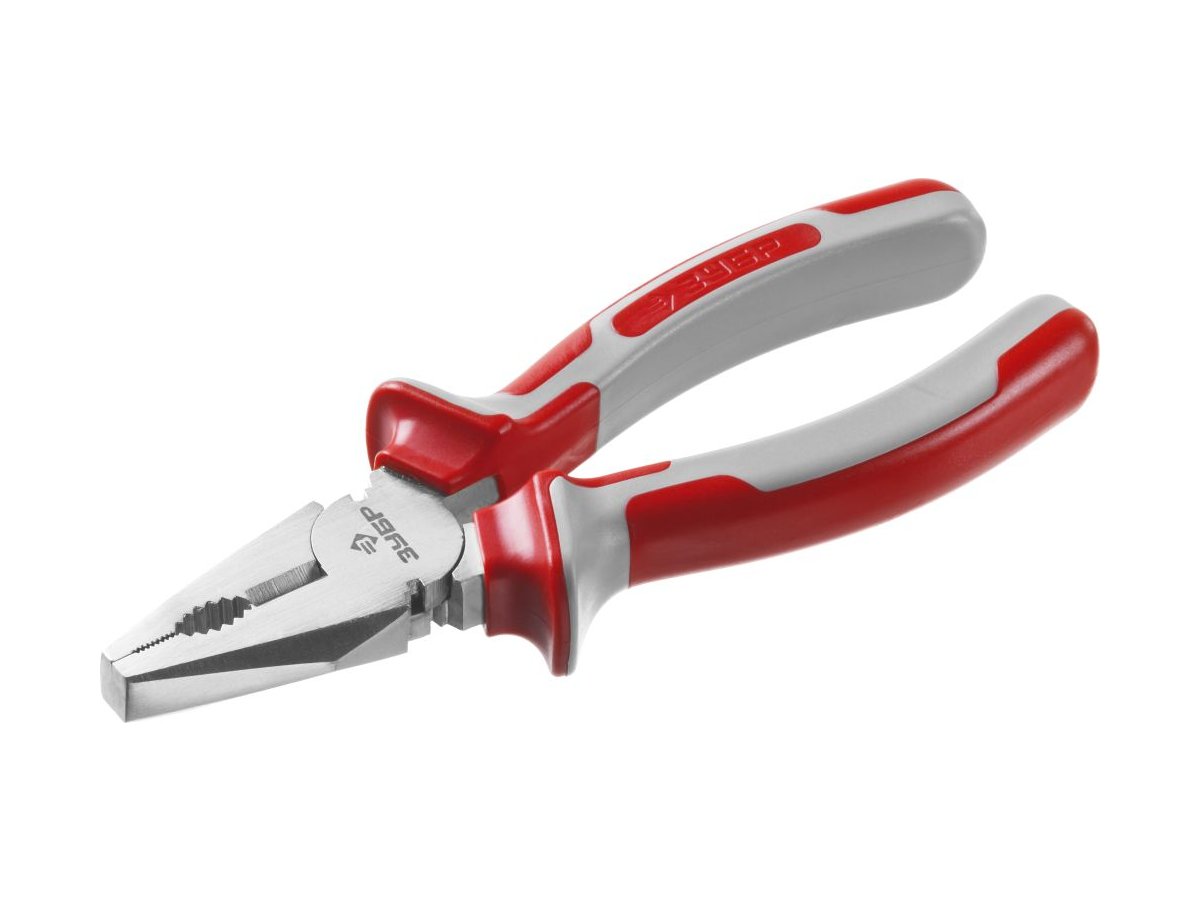
To carry out repairs, the user will need the following tool:
- Set of Phillips and flathead screwdrivers.
- Pliers.
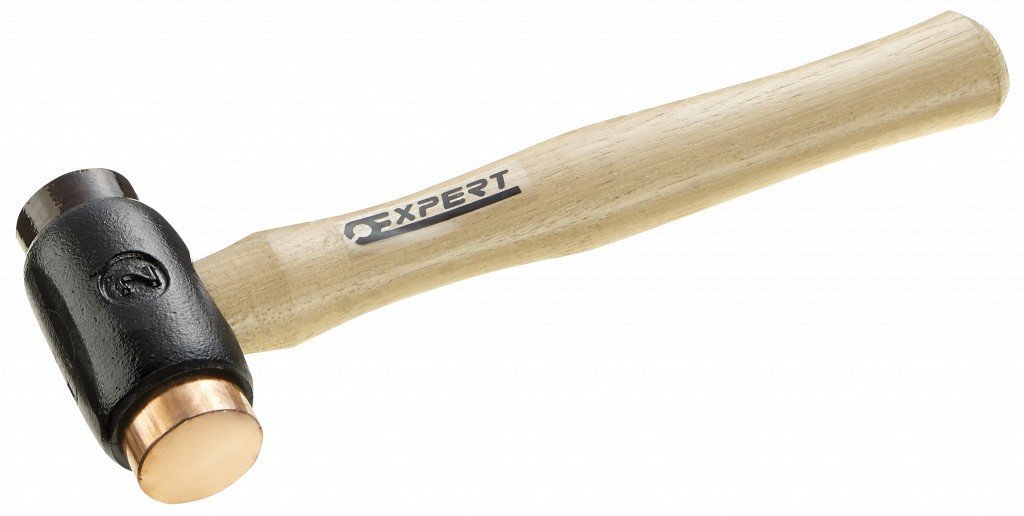
- Rubber hammer.
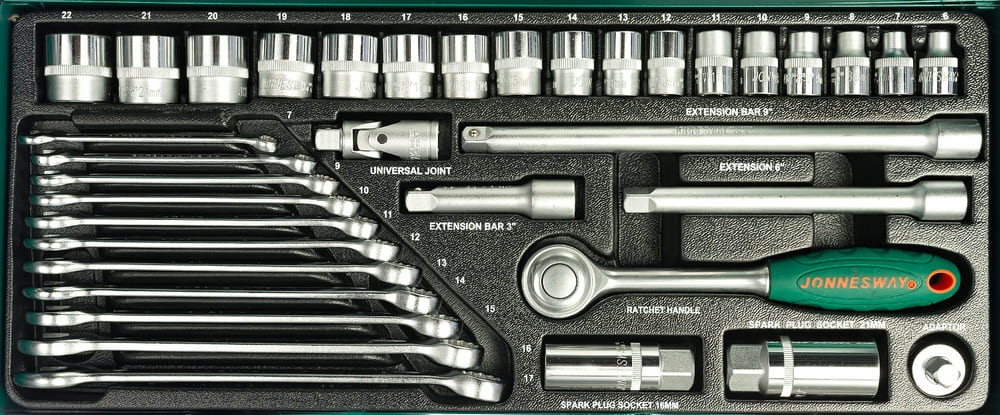
- Set of socket heads.
- Bit.
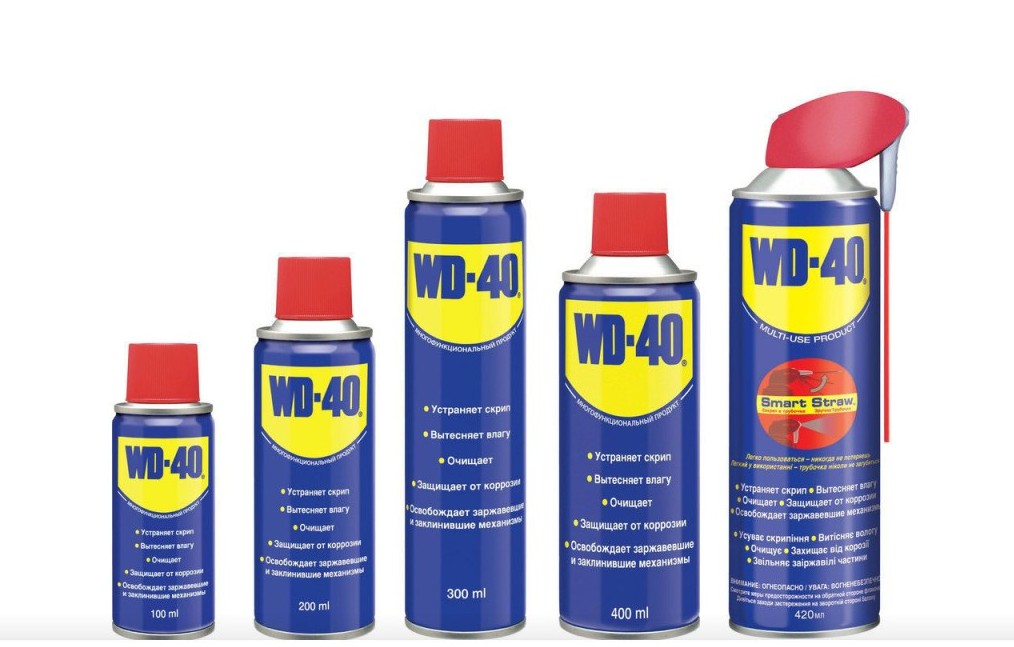
- WD-40.
- Sealant.

After the materials and tools are prepared, you need to disconnect the Electrolux washing machine from the network, sewerage and water supply and move it to a spacious place so that nothing interferes with repairing the equipment and replacing damaged parts.
How to disassemble an Electrolux washing machine
Replacing the bearing on different models of Electrolux washing machines is performed in the same way. The equipment may differ in functional features, set of programs, appearance, but its internal structure will be very similar.
When disassembling an Electrolux washing machine, it is necessary to photograph it before removing each part. This will avoid problems during assembly and prevent errors, especially when connecting wiring. You should be extremely careful and careful not to cause even more damage to the device through incorrect actions.
Unlike equipment from other manufacturers, Electrolux washing machines are disassembled in a very unusual way. Their body is divided into two parts, the connecting seam is located in the middle on the side. To carry out repairs, it is enough to remove the back half of the case. To do this you need:
- Unscrew the fasteners, remove and put away the top cover.
- If the fasteners connecting the halves are closed with latches, you should pry them up and remove them.
- Unscrew the screws.
- Unfasten the latches installed at the seam joints.
- Move and detach the rear half of the housing.
- Open the hatch of the washing machine.
- Use a screwdriver to pry up the clamp and remove it.
- Place the cuff inside the hatch.
- Pull out the powder cuvette.
- Unscrew the fasteners, remove the control panel, take a photo and disconnect the wiring, and move the panel to the side.
- Find the pressure switch, unscrew the fasteners, unfasten the wiring and hose, and remove the part.
- Pull out the pipe from the powder receiver, first loosening the clamp.
- From the back of the washing machine, remove the drive belt from the shaft.
- Disconnect the wiring, unscrew the fasteners holding the motor.
- Pull out the engine.
- Disconnect the wiring going to the heater, unscrew the fixing bolt, and remove the heating element.
- Open the clamps, unscrew the fasteners, remove the drain pipe and hose.
- Remove the front and rear counterweights.
- Remove the shock absorbers.
- Remove the tank from the springs and remove it from the housing.
Next, you need to disassemble the tank and pull out the drum:
- First you need to remove the pulley. If the retaining bolt is stuck and does not budge, you need to lubricate it with WD-40 and wait a little.
- Block the pulley so that it does not rotate, unscrew the bolt, and remove the pulley.
- Unscrew the screws securing the tank halves.
- Disassemble the tank into two parts.
- Pull out the drum.
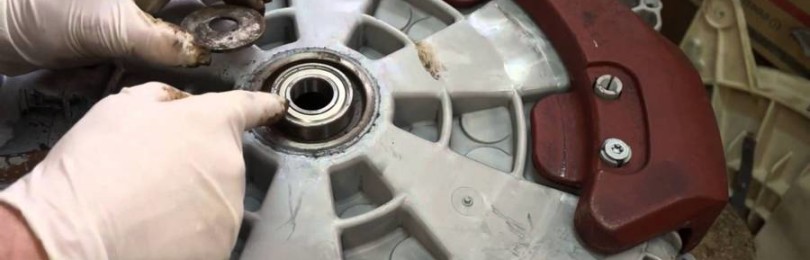
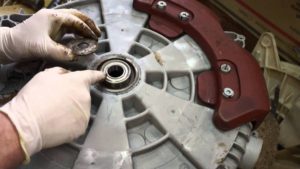
Bearing replacement
To replace a bearing, you need to do the following:
- Use a screwdriver to pry up the seal and pull it out.
- To make bearing removal easier, treat the fit with WD-40.
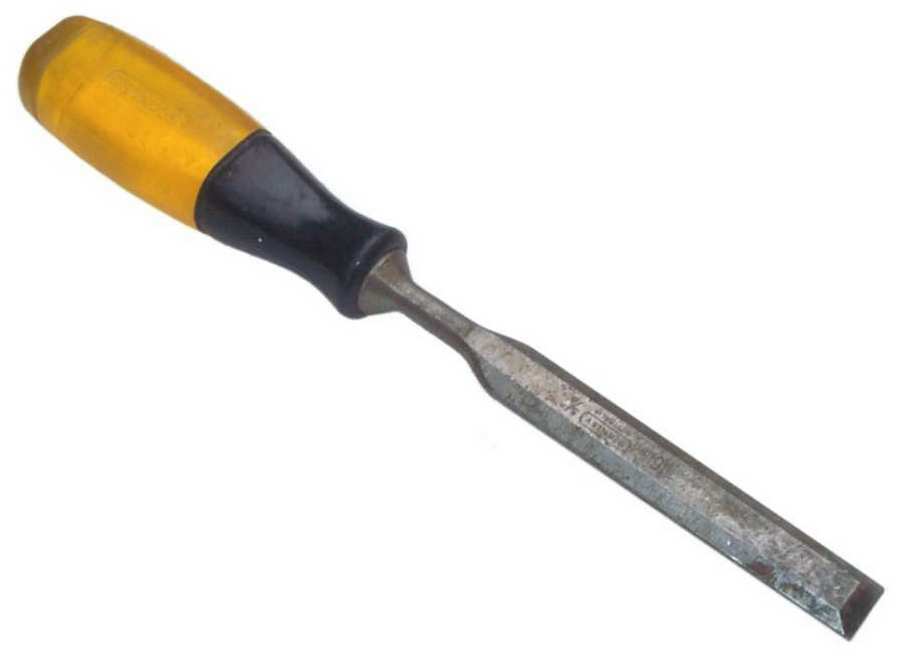
- Knock out the bearing by placing a chisel on it and lightly hitting it with a hammer.
- Clean the seat with sandpaper, wipe with a rag, and lubricate with LITOL-24.
- Lubricate the new part thoroughly.
- Guide the bearing evenly into the seat to prevent misalignment.
- Tap the bearing lightly. To do this, you need to carefully tap on its outer edge; hitting the inner edge can damage it and significantly reduce its service life.
- Install a new oil seal.
Now you can begin to reassemble the machine in reverse order. The tank halves need to be filled with silicone sealant, then connected and screwed in the fasteners.
Taking this opportunity, you can carry out maintenance on other parts, for example, clean the heating element and the tank from scale. It is also necessary to check the drum, crosspiece, tank and assess their condition. If some of the components are very worn out, you can immediately replace them with new ones, so as not to carry out repeated repairs after some time.
After the machine is assembled, you need to connect it to water, sewerage and the network, pour a small amount of detergent into the cuvette, start it up and perform a test wash. During operation of the Electrolux washing machine, you need to carefully observe its behavior. If extraneous sounds have disappeared, and there is no moisture under the equipment after washing, this means that the repair and replacement of the bearing was completed successfully.
Malfunction prevention
In order for the bearing in the Electrolux washing machine to last as long as possible, you need to follow a number of simple rules for operating the equipment:
- The washing machine must be installed strictly level. This will help avoid imbalance and damage to the bearings. Adjustment can be made by twisting the legs.
- During washing, you should not overload the device; bulky items should be placed inside the drum with care and placed evenly.
- Prolonged spinning violates the integrity of the part.
- If your washing machine is used frequently, you should pause between cycles to allow the machine to rest.
- When the first signs of bearing failure appear, you should immediately replace it to prevent more serious damage to the Electrolux washing machine.
Thanks to these simple recommendations, the user will have to repair the washing machine very rarely.
Bottom line
If the Electrolux washing machine begins to operate with a lot of noise, makes a hum and rattle that gets worse during the spin cycle, this indicates that the bearing needs to be replaced. To carry out such repair work, you can turn to professionals, but if you want to save money, you can do the replacement yourself. For repairs, it is enough to have the necessary tools, purchase quality parts and follow the instructions for disassembling the machine and replacing the necessary elements.


