
 Thanks to the built-in fault detection system, you can significantly save on repairing an automatic washing machine. It is not at all necessary to call a technician to find out the reason for the stop; the machine itself will tell you about it. Next, you will find out what error E9 means on a Samsung washing machine.
What does error E9 mean?
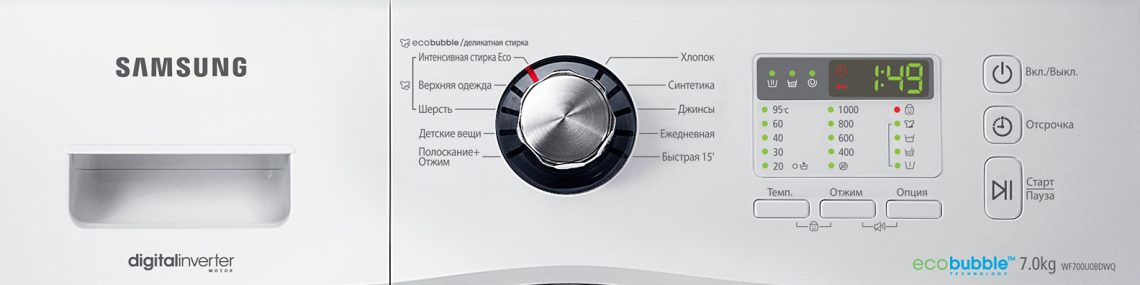
It is worth noting that this error appears on Samsung washing machines manufactured before 2007. In new models, its code is replaced by L9, however, the essence of the malfunction does not change. Error E9 on a Samsung washing machine clearly indicates that the system has detected water in the tray. This kind of error can occur at different stages of the program, but most often it happens at the beginning of the wash, while drawing water.
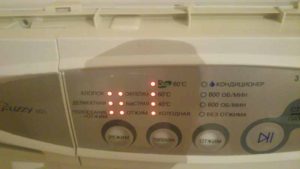
Older model washing mashines do not have screens; the devices are signaled by mode indicator lamps. In most cases, error E9 looks like this: the LEDs indicating the washing modes blink synchronously, “Bio wash” and “Cold water” are constantly on.
Reasons for the error
Before deciding how to correct the situation, it is worth understanding what could be causing it. There aren't many options:
- The Aquastop sensor has failed;
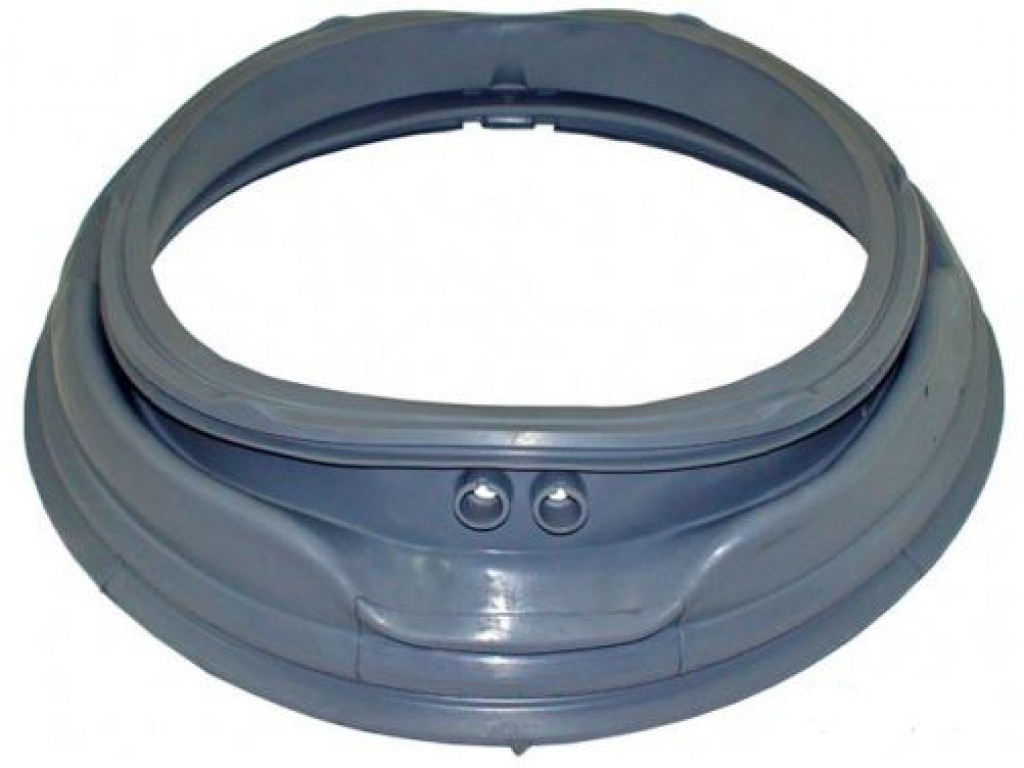
- the rubber cuff is damaged or has lost elasticity;
- the integrity of one of the pipes is damaged;
- the pressure switch has failed;
- problems with the wiring inside the washing mashine.
Sometimes the cause of the error is the failure of the electronic components of the machine control board circuit. This situation can be caused by the natural “aging” of parts or a sudden drop in voltage.
Washing machine inspection
Once it has become clear what this error means, you can proceed directly to eliminating its cause. It doesn’t matter how exactly you plan to repair the device, on your own or by calling a specialist, first of all, you should perform a number of simple steps. These are simple operations during which the cause of the malfunction will be accurately determined and, possibly, corrected.
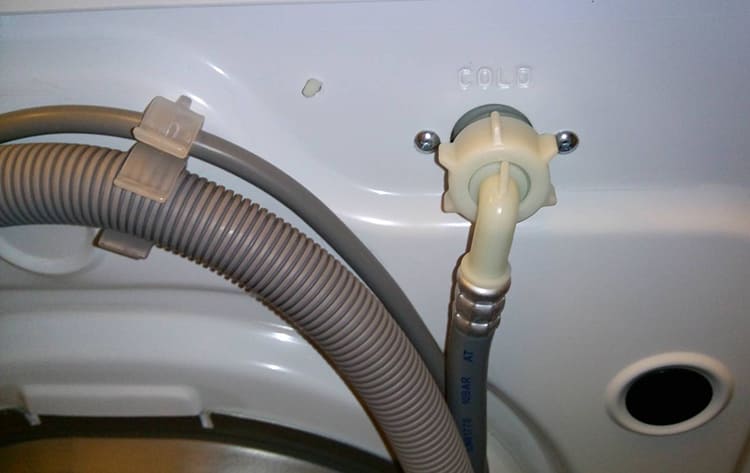
- Disconnect the drain hose and check that it is not damaged. It is also worth checking the tightness of connections to the machine and sewerage system.
- Make sure the drain is located correctly. In the event of a strong change in altitude, water may spontaneously return to the drum, causing system errors.
- Check the drain filter to ensure it is clean and not distorted during installation.
- Make sure that the filler hole in the detergent tray is not blocked. If clogged, water may flow past the tray, draining into the pan.
- Visually inspect the cuff to make sure there are no tears or abrasions.
- Check the integrity of the hoses suitable for the drain pump and the reliability of their fastening with clamps.
- Check the condition of the electrical wiring; special attention should be paid to the contact blocks; during operation, they are often covered with a layer of oxide, which makes it impossible to transmit signals to the control module and back.
Another simple method, which is suitable not only for Samsung machines, but also devices from a number of other manufacturers, is to restart the washing machine. This will help in case of system failure, for example, due to a voltage drop. Rebooting your machine is easy; just unplug it for a few minutes and turn it back on.
Replacing sensors
If no leaks are found during the inspection, the machine is rebooted, but the error does not go away, the cause of its appearance may be a malfunction of one of two sensors: “Aquastop” and the pressure switch. What to do in this situation is clear - the faulty sensor needs to be replaced.
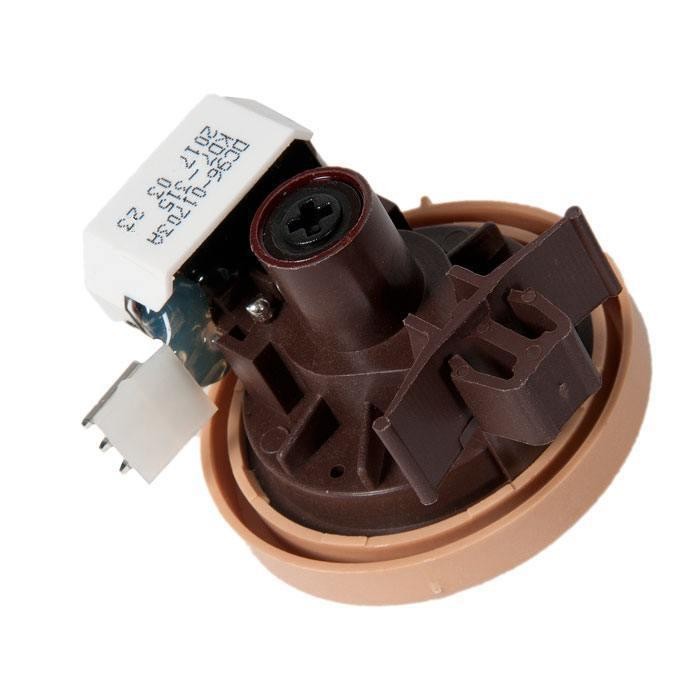
Replacing the Aquastop sensor
Despite its apparent simplicity (this sensor is a microswitch mounted on a polystyrene foam float), it can also fail. There is no point in trying to repair it; it is easier and more reliable to buy a new one. It is important to choose a device that is compatible with the washing machine model, preferably an original one.
The sensor is located at the bottom of the machine, in the pan. To replace it, you need to turn off the power to the machine and disconnect it from communications. For ease of operation, the machine is moved away from the wall and placed on its side. Then perform the following steps:
- unscrew the bolts holding the pallet;
- carefully move it as far as the wires allow;
- disconnect the electrical wiring plug;
- loosen the latches, remove the sensor;
- install a new part.
After replacing the sensor, it makes sense to check the operation of the washing machine. If the error does not disappear, you will have to change the second sensor - the pressure switch.
Replacing the pressure switch
This sensor monitors the water level in the tank by measuring its pressure. It is located on the top of the machine just below the top cover.Replacing the pressure switch will not require much time and effort. This is a simple task that even a novice repairman can handle.
Before starting work, the machine is disconnected from the network. It is not necessary to disconnect the supply hose; simply close the tap that regulates the water supply. The work is performed in the following sequence:
- unscrew the bolts on the back wall holding the cover;
- remove the top panel;
- find a pressure switch - a round part to which a tube and several wires fit;
- disconnect the electrical wiring plug;
- loosen the clamp, remove the tube;
- replace the part with a new one.
During operation, it is necessary to check the integrity of the tube; it can also cause error E9. It may not be necessary to replace the sensor itself.
Troubleshooting the cuff, pipes, control module
It is not difficult to detect a damaged pipe connecting the pump to the tank, as well as to replace it. The work is carried out through the bottom; in all models it is easily removed, and in some it is completely absent. To replace, just loosen two clamps and install a new part.
As already mentioned, the cause of error E9 may be the cuff of the loading hatch. Replacing it is quite a difficult task, and given that the cuff is made of thin and soft rubber, it may result in a torn part. It is better to entrust this to a specialist.
The most difficult case can be considered a faulty control module. This is the most critical part of the machine; you should not try to fix it yourself. The only thing you can do at home is to check the contact pads and visually verify the physical integrity of the electronic components of the circuit. For more detailed testing and subsequent repairs, it is better to contact a specialized workshop.


