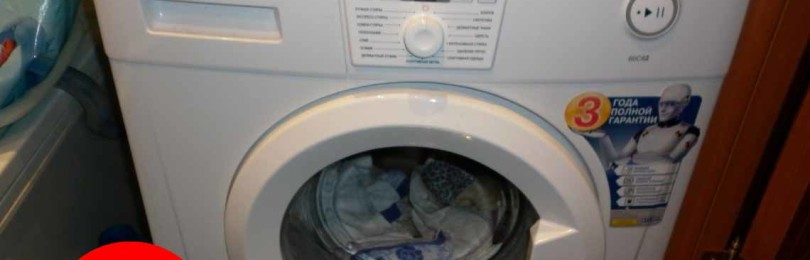
 To be honest, washing machines from the Belarusian manufacturer Atlant are not reliable. And that's a fact. According to statistics from service centers, this unit takes an honorable third place in the list of models that break down 3 years after use.
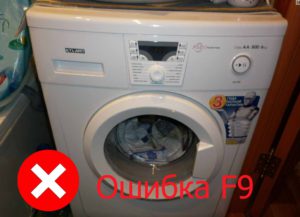
It’s good that at least these products have a built-in automatic diagnostic system that notifies users about what exactly happened to their irreplaceable assistant and how they can help her. In particular, many users are faced with the fact that error F9 occurs in the Atlant washing machine.
We will talk about what kind of beast this is and how to fight it in this article. By the way, if you have a model without a display, don’t be upset. They also notify about errors and various types of malfunctions. But this happens not through the display, but through the light indication. Code F9 corresponds to the lighting of the first and fourth LEDs.
What does error F9 mean?
If this error code lights up, then problems arise with the rotation of the drum. The tachogenerator may fail, the engine or control module may break down, or problems may arise in the wiring connecting these elements to each other.
It also happens that no error occurs at the hardware level. In Atlanta, there may be a problem with the firmware of the electronic board. And after even a slight power surge, the firmware crashes.In this case, repairs will also be required, but not an expensive replacement of the electronic board, but simply its reflashing. Although it will not be possible to do this at home without special knowledge, experience, or tools.
Before suspecting a breakdown in the machine, it is important to rule out a one-time failure. This can happen if the control board freezes. In this case, we proceed like this:
- Unplug the washing machine cord from the outlet and wait at least 15 minutes, preferably more.
- Turn on the equipment.
- If the error disappears from the display, then everything is ok, and it was really a one-time failure.
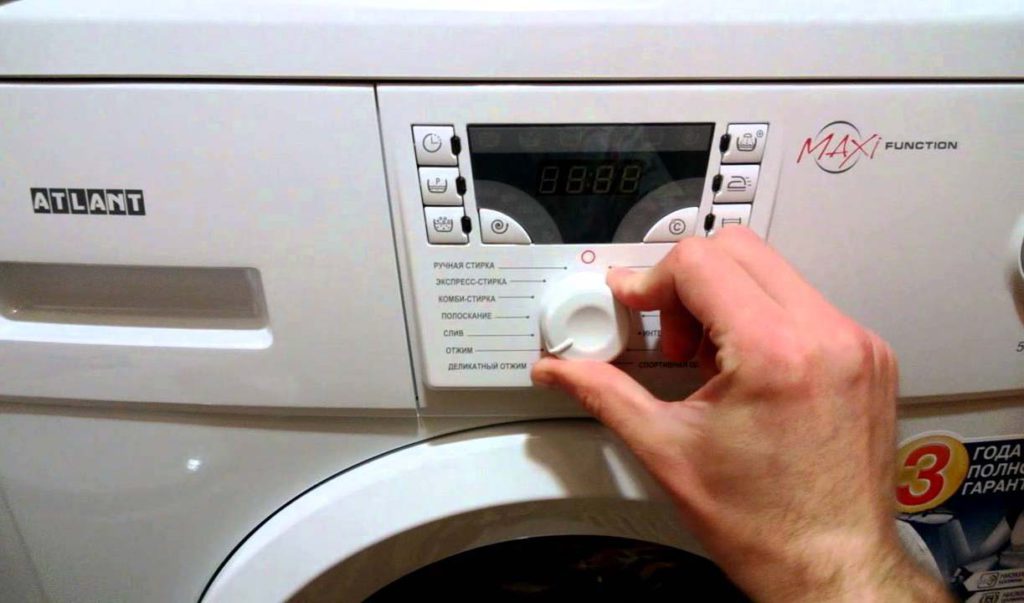
Also check the spin button. An error may occur if the spin button is pressed accidentally. This also happens.
And if it was not possible to eliminate the malfunction in this way, most likely we are dealing with a breakdown.
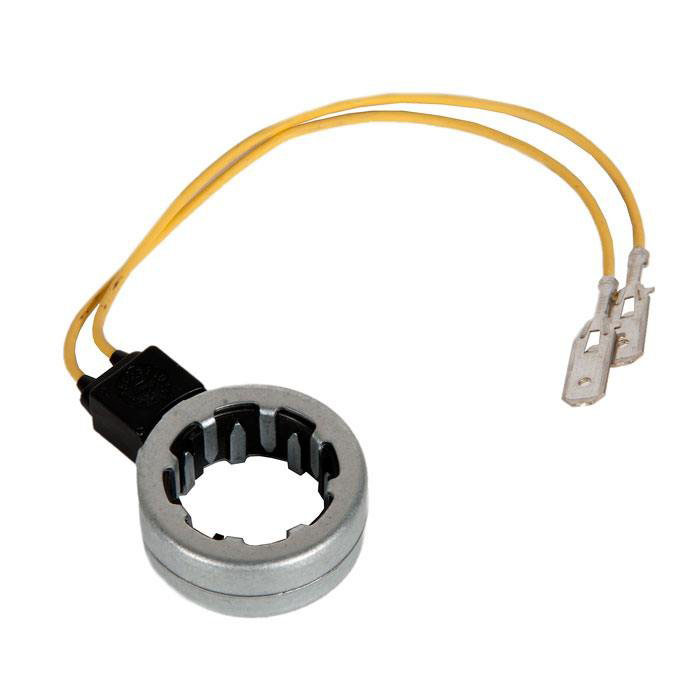
Checking the tachogenerator
To check the serviceability of the SMA tachometer yourself, follow these steps:
- Turn off the power.
- Unscrew the bolts holding the back cover of the equipment. This is very easy to do, just unscrew the screws.
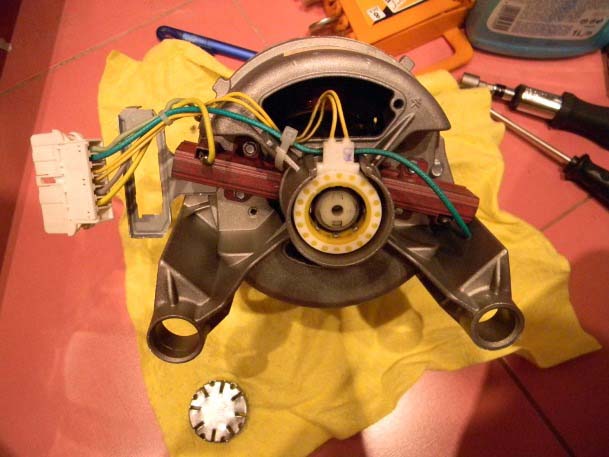
Under the cover you will see a large pulley with a drive belt, the back wall of the tank, pipes, heating element contacts and the wires to which they are connected, an engine with a tachometer connected to it.
Note! The advantage of Atlanteans is that they have a convenient arrangement of internal elements. By removing the back cover, you will have access to all the main components at once. This does not happen in all machines. In other brands, difficulties begin with removing the back cover.
So, to check the tachometer we do the following:
- disconnect the wires that go to the tachogenerator,
- take a multimeter and check the part.
The normal value at the Hall sensor contacts is 60 ohms.After that, set the multimeter to Voltmeter mode. Applying the probes of the device to the contacts of the tachogenerator, start rotating the motor, the voltage should increase by about 0.2 Volts.
Remove the tachogenerator and visually inspect its ring. Perhaps a layer of oxide has formed there. If so, the ring needs to be cleaned.
Pay attention to the quality of fastening of this part. Perhaps the reason is not a problem, but that a part has become loose? This sometimes occurs due to constant vibrations, especially at high spin speeds. To get rid of the problem, just tighten the sensor.
Also check the cables between the board and the part. If, as a result of the measurements, it was discovered that the tachogenerator had burned out, it would need to be replaced with a new one.
To do this, purchase the part in online stores or other points of sale. It is advisable to install original spare parts. After that do the following:
- remove the back cover;
- Unclench the harnesses and disconnect the wires from the sensor;
- release the latches to remove the back cover;
- unscrew the fastening;
- remove the burnt part;
- Install a working spare part and perform all steps in reverse order.
How to check an electric motor?
An Atlant brand washing machine may indicate a malfunction with error F9 if there are problems with the electric motor. If there is a current leak to the housing, or the armature is broken, there is nothing you can do, the part cannot be repaired and you will have to replace the unit. And this part is expensive. Of course, theoretically the engine can be repaired. But this is not practical from an economic point of view. Such repairs will cost more than buying and replacing a broken part with a new one.
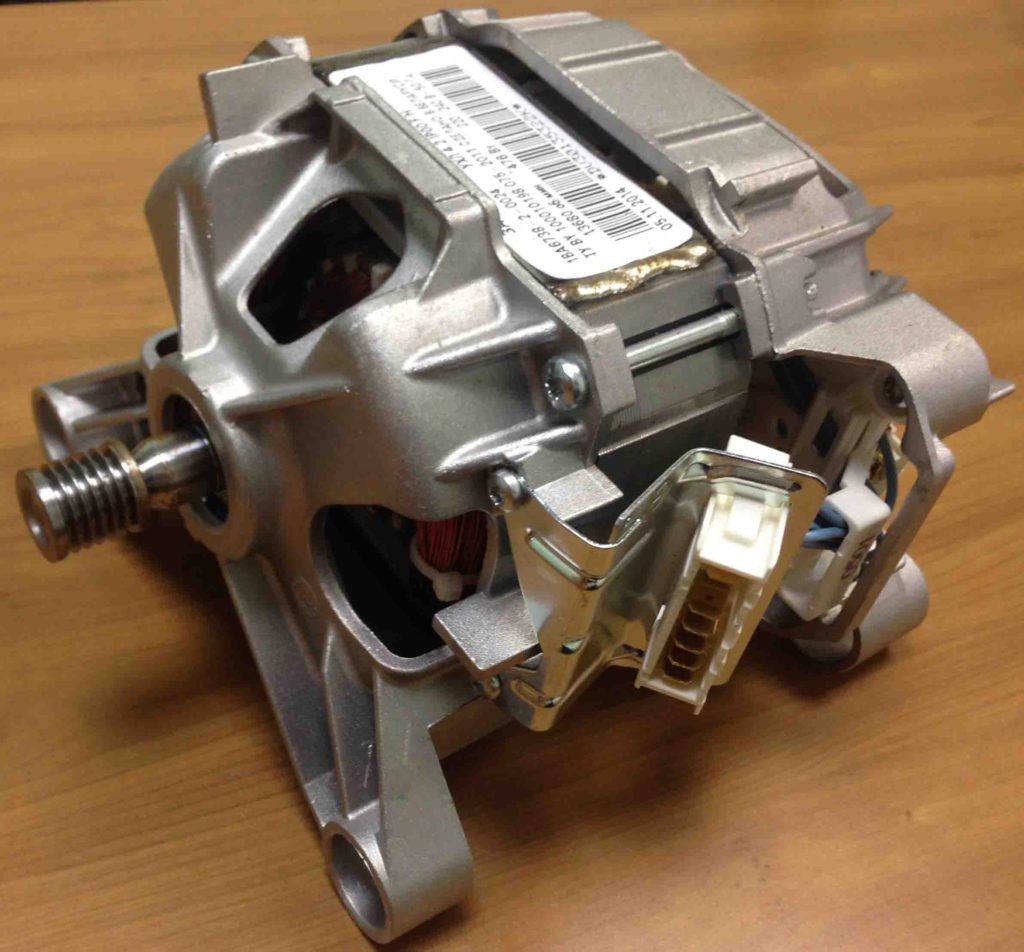
So, how do you determine that an engine replacement is needed? To do this, the motor must be removed. Disconnect the wires from it, unscrew the bolts and pull the motor towards you. Next you need to find the brushes, unscrew the holders and pull out these parts for inspection. If the brushes are worn out, they need to be replaced. You can tell if the brushes are worn out easily; they will be too short. By the way, always change brushes in pairs. And if: buy only original brushes, otherwise there is a risk of damaging the commutator lamellas and then the cost of repairs will increase significantly.
After this, we open the housing of the device and use the same multimeter to check for leakage on the housing, as well as the motor winding for breakdown. If there are no problems with the brushes or motor windings, and no leaks to the housing are detected, then everything is fine with the motor. We need to look for another reason.
Checking the electrical circuit
If all the elements have been checked and the error code has not disappeared, it’s time to think about the serviceability of the wires connecting the engine and the control module. Take a multimeter and start calling each wire. If you find that any of them does not ring, you need to replace it. We also recommend not to trust single measurements and measure the entire cable bundle at least 2 times, since with the testing method under consideration, errors in measurements can sometimes occur.
Well, if the circuit is working properly, then the fault is still in the electronic module. You will have to contact a good service center, since it is not recommended to repair the control module yourself for the reason that you need specialized tools and skills. As we have already said, sometimes problems with the board are firmware, and not a hardware failure.


