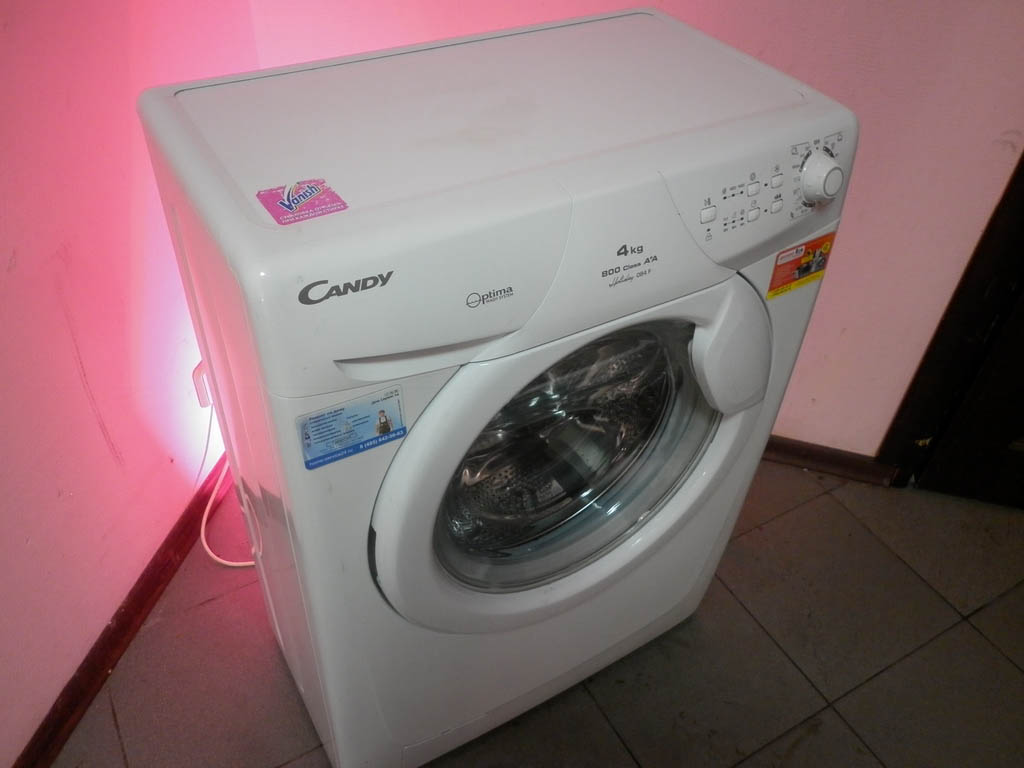
 SMAs, manufactured in Italy, are popular among Russian consumers due to the convenience of the management system and a large number of programs. They are small in size, not very expensive, but break down more often than LG or BOSH. If you have skills in installing household appliances, then you can try to repair Candy washing machines yourself.
Basic malfunctions of Candy washing machines
Failures can vary from simple to quite complex, which can lead to expensive repairs. To determine the reasons for the failure, diagnosis is necessary, which can be done on your own. Experienced craftsmen put the following faults in the first place:
- Blockage or technical malfunction in the drain system. The machine stops draining water and stops after washing without starting the spin cycle. If the seal is broken, a leak may occur while spinning things. A signal of a problem may be a characteristic noise during the drainage of water. As a rule, it is heard if the pump is clogged.
- Wear and tear on the moving parts of the washing machine. Oil seals, engine, shock-absorbing elements, bearings - all of this is under constant load. If any of the elements fails, vibration appears in the machine, especially during the spin process.If you listen closely, you can hear light tapping or grinding sounds in the drum.
- Failure of the water heating element. This problem is most common with older models. The water stops heating, or the machine does not wash at all.
- Electrical and electronics problems. The wiring and its connection points to the sensors cause the washing machine to stop working. In most cases, due to increased humidity, oxidation appears at the terminals, but sometimes the wiring “burns.” Voltage drops cause failure of sensors and the control module. Failure of the pressure switch is accompanied by problems with draining and taking water; poor spinning indicates that the tachometer is broken.
How Candy washing machines are repaired
To fix a problem yourself, careful preparation is required. You will need a spacious workplace, tools and accessories.
- Removing clogs and drain problems.
This breakdown is quite easy to fix on your own. The problem, as a rule, manifests itself in situations where the rules for operating and caring for the machine are violated. Cleaning the drain begins with checking the filter. In Kandy it is located on the lower left side, hidden by a small door or panel. To clean it, carefully unscrew it counterclockwise and pull it towards you. First, you need to spread a rag on the floor to collect any leaking water. The removed filter is washed with water, cleaned of debris, and replaced.
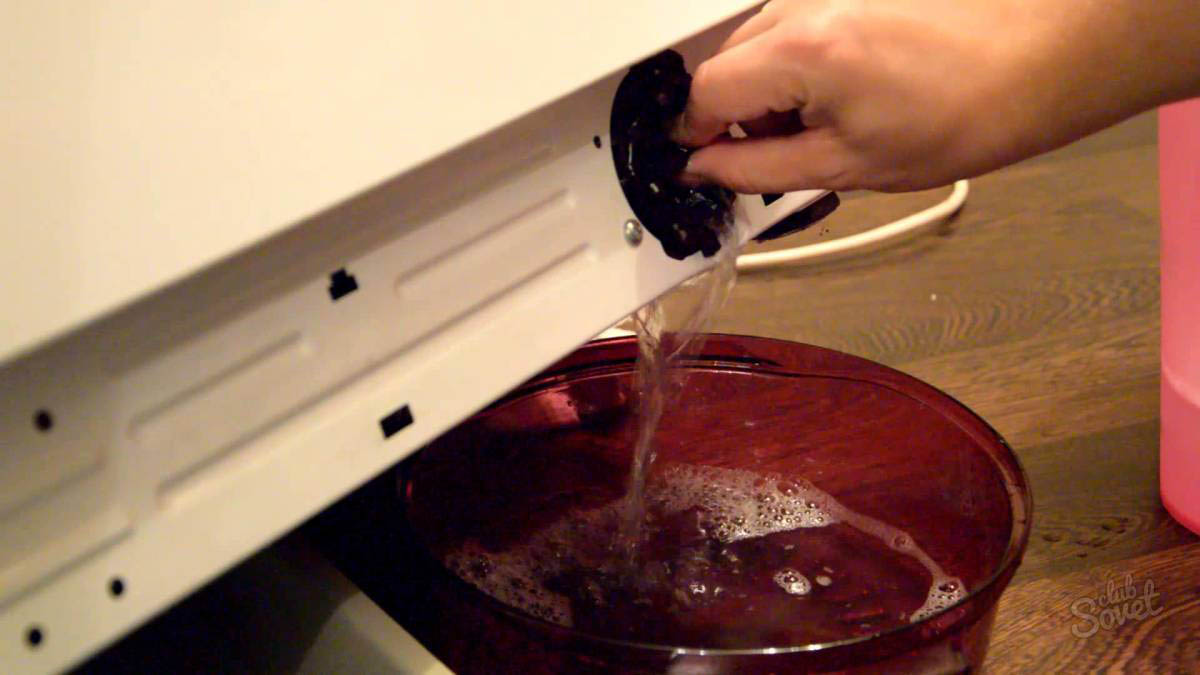
To clean the hose, pipe and pump, you will have to lift the washing machine or lay it on its side. First, the power supply is turned off and the drain hose is disconnected from the sewer system.You will have to get to the pump in washing mashines of this brand through the bottom, which either does not exist or has a special tray.
After loosening the clamps, you need to disconnect the hose and pipe. The latter is washed with water and wiped dry. The hose is cleaned with a cable and a brush and inspected for damage. After this, the sensors are disconnected from the pump intended for draining water, and the fasteners are unscrewed. Having taken out the pump, you need to check the impeller located under the cover. As a rule, hair, fur, and lint are wrapped around it, so everything will have to be removed. It is recommended to replace a burnt out pump with a new one.
Now all that remains is to assemble the machine and test it in operation.
- Repair of moving parts.
Such work is considered more serious. The difficulty of replacing bearings is that the sleeve that holds them is thermally pressed, and the bearings themselves are difficult to remove. To repair, you will have to disassemble the washing machine by removing the top cover and back panel. You must first remove the detergent tray. Next, the front panel is detached. Now it’s the turn of the tank, which is removed carefully so as not to damage the wiring and hoses that were previously disconnected.
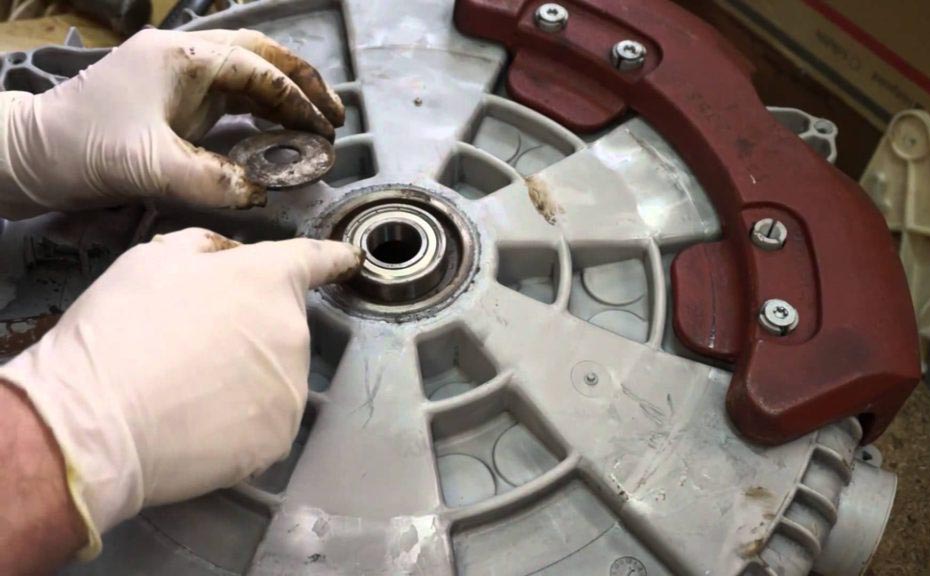
The peculiarity is that you cannot cope with such work yourself - you will need an assistant. To remove the bearings, you will have to disassemble the tank, remove the pulley from the shaft, remove the shaft and begin removing the two bearings. For such work you will need a special removable device, but you can also use a regular hammer. Now all that remains is to install new bearings and assemble the machine. It will not be superfluous if you pre-coat the cleaned mounting sockets with lubricant.
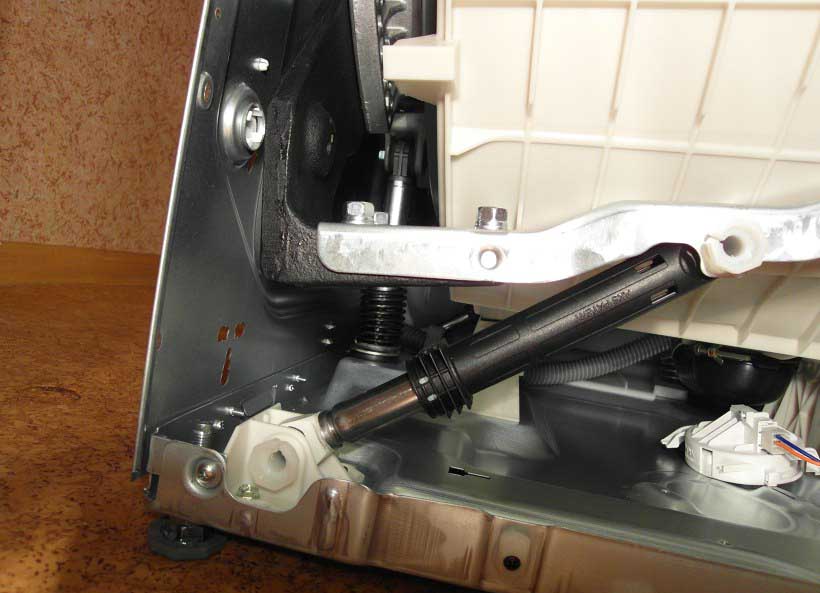
Another problem is wear of the shock absorbers. Strong vibration will remind you of this when washing or wringing things out. These elements are located under the tank. Remember that shock absorbers are non-separable structures, so they will have to be completely replaced. To do this, first unscrew the lower and then the upper fasteners. Sometimes there are plastic latches that you simply press down on to pull out the locking pin. The removed old shock absorber is replaced with a new analogue.
- Procedure for replacing the heating element.
Most often, this element fails during prolonged use of the machine. The reason is the hardness of the water, which deposits a dense coating on the heating element. In case of such a failure, a special error code will be displayed on the screen. There is no need to worry here - the work is simple, you can do it yourself. Just remember that the heating element is located behind the rear panel, under the tank.
To replace it, it is necessary to carry out a number of operations:
- remove the panel;
- unscrew the bolt securing the failed water heating element;
- disconnect all sensors, having previously remembered or marked their connection;
- Using a flat screwdriver, you can begin to remove the heating element by carefully pulling it towards you;
- using a multimeter it is checked for functionality;

- a serviceable element is simply descaled, and a new analogue is purchased instead of a burnt one;
- We carry out the installation, connect the wiring and sensors, screw in the mounting bolt, and install the back panel in its place.
- Electrical and electronics problems.
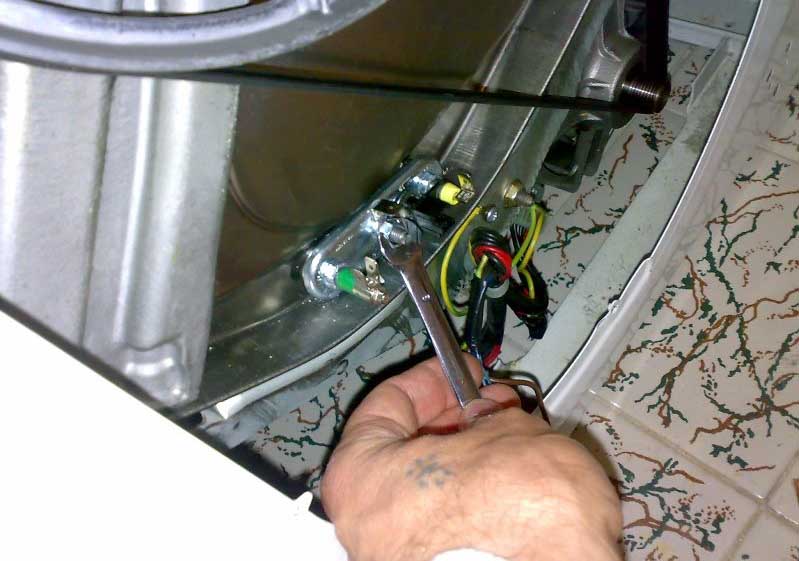
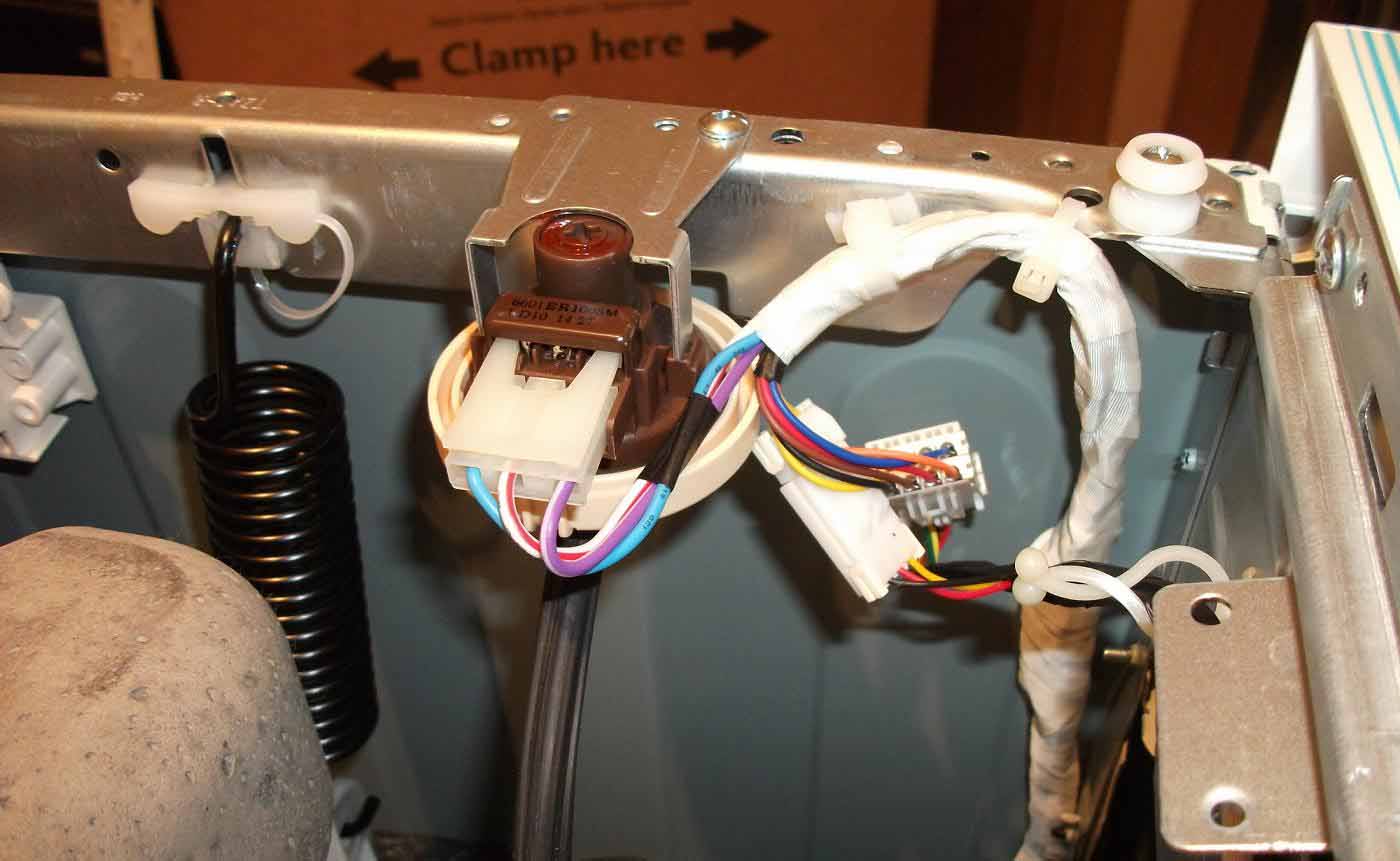
Electrical failure is another typical problem that involves not only electrical wiring, but also sensors.Most often, the tachometer and pressure switch, which is responsible for the liquid level, fail. Checking the wiring for functionality is a rather complex process, which requires the presence of a multimeter and the ability to use it. Sometimes a visual inspection is enough to identify oxidized wires or terminals.
The water level sensor is easy to change. It is located in the upper corner, under the lid. The wiring leading from the pump and the electrical board is disconnected from it, and the tube connecting the device to the tank is disconnected.
A new one is installed in place of the removed pressure switch. But the tachometer needs to be changed by an experienced technician, because you will have to disassemble the washing machine to get to the electric motor.
If surge protection is not installed, or there is no grounding, the control module may fail. The machine will stop turning on, the programming will fail, and the washing machine will freeze. The control board is quite expensive, so it is recommended that it be checked and repaired by an experienced specialist. Most often, all work ends with its complete replacement.
A few more refusals
It happens that during startup the machine does not turn on. There may be several reasons for this:
- The network cable is burnt out or twisted. It must be checked and, if necessary, replaced. It happens that the problem is hidden in the extension cord used, so it is recommended to start checking with it;
- There is no voltage in the network. It may also simply not be enough to start the washing machine. To check, you will have to use any electrical device. If the “diagnosis” is confirmed, invite an electrician;
- the contacts on the start button have oxidized.Remove the top cover, remove the powder container, remove the panel, disconnect the wiring leading to the control module, inspect the contacts. They will have to either be protected or changed;
- The control module has failed.
If you notice a puddle on the floor, it is recommended to urgently look for a leak. But before starting all actions, the machine must be de-energized to avoid electric shock.
There may be several reasons for a leak:
- the dispensing tray is clogged with detergents, clogging the pipe;
- the water drain pipe is damaged;
- Due to prolonged use, the cuff has worn out or been damaged by small objects, losing its tightness.
Expert advice and preventive measures
It is recommended to regularly clean the outside of the Kandi SMA, without using products containing solvents, alcohols or abrasives. It is enough to use a damp cloth for this work.
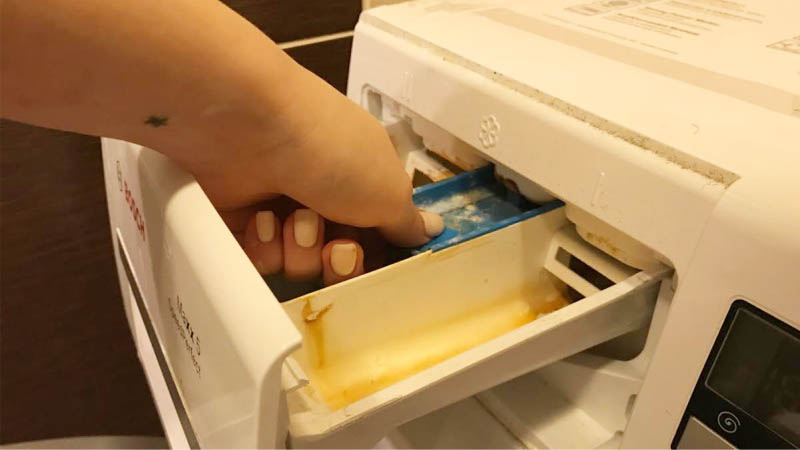
Constantly check the detergent tray to remove any remaining powder. If necessary, remove the container and rinse it thoroughly with water.
The water drainage system should be checked and cleaned twice a year.
When moving the device to another place and not using it for a long time, all water must be drained from the system.
Conclusion
Remember that all repair work must begin with diagnostics of the washing machine in order to identify the fault as accurately as possible. Having assessed the complexity of the failure and your own strengths, you can decide to repair it yourself or call an experienced specialist. Working on your own without the necessary skills can result in more expensive repairs.But if you act on your own, then replace the failed elements with their exact analogues.


