 Equipment from any manufacturer breaks down during long-term use, and Atlant washing machines are no exception. The user can fix many problems on his own if he has the appropriate tools and purchases new parts. To do this, you need to know how to disassemble the Atlant washing machine and replace components. All actions must be performed strictly in accordance with the instructions, so that incorrect actions do not damage the equipment or cause it even more harm.
Preparing for disassembly
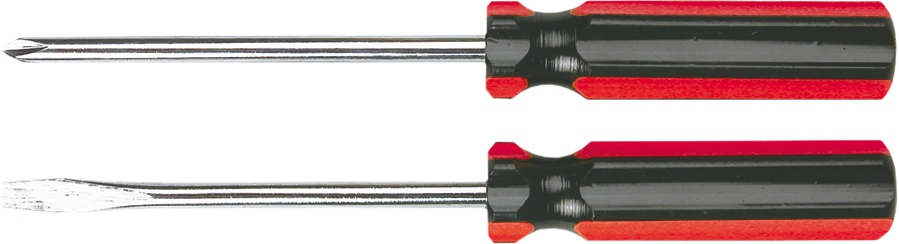
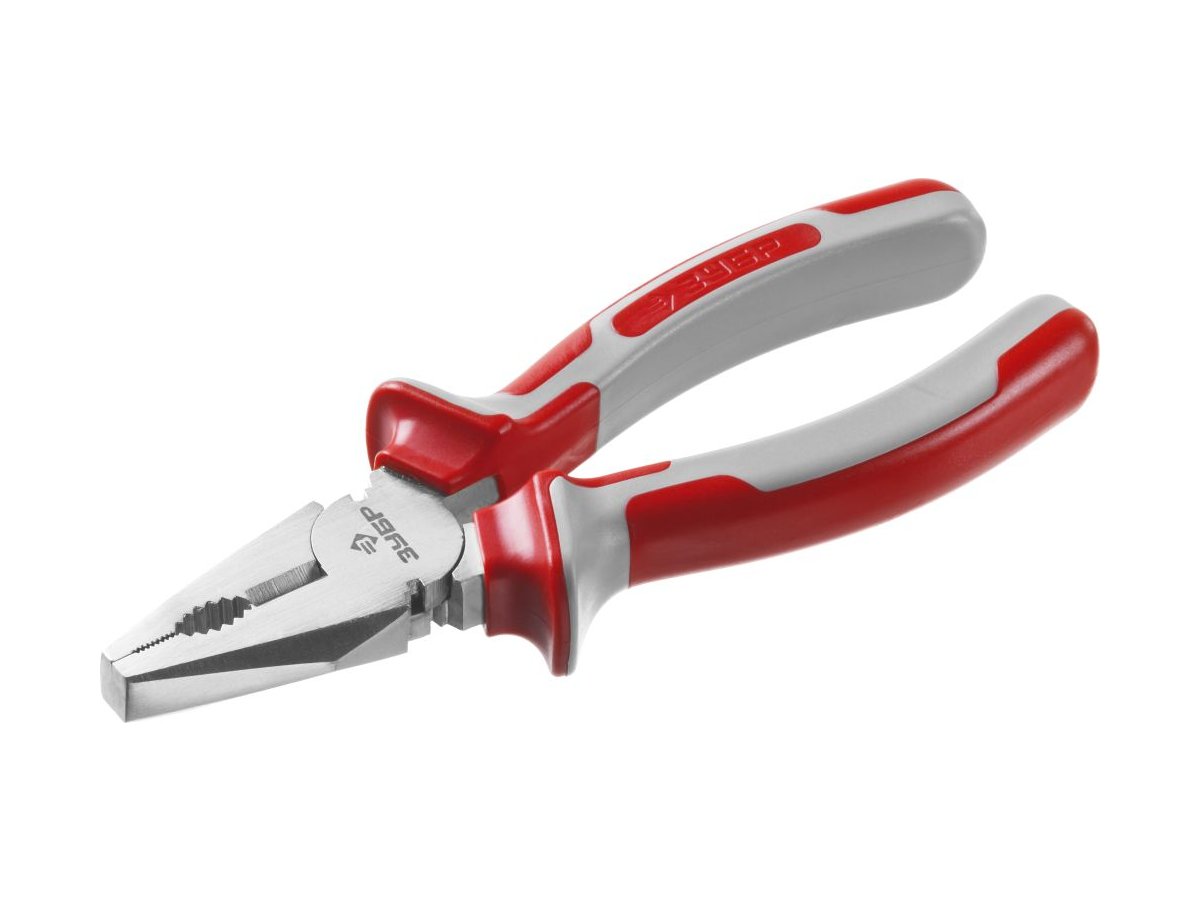
To disassemble the Atlant washing machine, you first need to prepare the tools. The user will need:
- Set of flat and Phillips screwdrivers.
- Pliers.
- Set of wrenches.
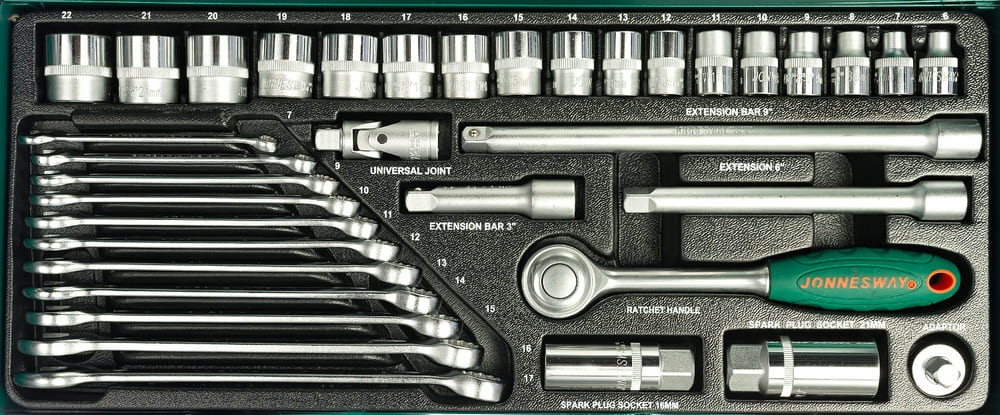
- Set of socket heads.
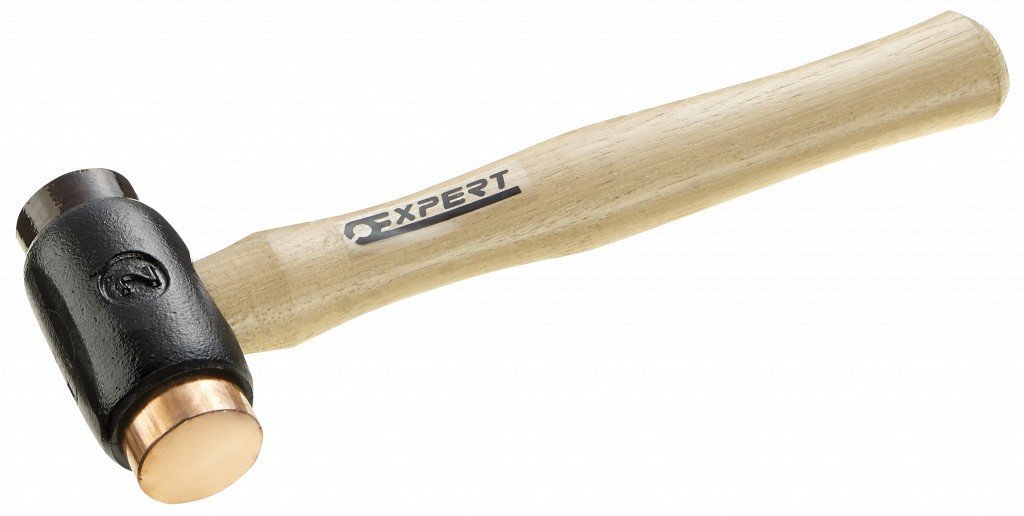
- Hammer.
After disassembly, in the process of diagnosing equipment and replacing parts, other tools, materials and devices may be required - a multimeter, a screwdriver, WD-40, rags, etc.
Before disassembling the Atlant washing machine, the equipment must be disconnected from the network, water supply and sewerage and moved to a spacious place for more comfortable work.
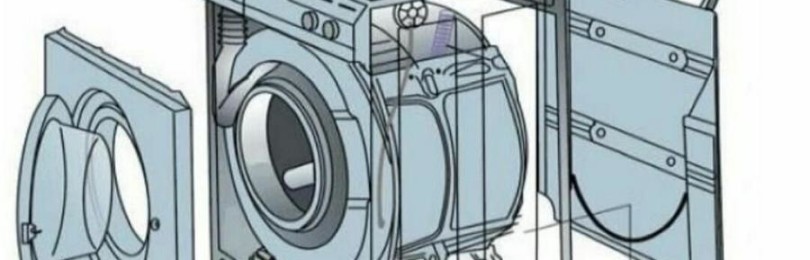
How to disassemble the body of an Atlant washing machine
When disassembling the washing machine, it is recommended to take photographs of each step, especially when disconnecting the wiring. This will allow you to easily assemble the equipment in the future, without making mistakes that could lead to disastrous results and expensive repairs to the device.
In numerous cases, for example, when replacing a drain pump or heating element, repairing equipment requires only partially disassembling the Atlant washing machine.
To gain access to these components, you must:
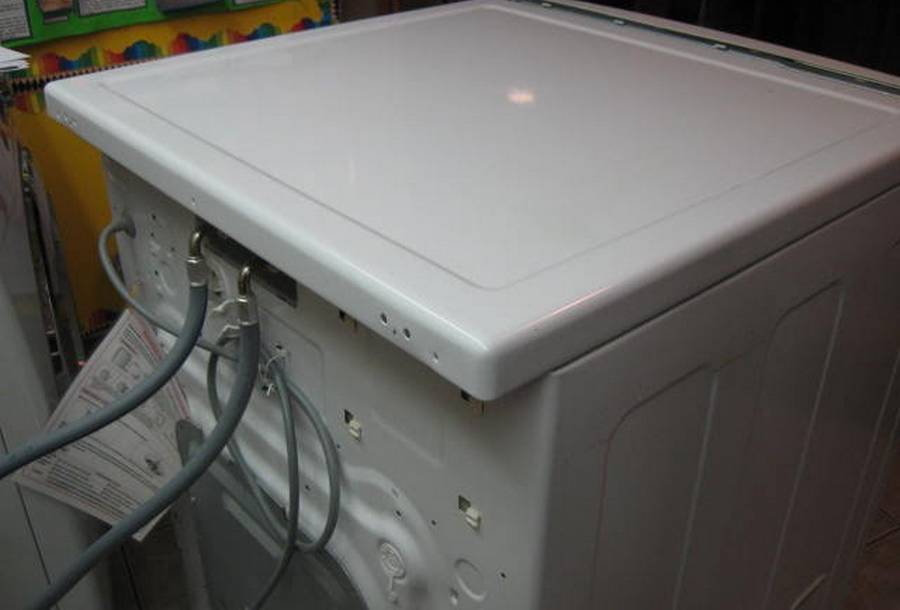
- Unscrew the screws, slide the top cover back and remove it.
- After unscrewing the fasteners, remove and remove the back cover.
By completing these steps, the user will gain access and be able to replace the pressure switch, transformer, interference filter (FPS), and water inlet valve.
If you drain the water through a filter or emergency drain hose, the washing machine can be turned on its side. This gives access to the drain pump and pipe.
Behind the cover, located on the back of the device, there is a heating element, drive belt, tank and motor, as well as an electronic unit. Of these components, the easiest to remove for repair or replacement are the heating element and the electronic module.
To completely disassemble the washing machine, you should remove the detergent cuvette from its seat and unscrew the screws that are located behind it. This will allow you to detach the control panel.
The washing machine hatch can be removed very easily; to do this, you just need to unscrew the fasteners that hold it. Next, you will need to unclench and remove the clamp that secures the cuff. Next, you need to unscrew the fasteners of the locking mechanism and remove the sensor; to do this, you need to place your hand in the drum.After this, you can detach and remove the front panel.
The disassembly of the washing machine body has been completed.
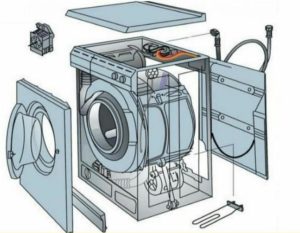
How to disassemble the tank of an Atlant washing machine
To perform more complex repairs, such as installing new bearings, it is necessary to remove the tank from the housing and disassemble it, and then pull the drum out of it.
This process looks like this:
- Unscrew and remove the counterweights.
- Remove the drive belt.
- Disconnect the wiring from the motor, unscrew the fasteners, and remove the motor.
- Disconnect the wiring from the heating element and temperature sensor.
- Remove the clamps of the fill and drain pipes.
- Pull the hatch cuff out of the drum.
- Disconnect the pressure switch.
- Pull out the racks and remove the tank from the housing.
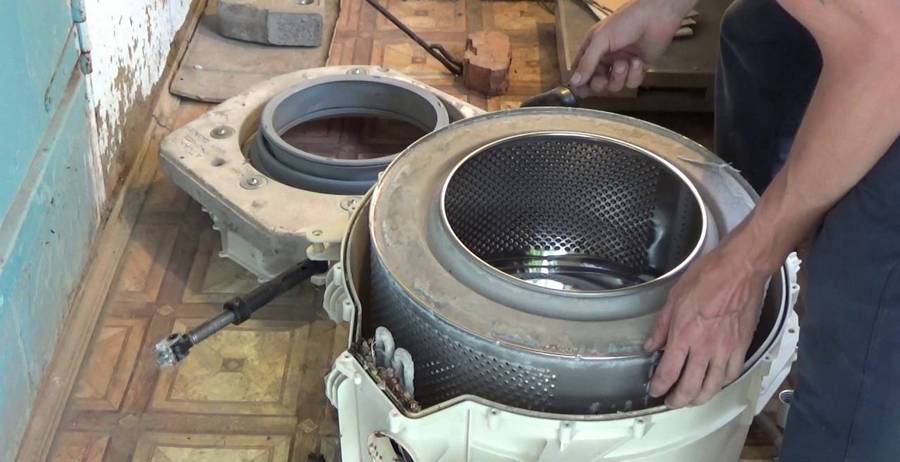
Unlike a number of other manufacturers, Atlant washing machine tanks cannot be disassembled, so they need to be cut to install a new bearing. Necessary:
- Place the bin with the laundry opening facing up.
- Find the place where the two halves are soldered.
- Select screws for subsequent twisting of the tank halves.
- Drill holes in a circle corresponding to the diameter of the screws. It is recommended to do this right away so that the parts can be easily aligned during assembly.
- Use a hacksaw to cut the tank along the seam. This is a labor-intensive process that must be done carefully so as not to damage the drum and other elements inside.
- Divide the sawn tank into two halves, remove the top one to the side.
- Remove the screw located in the center of the pulley. If it gets stuck, apply WD-40 to it.
- Remove the pulley.
- Select a screw similar to the one removed from the pulley and screw it into the shaft all the way to knock it out.
- Lightly tap the screw to knock out the shaft along with the drum and bearings.
Disassembly is complete, then you can begin replacing the bearings.
Recommendations for assembling the tank and body of the washing machine
After the work on replacing the bearings is completed, and the user begins assembling the tank, he must carefully coat the joints of the two halves with sealant, and then fasten them with selected bolts. The sealant should be selected taking into account that it will have to withstand high temperatures and an aggressive environment.
Assembly of the Atlant washing machine is carried out in the reverse order of the disassembly process. If the user took photos, then the work should be carried out, constantly checking them. This is especially true for wiring, incorrectly connected wires can entail significant costs for damaged parts and expensive repairs to the equipment.
After the machine is assembled, it should stand for as long as necessary for the sealant to completely harden in accordance with the recommendations of the manufacturer of this substance.
- Next, the Atlant washing machine must be connected to electricity, drain and water supply, pour a small amount of detergent into the cuvette and perform a test wash. This is necessary to remove dirt, grease, debris, unpleasant odors that may have appeared during the repair process. If no water appears under the washing machine at the end of the work, this indicates that the repair was done correctly and the device was assembled correctly.
- Rules for the operation and maintenance of the washing machine
To prevent the washing machine from breaking down and the user from having to disassemble it for subsequent repairs, the following rules must be followed:
Do not overload the washing machine.Recommendations for assembling the tank and body of the washing machine


