
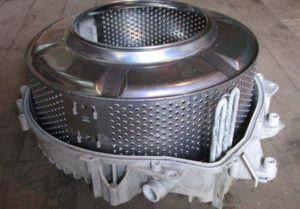
 Like any equipment, washing machines are subject to minor and major breakdowns. Every washing machine has parts that require special care or repair. Such a part is a drum. Sometimes situations arise when you need to remove the washing machine drum.
For example, some housewives, having heard strange noise, prefer to leave the washing machine idle for some time. Or they prefer to throw out the old one and buy a new washing machine. It is not right.
You need to figure out what the problem is and fix the problem. The noise can be caused by anything, such as a button that has come off a shirt or small beads. From such objects, the washing machine drum or its seal is the first to suffer. This type of damage is repaired by professionals. Since the drum assembly of the washing machine requires utmost attention when repairing.
How to remove a drum on a washing machine
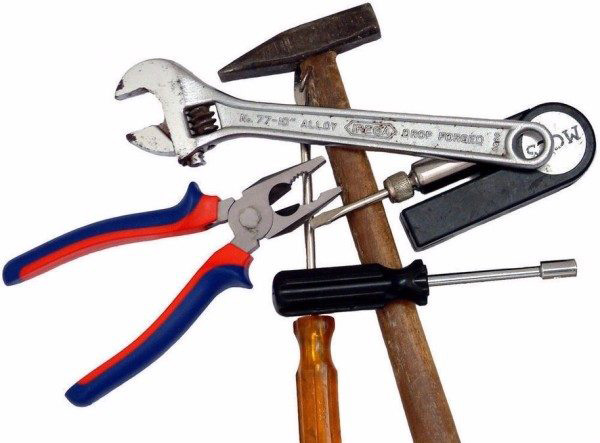
Some models of washing machines are very easy to disassemble, but some will require some thought. If you need to replace any components, you need to purchase them in advance.
Horizontal drum position
First, you need to unplug the power cord from the outlet, then disconnect drain hose from the sewer pipe.
Now you need to unscrew the screws on the back cover of the washing machine and remove this very cover. Then do the same with the front part, to do this you need to slide it towards you and up, and it will come off. Sometimes the front cover has a loading hatch lock, which is connected by wires to other parts of the washing machine.
To remove this lock, you need to insert your palm between the side wall and the drum body and pull out the wires. Or, another option, unscrew the lock.

The top cover of the washing machine also needs to be removed. To do this, you need to unscrew the bolts that hold the filling valve, the bolts that secure the cover itself, and disconnect the wires that fit there. Next, you need to remove the pipe leading from the powder container to the drum itself.
Next you need remove the loading hatch cuff. First you need to remove the outer part of the cuff, to do this you need to unfasten the clamp that holds it.If the clamp is in the form of a spring, then you can simply pick it up with a flat-head screwdriver. Next we remove the inner part, be sure to mark the place where the clamp is attached somehow. For example, a piece of electrical tape or a marker. Then we bend the outer part of the cuff and pull it out.
It would be a good idea to rinse the cuff in soapy water; the junction of the cuff with the drum tank also needs to be cleaned.
And accordingly, the bottom cover is removed by unscrewing the screws. The machine is disassembled, you can now remove the drum.
First, you should disconnect everything that is connected to it from the tank. Particular attention should be paid to weights or counterweights; they are attached to the top and bottom of the tank. You also need to remember to remove all the springs that secure the washing machine drum to the body. Be sure to remove the shock-absorbing pads from the base of the washing machine and unscrew the bolts holding the tank.
The pipes that lead to the drain mechanism and the water level sensor also need to be removed.
But some manufacturers of washing machines glue together the parts of the tank, because of this, even services do not accept such machines for repair, but such tanks can be cut with a hacksaw. You need to cut carefully along the connecting seam, and after repair, you can easily restore the tank with simple bolts or staples.And be sure to apply sealed glue to the joints of the tank and the bolts.
Well, then, you need remove the drum itself, to do this, you need to unscrew the bolt that holds the pulley, remove this pulley and screw the bolt back. After these manipulations, you need to lightly hit the shaft that drives the drum several times and pull out the drum itself. Sometimes the bolt holding the pulley is very difficult to unscrew, this is due to the fact that a special compound is poured into the socket along with the bolt. You can remove this bolt using heat. The socket will widen slightly and the bolt can be removed. And the pulley is removed by loosening it.
It must be remembered that work with heating elements should be carried out at a distance from flammable objects.
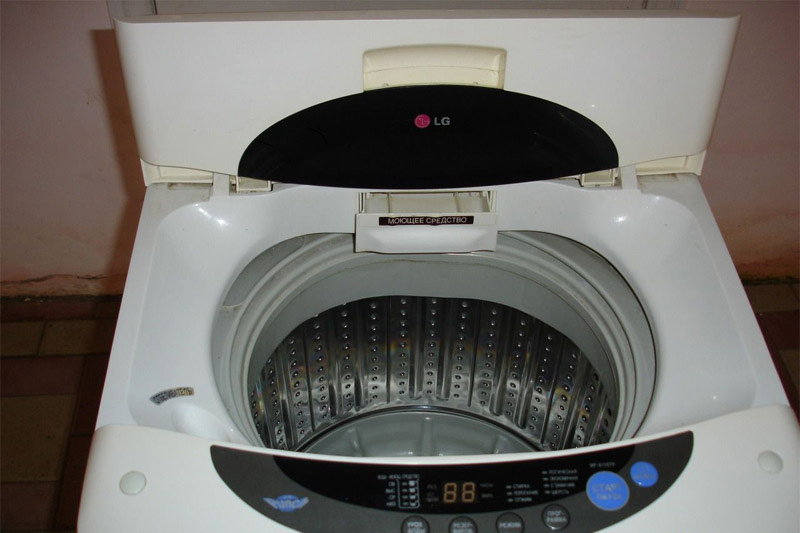
Vertical drum position
Top-loading washing machines are easier to operate and repair. The drum in such a machine is fixed in only two places. Disassemble a similar washing mashine need as follows.
First you need to unscrew all the screws that hold the front and back walls of the machine. Next, the right side panel needs to be moved back and then removed.
Then all the wires that go to the drum are disconnected, the screw that holds the shaft that drives the drum is unscrewed. The same actions should be done on the left side. After all the above steps have been completed, you need to make sure that everything is disconnected from the drum and remove the drum itself.
Often the cause of failure of washing machines is wear of the bearing; after the drum is pulled out, it would be a good idea to inspect this same bearing. And if necessary, replace it.
Bearing replacement
To replace a worn bearing, you need to disassemble the washing machine and remove the washing machine drum. Clean the drum from dirt and foreign objects.
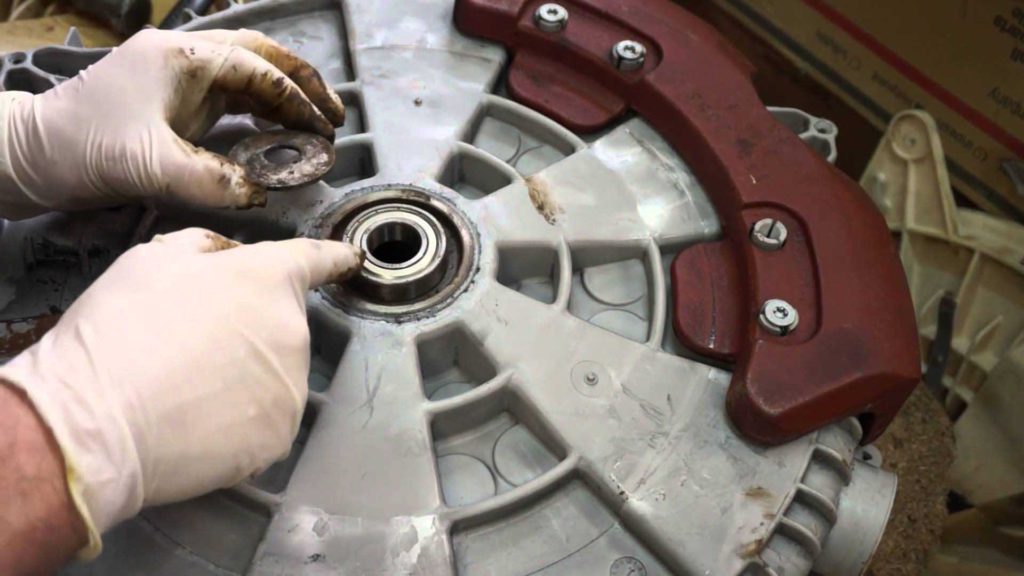
Next, you need to remove the old bearing; to do this, you need to knock it out of the socket without damaging the socket itself. Along with the old bearing, we also remove the seals; they also need to be changed. The bearing seat must be treated, for example, with lithol. And then you need to install a new bearing. To do this, you need to drive it into place using a hammer.
You need to remove the washing machine tank when necessary. Otherwise, it may turn out that the drum cannot be put back. Some manufacturers of washing machines, in order to reduce the cost of the device, install disposable drums. When removing such a drum, some deformation occurs, which does not allow the tank and drum to be put back in place.
You need to purchase a new tank and the drum itself. Sometimes their cost is equal to the cost of a new washing mashine. But no one gives a guarantee for components. It is better to use the washing machine carefully and check the laundry before washing.


