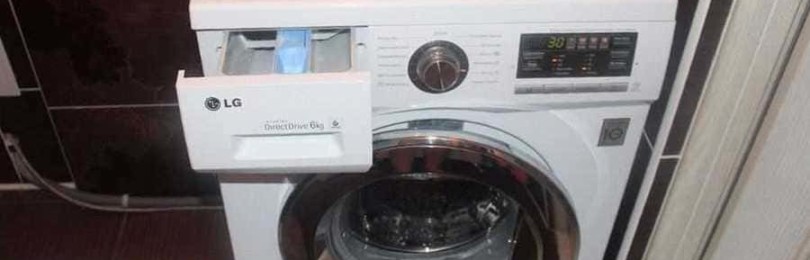
 Any washing machine can fail sooner or later. There are several ways to solve this problem. The first involves contacting a service center, and the second involves carrying out repairs on your own. If the damage is minor, you can easily fix it yourself. Therefore, it is first necessary to establish the cause. So, how to disassemble an LG washing machine?
Preparation
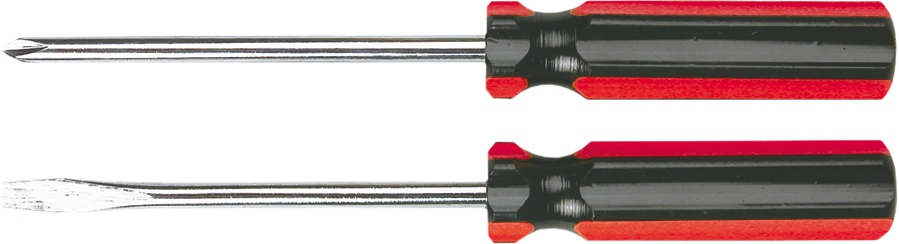
The peculiarity of the LG machine is that it is equipped with an inverter motor. As for other manufacturers, their technology uses a commutator motor. As a result, the disassembly will be slightly different. In any case, for disassembly you will need the following tools:
- Screwdriver Set;
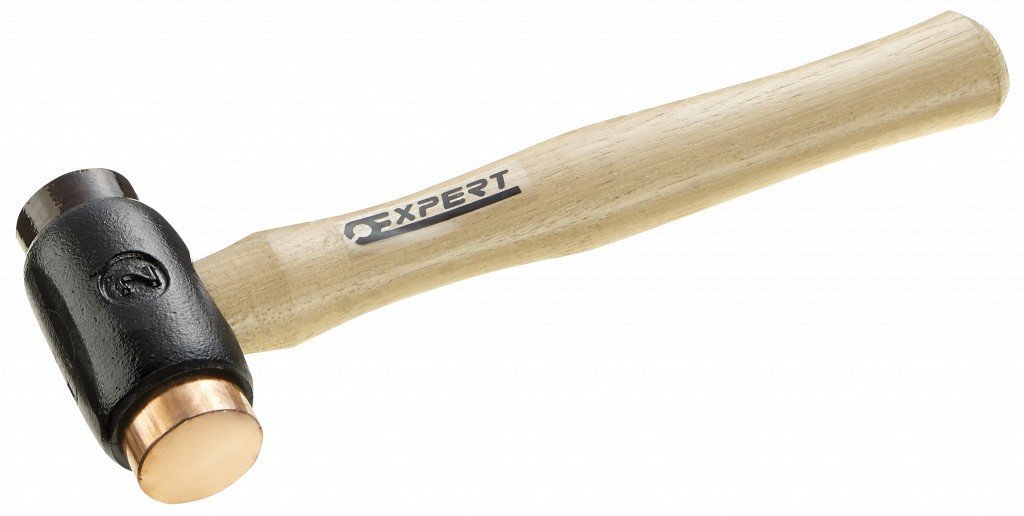
- hammer;
- open-end and socket wrenches;
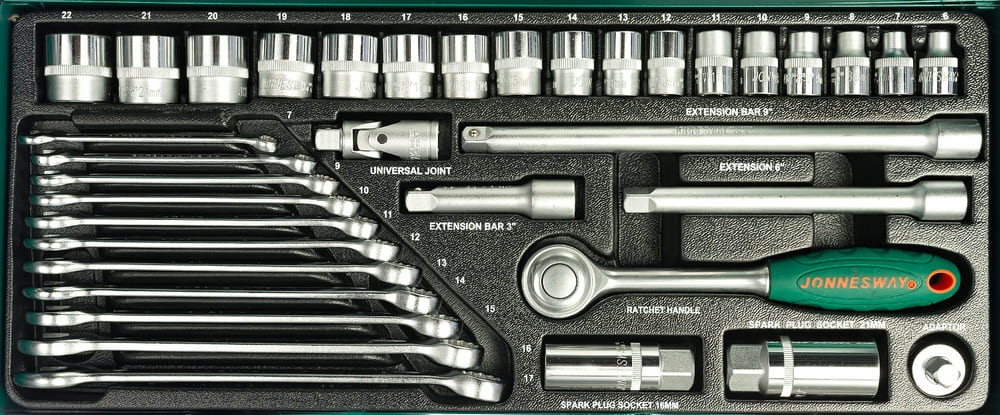
- pliers.
So, the tools are prepared. Now choose the place where the washing machine will be disassembled. Preparatory work is carried out in the following sequence:
- disconnect equipment from the network;
- unscrew the inlet hose and drain the remaining water into a previously prepared container;
- disconnect the filter, which is located behind the hatch on the front panel;
- drain the water and remove the container;
- Move the equipment away from the wall, which will allow you to freely approach the back cover.
The washing machine is ready for disassembly. When performing work, it is worth considering that the machine operates on a direct drive.
Dismantling panels
It is very easy to disassemble an automatic washing machine at home. The main thing is to know the sequence of work. Disassembly begins with the removal of all walls and panels. To perform the job efficiently and not damage the machine, you must follow the following instructions:
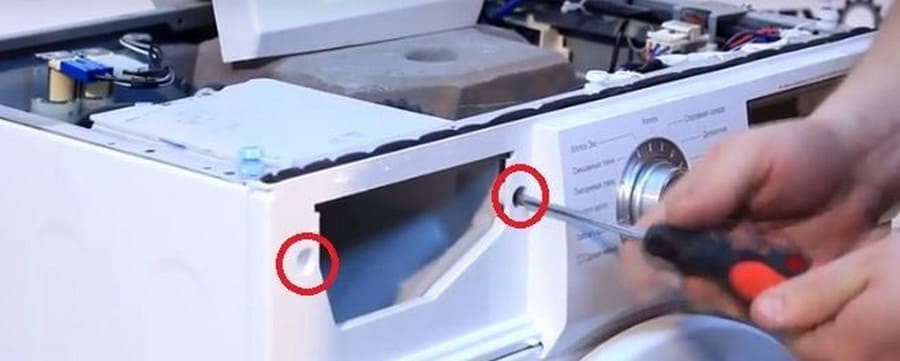
- Top cover. Disassembling the machine begins with removing the top cover. Use a screwdriver to unscrew the two screws that hold it in place. They are located at the rear of the machine. Push the panel forward and remove it.
- Back cover. On modern LG models there is a service hatch, which is located at the rear of the washing mashine. There is a metal cover on it, which is secured with bolts. They need to be unscrewed along the entire perimeter of the hatch, which will allow the rear panel to be removed.
- Control Panel. In order to remove it, it is necessary, first of all, to pull out the tray into which detergents are poured and poured. It is pulled out and pressed on the latch located in the center. This will give access to the screws. Unscrew them and unfasten the latches holding the panel using a screwdriver. Next, the panel is removed. To completely eliminate it, you need to disconnect all wires and connectors.

Front Panel
At the final stage, the front panel is removed. This is quite difficult to do, since the process has some nuances. Therefore, they approach disassembly very carefully. Step-by-step instructions can help with this:
- open the hatch door;
- bend the edges of the cuff;
- remove the clamp located under the cuff;
- tuck the cuff into the drum;
- open the filter hatch;
- unscrew the bolts located near the filter;
- release the lid latches and remove it;
- unscrew the bolts that hold the hatch door;
- disassemble the door;
- take out the lock behind the body and disconnect the wires;
- Unscrew the screws holding the panel.
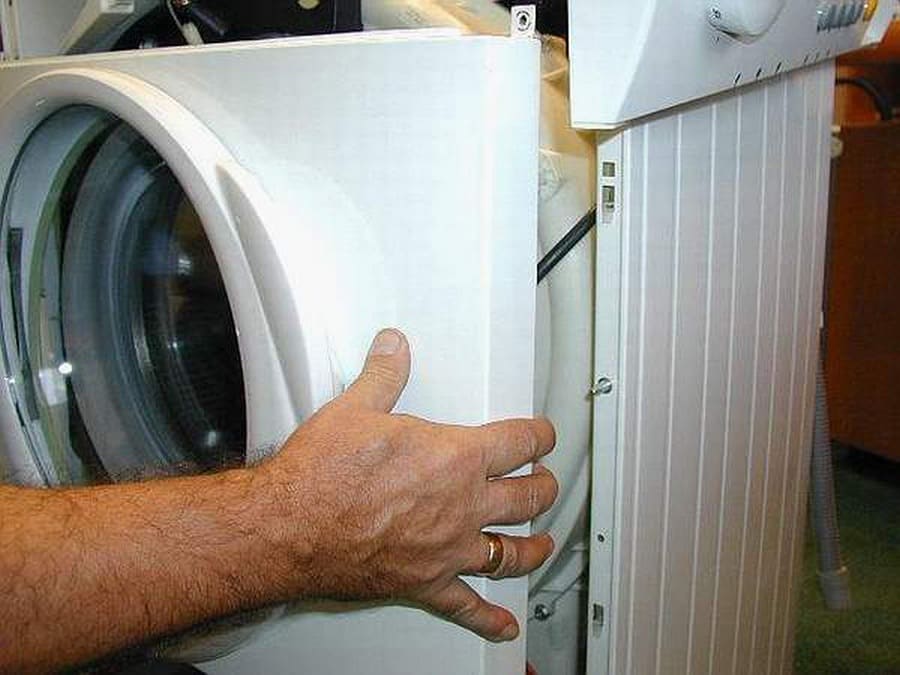
Thus, the front panel is removed. As a result of all manipulations, access to the main parts of the LG washing machine is opened. This allows them to be disassembled without hindrance in the future. During this process, you should be very careful, since the cause of the malfunction may be visible.
Counterweights and tank parts
When all the panels and covers are removed, you can begin to work on the internal parts of the machine. They start with counterweights that weigh down the tank. They prevent the drum from beating under the influence of vibration while the washing machine is operating. They are located around the hatch. They will be visible after dismantling the panel.
The counterweights are secured with bolts. They are unscrewed with a torx head. After removing the upper counterweight, we proceed to the parts that are on top of the tank. The disassembly algorithm looks like this:
- unscrew the screws and remove the hopper of the dispensing tray;
- disconnect the pipe that goes down;
- disconnect the contacts leading to the inlet valve;
- unscrew the screws at the back and pull out the valve;
- dismantle the hopper with the valve.
The next step is to do the following:
- disconnect the pressure switch hose that leads to the tank;
- inspect the tank and check for parts that may prevent its disassembly;
- disconnect everything.
When work with the tank is completed, you can move on to the bottom of the washing machine. At this stage, it is important to write down the sequence of the process, which will later simplify the assembly of the machine in reverse order.
Removing the motor
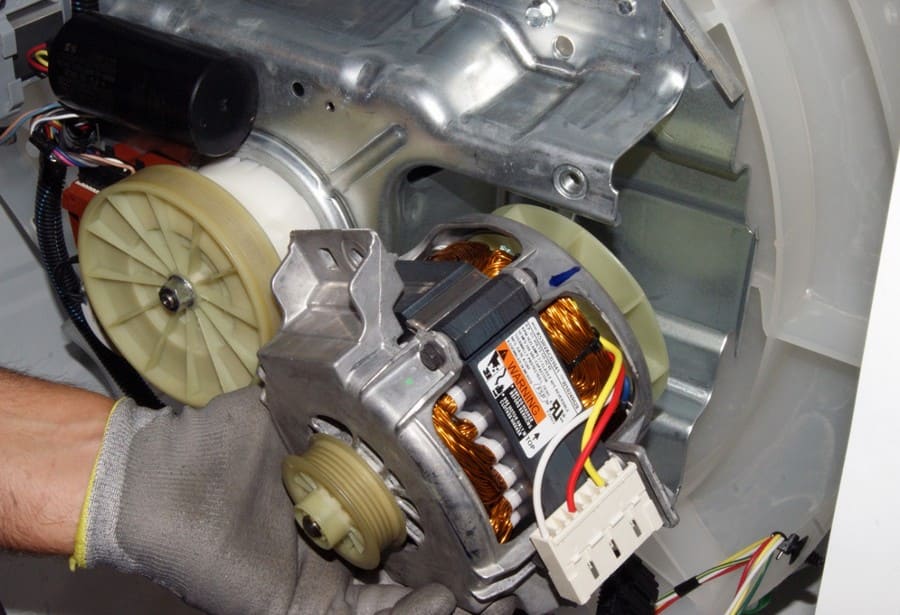
Like any other equipment, an important element of a washing machine is the motor.Therefore, you need to work with it very carefully. In the process, it is worth protecting it from damage and falling. As for its dismantling, it is carried out according to the following scheme:
- Disconnecting the drain pipe. This is the first thing done when disassembling the engine. To begin with, use pliers to loosen the metal clamp. If it is secured with a bolt, it must be unscrewed. Disconnect the pipe.
- Disconnect the wires. Wires lead to the motor, which are fastened with special clamps. Put them aside. Unclench the connectors of the wires that lead to the heating element. There is no need to remove the heating element.
- Disconnecting the engine. Unscrew the screw located in the center and remove the engine cover. This will give you access to the fasteners located on it. Unscrew all bolts and remove the power unit.
Once the motor is removed, nothing will prevent the removal of the tank. It is supported by stands alone.
How to disassemble the tank and drum
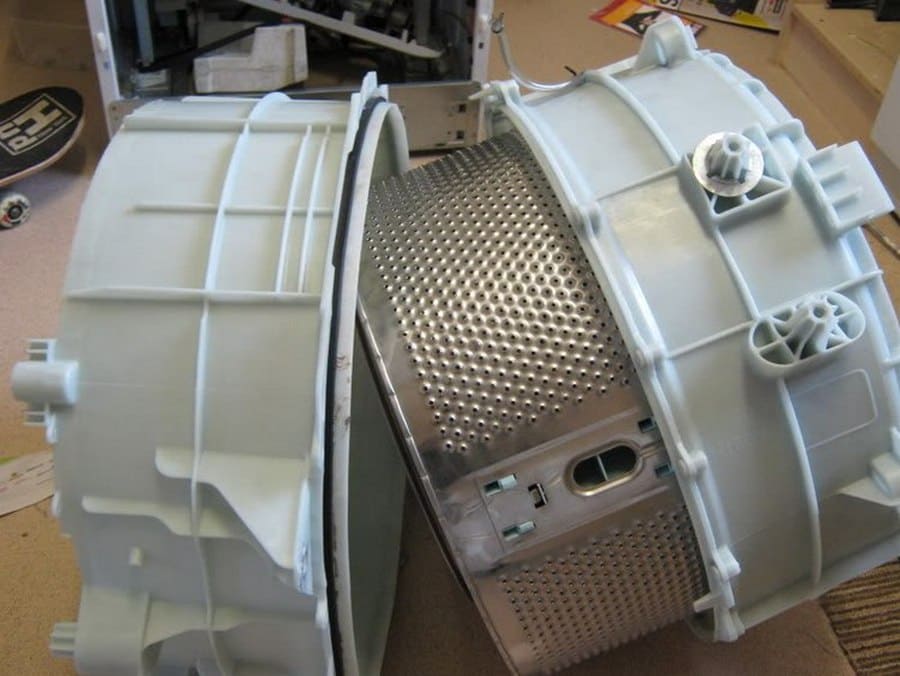
To disassemble the drum, you must first remove the stands. They are attached using plastic rods. From the back side of the rack, put a 14mm socket on the bolt. This will disable the latches that prevent the removal of the rods. You can get them out using pliers. You just need to securely fix them and pull them towards you.
Now you can disassemble the tank. It hangs on hooks. You just need to lift it up and remove it. Place aside. At the final stage, the drum is disassembled:
- Unscrew the bolts that hold it around the perimeter;
- remove the top;
- flip the bottom half over;
- lightly tap the bushing with a hammer;
- remove the drum from the tank.
This is how the washing machine is disassembled and prepared for further repairs.Inspect all main parts of the equipment for defects and contamination.
Pump disassembly
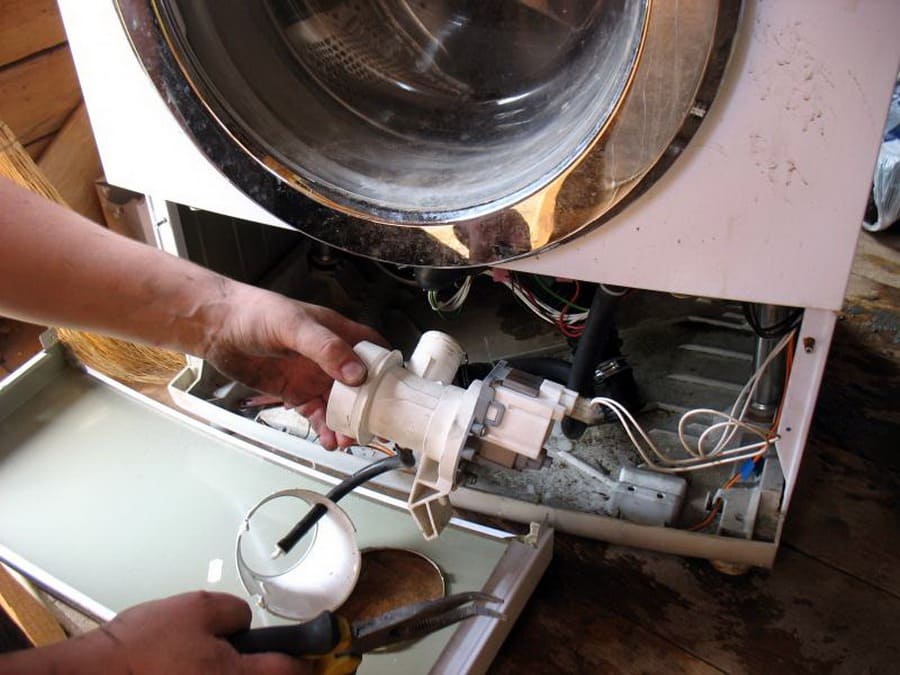
Often, owners of washing machines are faced with a problem such as stopping the water from draining. The reason for this is a malfunction of the pump. In this regard, the question often arises of how to disassemble the pump of a washing machine.
After the pump is removed, it must be disconnected from the cochlea. You need to unscrew the screws that connect it to the motor. At this stage, it is important to make marks that will allow you to install all the elements in their original position.
When the motor is removed, you need to inspect the impeller for wear. Under the influence of high temperatures, it undergoes deformation, which results in its friction against the body. In this case, you need to shorten the blades. Trimming must be done carefully, as significant shortening will reduce the productivity of the pump.


