 There are many models of electric emery on the market, but its design is so simple that you don’t want to spend even minimal money, especially since it’s easy to make it yourself. You will only have to buy an abrasive wheel, and the “donor” of the engine will be an old washing machine, which will probably gather dust in the garage and, most likely, will never be needed again. Read on to learn how to make sandpaper from a washing machine motor.
What determines the choice of motor?
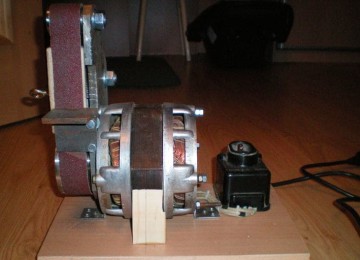
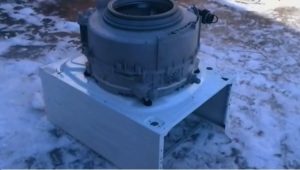
First of all, it should be explained why, in most cases, a motor from a washing machine is used in the manufacture of a sharpener. The fact is that old models, such as Volga, Chaika, Ural and many others, had ideal speeds for sanding, 1000 - 1500 per minute. It was this frequency that allowed their activator to spin at optimal speed. At the same time, washing machines varied quite significantly in maximum load, and therefore in engine power. In most cases it ranged from 200 to 400 watts. This is quite enough so that even axes can be sharpened with sandpaper.
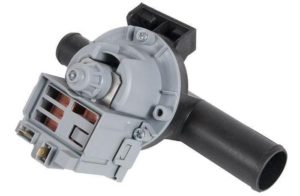
However, before you start manufacturing, you must definitely study the “nameplate” on the engine body. This is a tin plate on which the main parameters of the motor are indicated. It is important that the shaft rotation speed does not exceed 3000 rpm.This is due to the fact that the grinding wheel is not designed for high angular speed and, if the maximum value is exceeded, it may collapse. This is very dangerous, especially considering that most homemade sandpapers lack protection. Moreover, a high rotation speed will lead to overheating of the sharpened tool, and hence to loss of cutting qualities.
In addition to optimal frequency and power, the washing machine motor has a number of significant advantages:
- Connection to the electrical network without additional modifications.
- The existing mounts make it easy to mount the engine to the sandpaper base.
- The length of the motor shaft allows you to place a sharpening stone on it, albeit with the help of an adapter.
Adapter
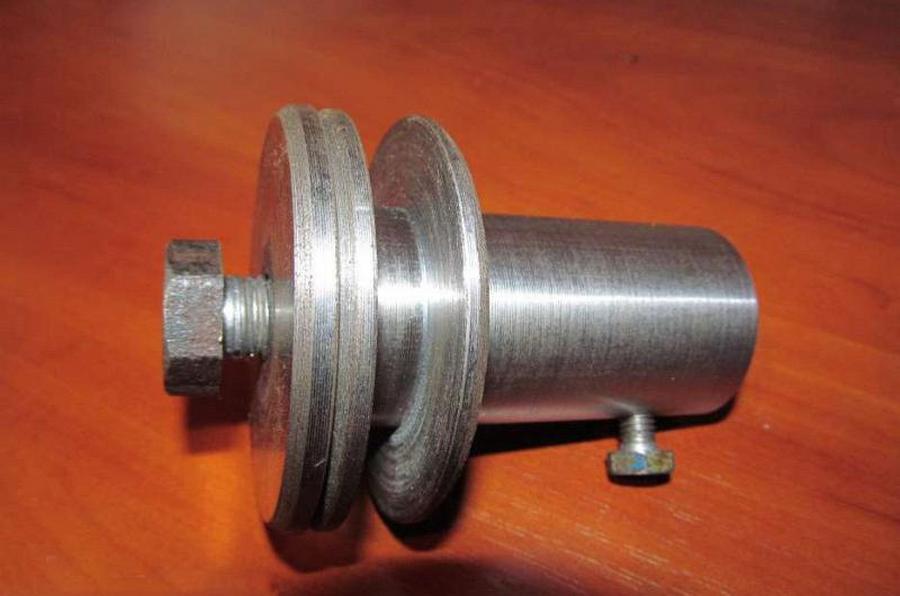
This is the only detail that cannot be made by hand. You will need a lathe and, accordingly, a person who knows how to work on it. What is the adapter for? The fact is that the size of the motor shaft is about 14mm, while the mounting hole
The emery circle usually has a diameter of 32 mm. This means that their “direct” connection is absolutely excluded. The adapter seems to increase the washing machine motor shaft to the required size.
For manufacturing, you will need a piece of steel “round timber”, approximately 65 mm long. and diameter 60 mm. The last figure is due to the need for the so-called flange - a fixed washer on the body of the part, into which a circle of emery rests on one side. Its thickness must be at least 4 mm. A seat with a diameter of 32 mm is machined in front of the flange.Next comes the "M20" thread, onto which the nut that secures the circle will be screwed.
To mount it on the engine, a hole is made in the adapter body with a diameter equal to the shaft. Then everything depends on how the pulley was fixed on the washing machine. There were two main options:
- Using the thread on the engine shaft and a large nut.
- With a 4 bolt screwed into the adapter body, perpendicular to the longitudinal axis of the motor.
Sometimes, home craftsmen try to minimize costs and make an adapter with a flange themselves. Most often, a pipe with suitable internal and external diameters is used as a base. Without proper experience, this should not be done. The fact is that it is very difficult to find a suitable workpiece, so "beating" and distortions are inevitable. It will be unsafe to work with such an emery. You shouldn't skimp on your health, especially since the cost of the master's work will not exceed 500 rubles, and if the part is made from your own material, it will cost even less.
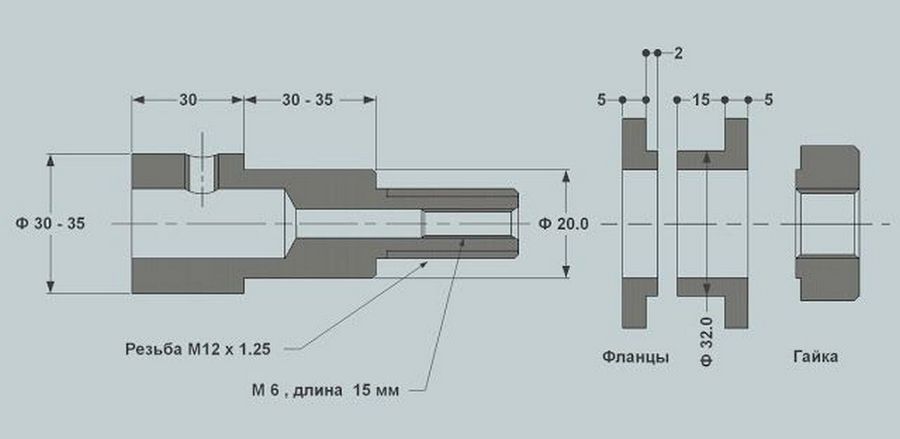
Another diagram of an adapter for making an emery wheel from a washing machine engine
Base
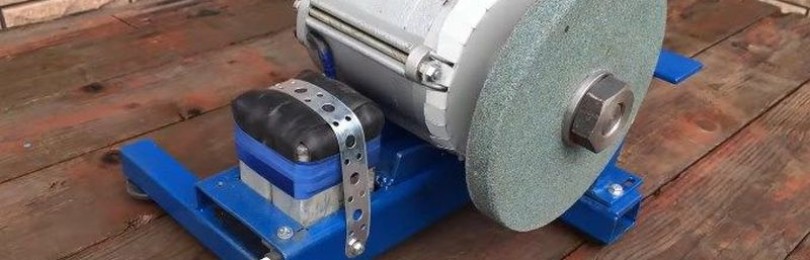
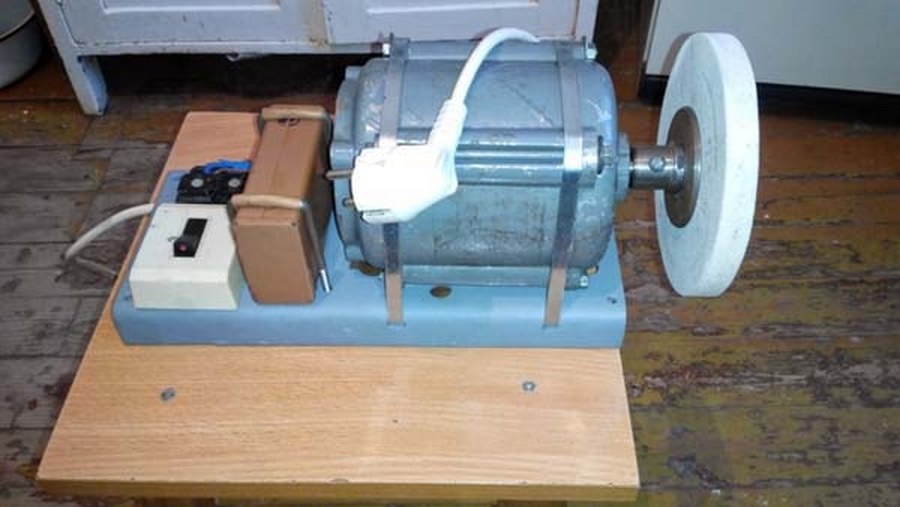
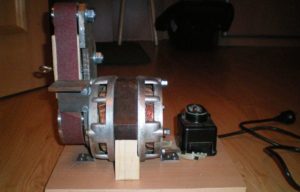
The frame on which the engine will be mounted does not require special material costs, but this does not make it any less important. The base must be well thought out, since making an emery wheel is not an end in itself, you will still have to work on it. At the same time, all attention should be focused on sharpening the tool, and not on holding the motor jumping around the workbench with your hand. It is at least inconvenient to work like this, and in this case, there is no talk at all about observing safety regulations.
Therefore, the base of the emery should be heavy enough, and most importantly, allow the engine to be fixed in the same way as it was fixed to the washing machine. It is best, of course, to make the frame metal. True, you will have to use welding for this. If this is not possible, then you should take a suitable piece of chipboard and bolt metal corners onto it to mount the engine. Even better, remove the motor from the washing machine along with the standard bracket and screw it to the base. The main thing is to use bolts and nuts for this; self-tapping screws can become loose and unscrew due to vibration.
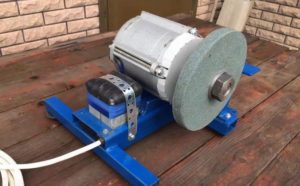
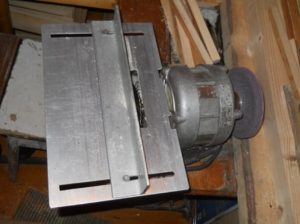
There is one more key point. The height of the motor mounting should not only allow the emery wheel to rotate freely, but also provide a gap of 4 - 5 cm between it and the base. After the motor is securely mounted on the frame, you need to think about the support table. It must be metal; welding can be replaced with a bolted connection. If the starting capacitor on the washing machine was moved outside the motor housing, you need to provide a place for it on the base of the sandpaper.
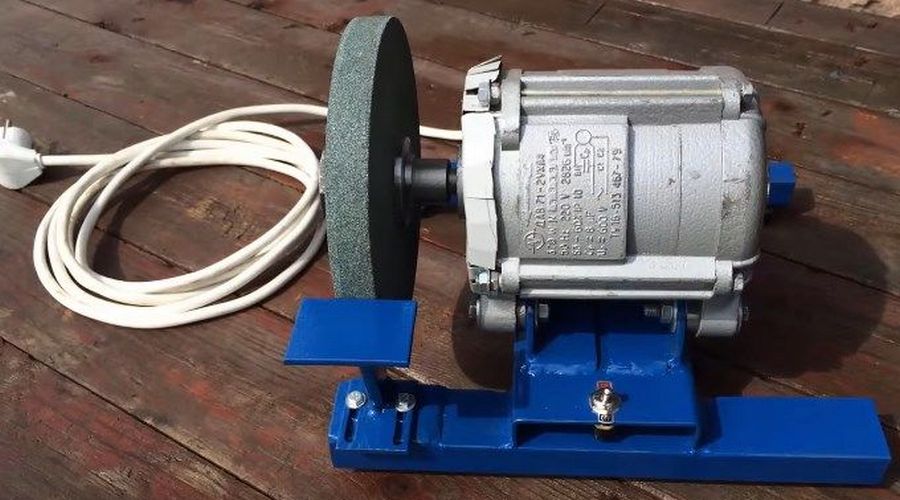
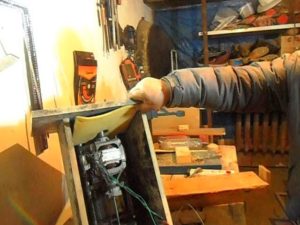
Once the motor is securely fastened to the frame and all auxiliary elements are installed, you can proceed to the electrical connections. But first you need to make sure that the grinding wheel is securely fastened to the motor shaft, as well as that there are no various beats.
Connecting the electric motor
First of all, it is necessary to recall the safety rules. Alternating voltage of 220 volts is dangerous to life. Therefore, before connecting the wires and motor leads, you must make sure that they are disconnected from the electrical network.
You can't just plug an electric motor from a Soviet washing machine into a socket. Or rather, you can, but first you need to connect its windings in the appropriate way. The motor from an automatic washing machine is easier to connect, since it is asynchronous. It is enough to connect the rotor and stator windings in series. The motor of the Soviet washing machine had a synchronous circuit. Its two windings, starting and working, are brought out through the housing with four wires. When making an emery wheel, the simplest and most correct thing is to transfer the entire wiring diagram of the washing machine to the frame, with the exception, of course, of the timer. If this is not possible, then you will have to remember your school physics course and connect the windings yourself. The most difficult thing is to identify them correctly. The fact is that the wires usually do not have any markings. You will have to take a multimeter and measure the resistance. A value of about 30 ohms will correspond to the starting winding, and 20 ohms - to the working winding. Now it is enough to "twist" them in parallel and connect them to the power cord, but there is one important nuance.
The starting winding should be powered only for the time of spinning the grinder motor. After the motor has reached the required speed, it must be disconnected. Otherwise, it will heat up a lot and quickly fail. Therefore, a button with normally open contacts, for example from a doorbell, is connected to the break in the primary winding circuit. The grinder switch and the start button are installed on a plate made of insulating material, in an easily accessible place. All connections are carefully insulated. The grinder is ready, you can connect it to the network. After starting, the engine should work without extraneous sounds, vibration and strong heating.The electric motor from a Soviet washing machine cannot simply be plugged into an outlet. Or rather, it is possible, but first its windings must be connected in the appropriate way. The motor from an automatic washing machine is easier to connect, since it is asynchronous. It is enough to connect the rotor and stator windings in series. The Soviet washing machine had a synchronous motor. Its two windings, starting and working, are routed through the housing with four wires.
When making emery, the simplest and most correct thing is to transfer the entire connection diagram of the washing machine to the frame, with the exception, of course, of the timer. If this is not possible, then you will have to remember the school physics course and connect the windings yourself. The most difficult thing is to identify them correctly. The fact is that the wires usually do not have any markings. You'll have to take a multimeter and measure the resistance. A value of about 30 Ohms will correspond to the starting winding, and 20 Ohms will correspond to the working winding. Now it is enough to “twist” them in parallel and connect them to the network connection cord, but there is one important nuance.
The starting winding should be energized only while the emery motor is spinning up. After the motor reaches the required speed, it must be turned off. Otherwise, it will get very hot and quickly fail. Therefore, in the open circuit of the primary winding, a button with normally open contacts, for example from a doorbell, is switched on. The emery switch and start button are installed on a plate of insulating material in an easily accessible place. All connections are carefully insulated. The emery is ready, you can connect it to the network. After starting, the engine should operate without any extraneous sounds, vibration or strong heat.
- In addition, from a used washing machine you can also construct:,
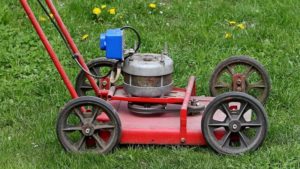
- lawnmower

- grass cutter,
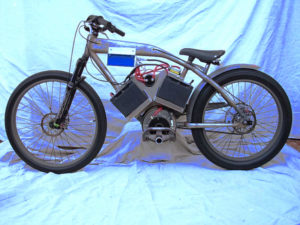
- electric bike,
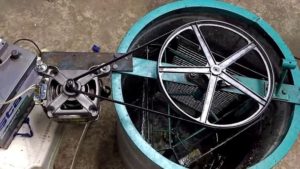
- honey extractor,
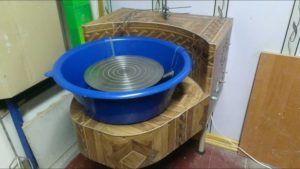
- Potter's wheel,
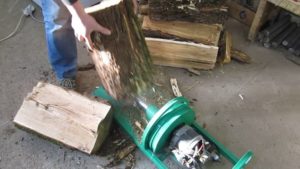
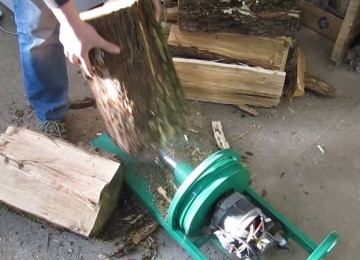
- wood splitter,
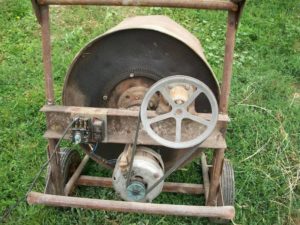
- concrete mixer,
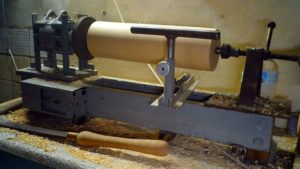
- lathe,


- wax refiner
- circular