 If a novice potter needs a pottery wheel, then one must take into account that this is an expensive pleasure. Buying quality equipment is not cheap. However, you can build a pottery wheel from a washing machine yourself. To do this, you need to know how to properly design and manufacture it.
How does a potter's wheel work?
Historically, this device was driven in several ways:
- Initially, the pottery machine was rotated by the master working on it. He did this by regularly pressing the pedal with his foot. This organization of work was inconvenient, because the potter had to simultaneously perform two actions and was deprived of the opportunity to fully concentrate on the work.
- Gradually, devices that were designed to operate on electric traction came into use. In this case, the speed of the machine is maintained automatically, and the master has the opportunity to fully concentrate on creating pottery.
What to cook
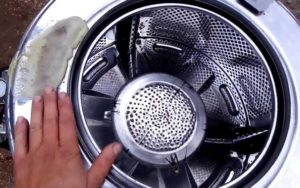
To make a pottery wheel with your own hands, you will need an old washing machine, the components from which can be used to create a pottery wheel. It is important that the washing machine used is of the activator type (for example, Malyutka washing machine). In this case, the axis of rotation of the motor will be directed vertically. The pottery wheel that will be installed will rotate while in a horizontal position.
In addition, you will need the following materials:
- A piece of plywood of the required size that is resistant to moisture.
- The simplest board with a microcircuit that will make it possible to switch the rotation speed of a pottery wheel.
- It is necessary to prepare varnish and paint that are resistant to moisture.
- White Spirit.
- Wheel of the required size for the design.
- A plastic medicine bottle is required.
- Electric switch.
- A roll of insulating tape.
- To seal against leaks you will need silicone sealant.
- In order to solder, you will need tin and rosin.
- In order to connect the parts, you will need screws with nuts and self-tapping screws.
To carry out the work you need to stock up on the following tools:
- soldering iron;
- multimeter;
- a hacksaw with small teeth;
- well sharpened knife;
- felt-tip pen for making marks;
- keys and screwdrivers of different sizes;
- pliers;
- ruler.
Carrying out work
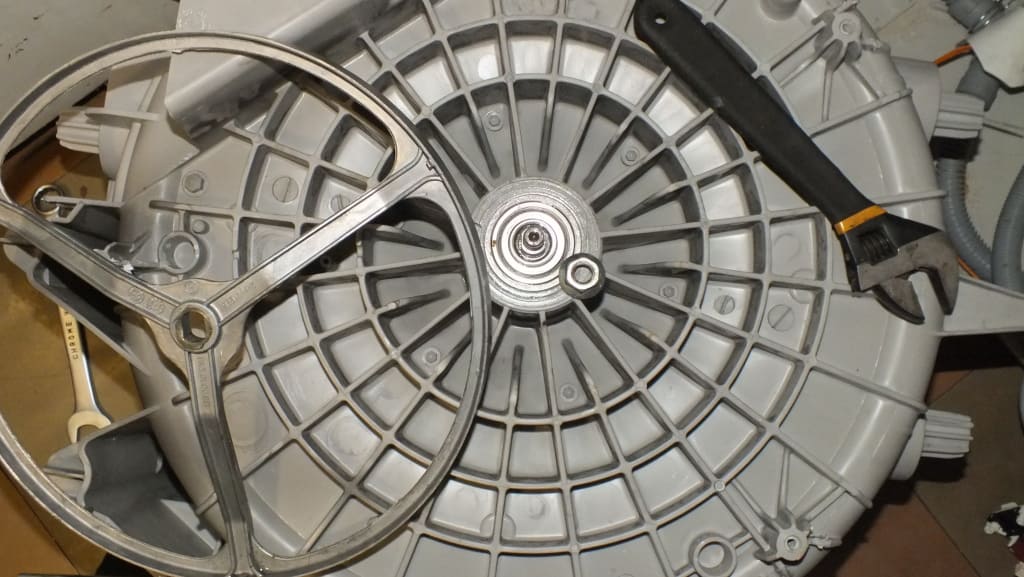
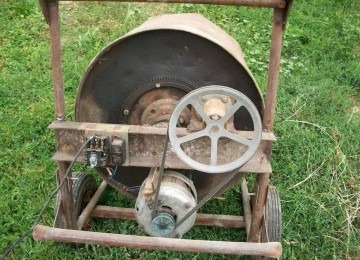
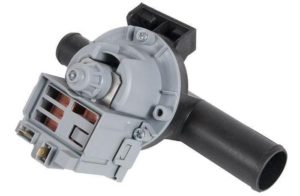
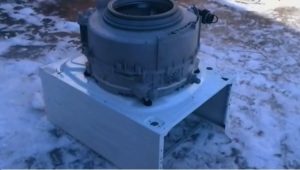
First you need to carry out partial disassembly of the washing machine in order to clarify the location of its main components. To free the shaft, you need to disconnect the pulley and drive shaft. Some of the units that were used here will not be needed to operate the potter's wheel. An example here is, for example, the timer on the Indesit washing machine. Under the washing tub in some machine models there is a plastic disk that protects the motor from getting ingress. It also needs to be removed.
When making a potter's wheel, it must be taken into account that, although there is a motor along with a drive mechanism, there is nevertheless no base on which the potter's wheel will be attached in the machine.
This part should consist of a small section of pipe and a small disk perpendicular to it with holes for attaching a circle.
The easiest way to get the part you need is to order it to be made by a professional turner. However, if you have the necessary equipment and the appropriate skills, you can make a unit for the machine yourself.
The already made part is cleaned of dirt and rust, and then primed and painted with waterproof paint. After this, it is put aside.
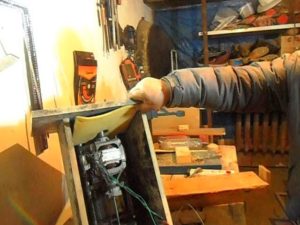
Now you will need to cut a circle of the required size for the machine from thick, moisture-resistant plywood. It must be treated with white spirit and then coated with waterproof varnish. It will be better if this wooden part is pre-impregnated. The composition for it can be prepared by making a mixture of white spirit and this varnish. Double processing will make the wooden disk more protected from moisture and dirt. It is necessary to drill holes in the disk that correspond to those that were on the previously manufactured part.
Now you need to attach these parts to each other using self-tapping screws.
The next step is to protect the shaft and motor of the machine from moisture and dirt. To do this, you need to use a plastic medicine bottle prepared in advance. Its upper part is cut off and put on the shaft.Using a nut, the plastic protection is securely fastened.
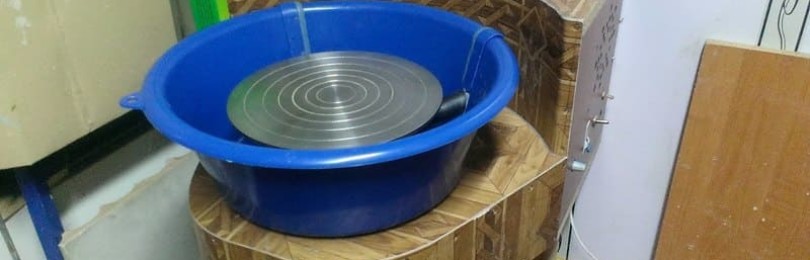
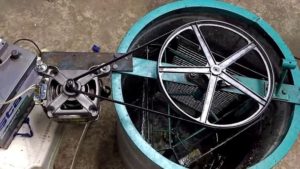
Next you need prepare the tank and the body of the washing machine. In the future, most of them will not be needed for the machine. You need to cut the tank and body so that the lower part remains along with low sides.
In the manufacture of the rotating part in this machine, two parts were used. However, it is permissible to make this unit in the form of one part, making a circle from PCB.
Motor connection
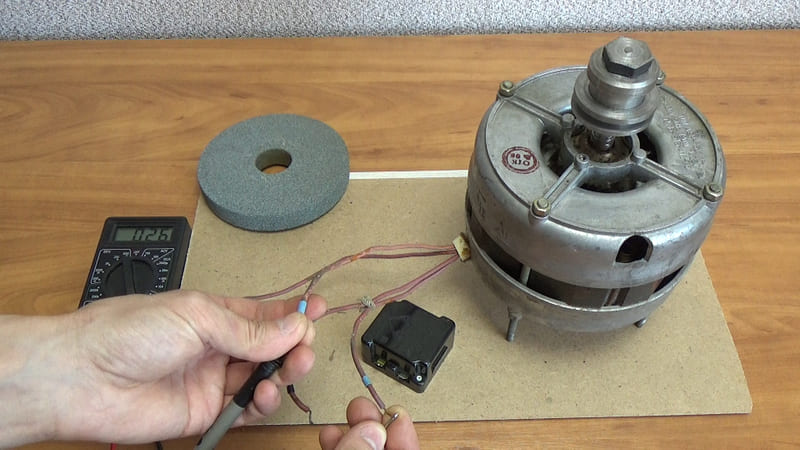
Before directly start connecting, you need to figure out which wires come from the motor. If you have documentation for the washing machine, this will not be difficult. However, if we are talking about the old washing machine Fairy, a common situation is when no circuit diagrams can be found. In this case, you need to remember that the following types of wires come from the motor:
- Those that are connected to the brushes.
- Connected to the stator winding.
- Perhaps the design of the engine provides that there are those that provide regulation of the rotation speed.
The purpose of the wires can be determined experimentally.
It is necessary to install a switch for the machine on the wire through which electrical energy is supplied to operate the motor.
All protruding wires must be securely wrapped with electrical tape. If rubber casings are available, they can be placed on the free ends of the wires.
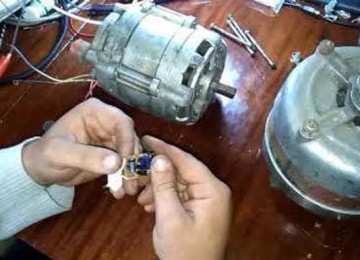
Now you need to mount and connect the board that controls the rotation speed of the machine’s motor. You don’t have to make it yourself, but you can order it in a workshop or buy it in a specialized store.It needs to be connected to a power wire and two wires that control the rotation of the motor.
Now you need to reinstall the pulley and drive belt. Next, you need to connect the shaft to the working pottery wheel.
After the machine is assembled, the grooves through which water can leak into the motor are sealed with silicone sealant.
Now the pottery wheel is ready for use.
How to work with a pottery wheel correctly
Adjusting the motor rotation speed is important because the normal rotation speed is incompatible with working on a pottery wheel. In the latter case, the rotation should be significantly slower.
Conclusion
Using a washing machine, you can assemble a pottery wheel yourself according to the existing pattern without special technical skills. At the same time, the quality will be similar to expensive purchased machines.
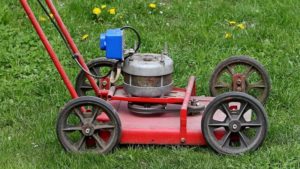
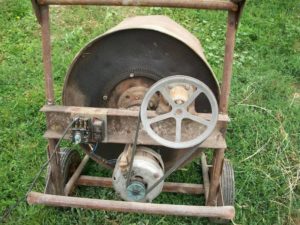
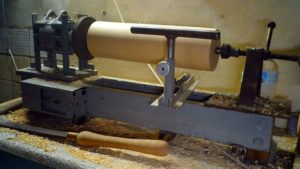
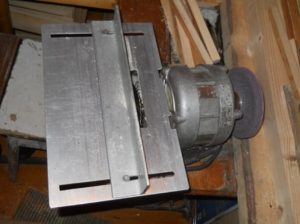
In addition, from a used washing machine you can also construct:
- lawnmower,
- grass cutter,
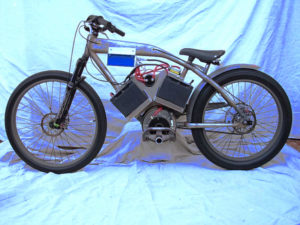
- electric bike,
- honey extractor,
- router,
- irrigation pump,
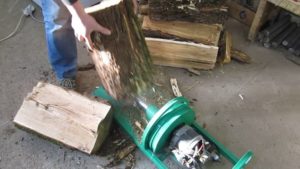
- wood splitter,
- concrete mixer,
- lathe,
- juicer,

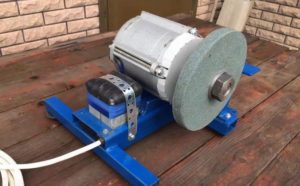
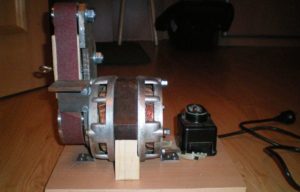
- circular
- and much more.