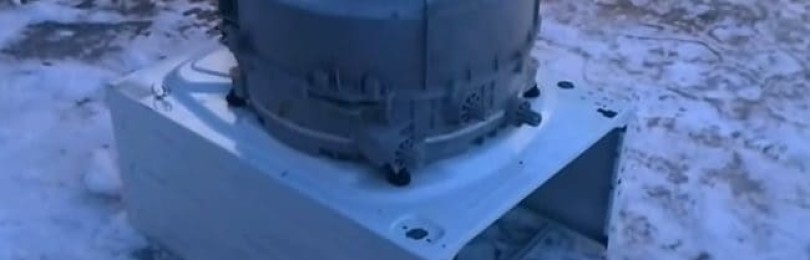
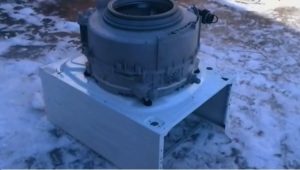
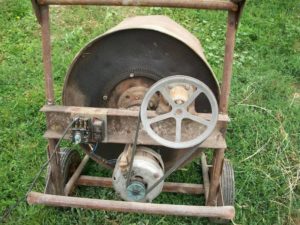
 Each apiary owner will need his own wax melter. If you need to process a little wax, there is no need to purchase a device in the store. At home, you can make wax melters from a washing machine with your own hands. This device will do an excellent job with wax, frame cuts and growths removed from the walls of hives.
Advantages of a homemade steam wax melter
A homemade wax melter has a lot of advantages. Any washing machine can be used to make it. The most preferred is the old Soviet equipment, equipped with thick and durable drums. They are perfect for making a homemade device. Thus, the apiary owner does not spend money on purchasing a factory device or purchasing materials for a homemade design.
The use of a steam wax refiner is much more profitable than the use of a solar factory wax refiner. Firstly, with the help of steam you can obtain a significantly larger amount of good raw materials, while the process itself occurs quickly. Secondly, such a device can be used all year round in any weather.
Necessary materials
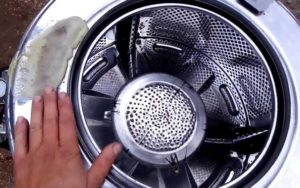
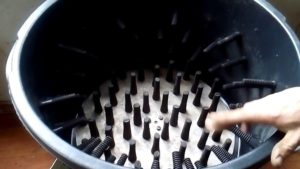
To make a wax melter, you will need to completely disassemble the washing machine and leave the following parts:
- frame;
- drum;
- tank;
- hatch sealing lip;
- drain pipe;
- water intake hose.
In addition to the parts of the washing machine, for a homemade wax melter you need to prepare:
- volumetric flask with a capacity of 15 to 20 liters;
- metal trough;
- rubber plug;
- silicone based sealant;
- a metal cover with a diameter larger than the loading hatch of the washing machine;
- gas or electric stove for heating, or make a fire.
Making a wax refiner
Making a wax melter at home with your own hands is a simple process, taking about one and a half to two hours, if you know and follow the correct sequence of actions.
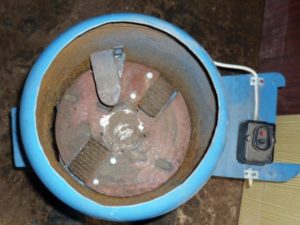
- First you need to prepare the body of the washing machine. The front panel needs to be disconnected and removed, leaving only the side and back panels.
- If there is a service hatch in the rear wall, the cover must be disconnected and removed. Otherwise, you need to prepare a hole the diameter of the tank with the drum.
- The side panels and the back wall should be bolted together for strength.
- Turn the case over and place it on the side panels so that the back side is on top. To make the structure stable, you can prepare and use spacers.
- Drill several holes in the back wall of the tank with a drill.
- Close the remaining holes in the tank, except for the one made for the drain pipe, with rubber plugs.
- Place the tank with the drum on the hole at the top of the future structure, securely bolt it for strength.
- Next you need to improve the flask. If a large metal can is involved, it has its own lid. You will need to prepare a hole in it with a diameter for a hose to fill in water. If you use a regular flask, you need to prepare a tight, sealed lid for it and also make a hole for the hose.
- Install the drain pipe onto the tank. Insert the hose for filling water into the lid, connect the other end to the pipe. Seal the joints with sealant.
Operating principle of a steam wax melter
To melt wax using a homemade design, you need to:
- Place waste into the drum.
- Fill the flask with water, leaving about one quarter empty.
- Prepare a stove or, if the process will take place outside, install bricks and light a fire between them.
- Place the flask on the bricks or slab.
- Cover the waste drum with a lid and place a press on top to prevent steam from escaping.
- Place a trough at the bottom of the tank.
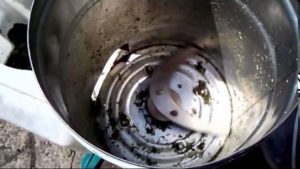
When boiling, the water in the flask will produce steam. It, passing through the pipe and hose, enters the drum and melts the raw materials. The melted wax, together with hot water, flows from the drum into the tank, and from there into the prepared trough. As the wax cools, it floats to the surface, after which it can be collected.
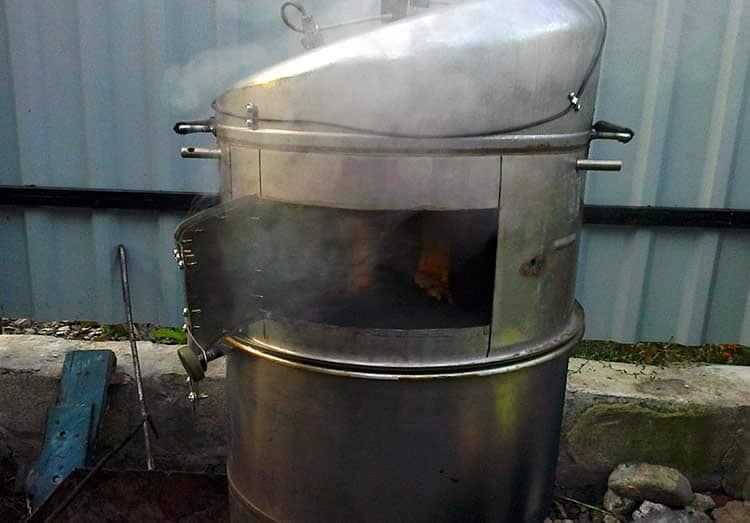
How to make a wax melter from an outdated washing machine
You can also make a wax furnace from old Soviet washing machines such as “Riga” or “Oka”, but the procedure will be different.
- Disassemble the washing machine and remove all internal elements, leaving only the tank and body.
- At the bottom of the body, 20 cm from the edge, cut a small window measuring 20 to 30 cm for storing firewood.
- In the upper part of the frame, step back 5-7 cm from the edge and make 3 holes around the circumference for smoke to escape.
- Bend the fitting installed in the water drain tank, make a sealed plug instead of the activator and secure it with bolts or plugs. Place the tank into the washing machine body.
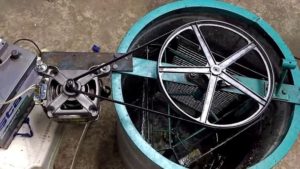
- Attach a metal bracket with a width of 4 to 5 cm and a thickness of 6 to 8 mm to the top of the case. Drill a hole with an M16 thread in the center and screw in a 40 cm long screw with an L-shaped handle.
- Place the structure on the bricks, pour in water so that there is 10 to 15 cm left to the edge.
- Place the dried raw materials in a nylon mesh or canvas bag and put them in the tank.
- Build a strong fire, when the wax begins to melt, knead it and press it to the bottom.
- When the wax melting process is complete, lower the metal grate to the bottom.
- Squeeze the melted wax with a screw through the bracket, cover with a cloth or film and leave until it cools completely.
- Remove the finished wax and dry it in a dark room.
Conclusion
If an apiary owner wants to recycle wax waste at home, he needs to know how to make a wax melter from a washing machine.This will require a little time, as well as knowledge and adherence to the correct sequence of actions. This design can be used in any weather and regardless of the time of year.
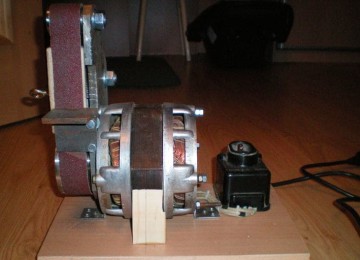
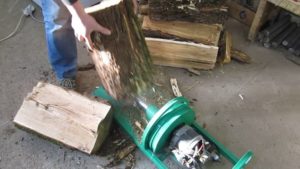
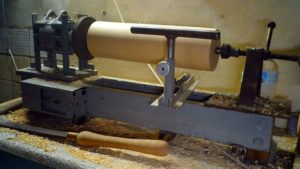
In addition, from a used washing machine you can also construct:
- lawnmower,
- grass cutter,
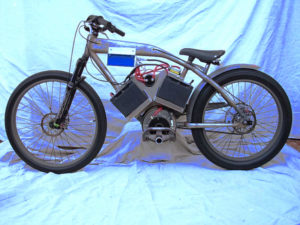
- electric bike,
- honey extractor,
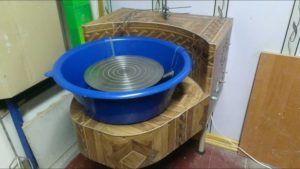
- Potter's wheel,
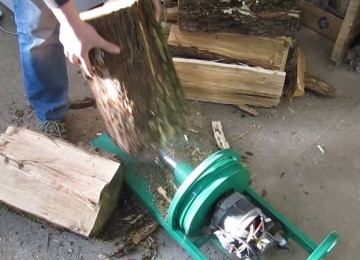
- wood splitter,
- concrete mixer,
- lathe,
- juicer,


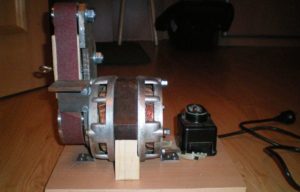
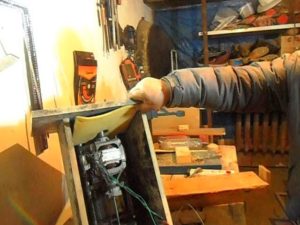
- circular
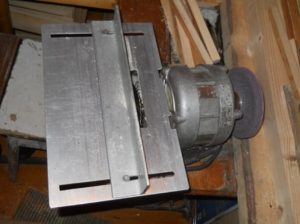
- and much more.